Homemade Musical Instrument Guides

Best DIY instrument how-to
Here are three great guides for making your own musical instruments. Advantages of making your own: 1) Personalized, 2) Cheaper, 3) Types no one else sells, 4) Satisfaction of making.
There is not much overlap of instruments featured between these three books.
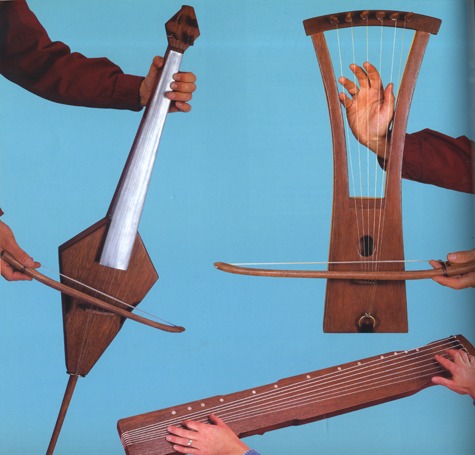
The coolest of the three guides is Making Gourd Musical Instruments. It has very explicit step-by-step instructions for making 60 instruments using lightweight gourds as the sound amplifiers. Gourds enable wind, string and percussion instruments — so you could make an entire orchestra. This book has the most variety of musical options and great examples of world-wide traditional instruments for inspiration. If you can get only one of these three books, this should be it.
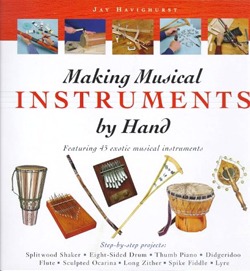
Making Musical Instruments by Hand
Jay Javighurst
1998, 108 pages
$9+, used
Available from Amazon
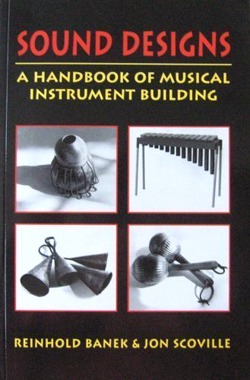
Sound Designs
John Scoville, Reinhold Banek
1995, 224 pages
$8+, used
Available from Amazon
Excerpt
Sample excerpts:
>From Making Gourd Musical Instruments

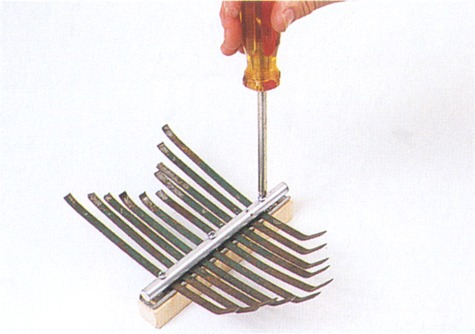
Cut keys (lamella) from an old leaf rake.
Position the keys in the bridge and tighten the screws. If you need to adjust the length of a key slightly, loosen the screw, then readjust it.

Completed kalimba.
*
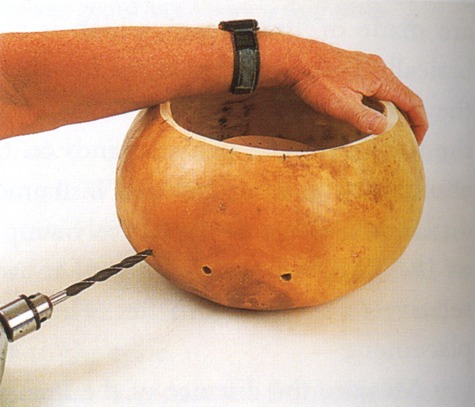
Drill the peg holes precisely at the marks.
*
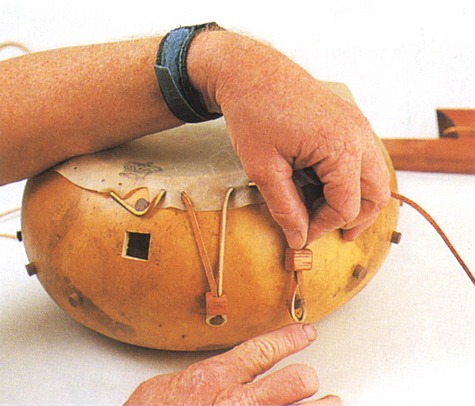
As you tighten the lacing, make sure each loop is brought around its peg and that the bead is next to the peg. Later on, the peg may be pushed up on the lacing to further tighten the head if needed.
>From Making Musical Instruments by Hand
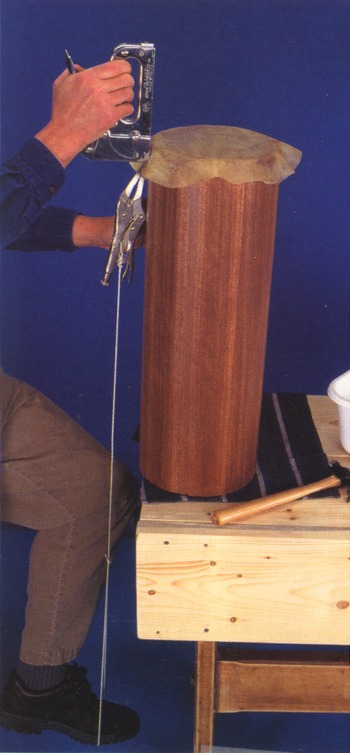
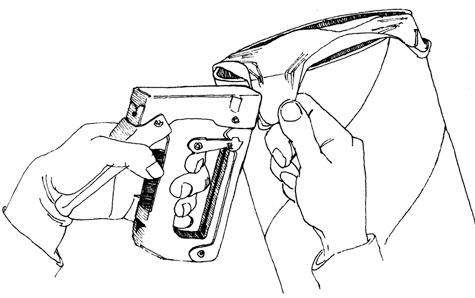
Tip: Stretching Thicker Skins
Thicker skins may require more pressure to tighten before stapling. Use a pair of locking pliers with a thin rope attached through the handle. Make a loop at the bottom so you can step onto it. Apply tension firmly with your foot, without tearing the skin, and with the staple gun held vertically upside down, fire the staple. Then follow the stapling instructions in step 9.
*
>From Sound Designs
Dimple Gongs
Simply, mark the center point on each plate or disc. Place it on the end of a fairly wide piece of soft wood, say 4 by 4 inches. Put the round end of a ball-peen hammer on the center mark and smite it hard several times with a small sledge or heavy hammer.

*
The resulting dimple gives the plate not only a distinct pitch, but its name as well. Though if you look at it from the other side, it becomes a pimple gong. We found by experimenting that generally the smaller the dimple the lower the pitch would be, so tune yours accordingly.
*
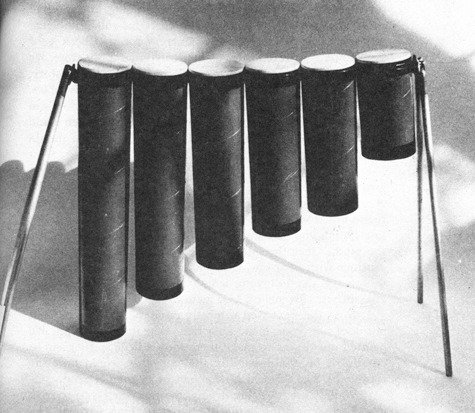
Tube Drums
*
Making Gourd Musical Instruments Ginger Summit, Jim Widess 2007, 144 pages $12