Photography
 02/23/16
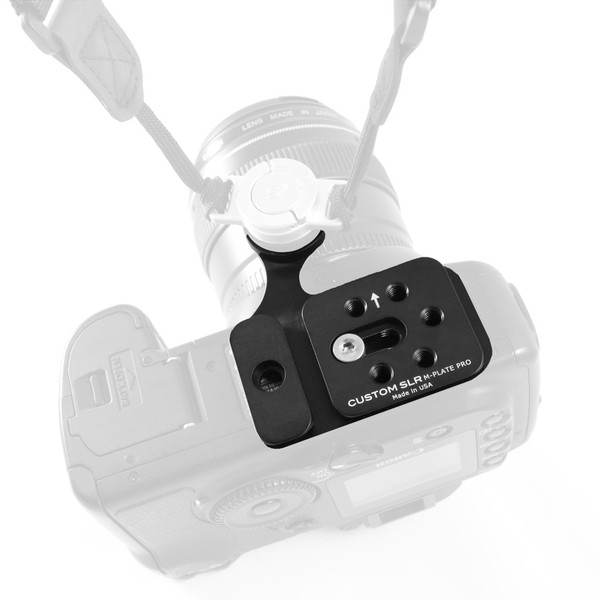
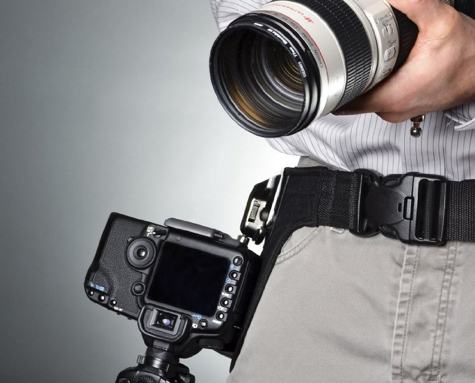
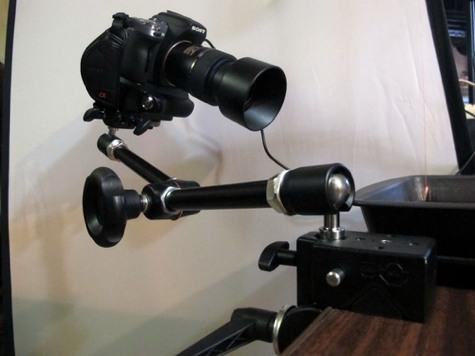
Custom SLR M-Plate Pro (with BlackRapid Strap)
Quick-attach camera to any tripod while using your favorite camera strap


 04/9/13
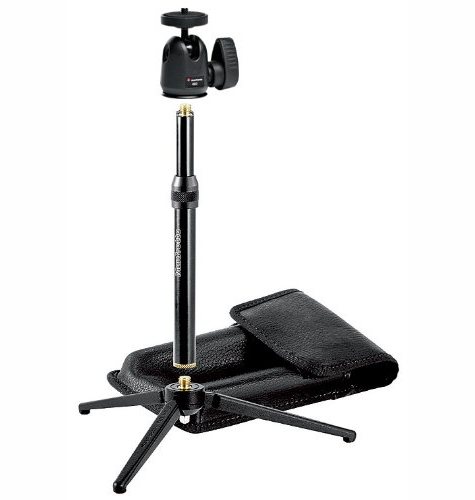
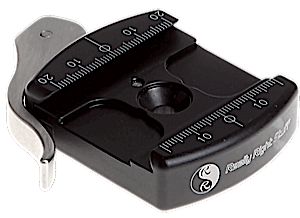
Really Right Stuff Lever-Release Camera Tripod Clamp
Quickly Mount and Unmount a Camera From a Tripod