Animation
Tools for Possibilities: issue no. 137
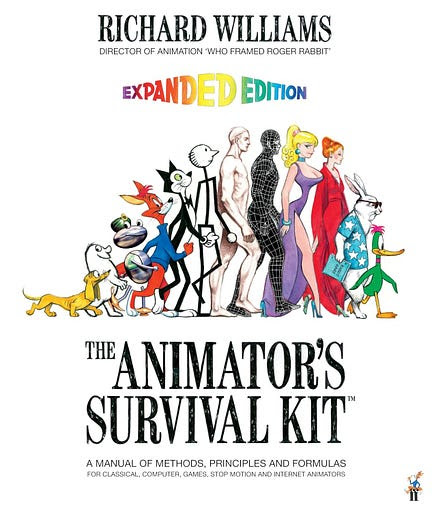
The bible of animation movement
I have no words for the depth of this master class in visual animation. This is the definitive source for learning how to perform — as in act — by drawing; how to create emotion with a series of subtly modified images. There’s lots involved in animation these days: this book is focused on a single thing: teaching you how to make animated movement come alive. Make a stick figure walk cautiously. A table lamp cower with fear. A robin soar. A car that makes you cry. Hundreds of tutorial illustrations show you how. Applies as much, or more, to digital animation as to pencil drawings. KK
Easy stop-motion and time-lapse video
This is a very cool application that creates stop-motion and time-lapse videos. For years my kids and I have been making claymation episodes, doll and figure animations, paper cutout sequences, and fun time-lapse movies with our family handy-cam, but our primitive method of simply blinking the on-button has always been less than satisfactory. Our brain-dead way creates three problems: the interval is too long (jerky movement), you can’t see what motion should be next, and you can’t edit out goofs when you make a boo-boo — which is 100% certain.
iStopMotion software is a much better way to do animation, and it solves all three problems. You connect a live video feed from your camera to your computer (via USB or Firewire) and then you control the film from your keyboard — or this is cool — via voice command! After you capture a frame, the program overlays that frame as transparent layer over the current camera view so you can see exactly where you need to move next. You can even request the last 5 frames (onion skinning animators call it) to get a sense of direction and trajectory, which allows a very fine tuning of the motion. And you can edit mistakes, and do redos on the fly. All this is simple enough that my 7-year-old could instantly manage it. Yet it is sophisticated enough that film students use this software for thesis projects. Making time-lapse films is even easier.
The joy of this tool is that your computer screen rather than your camera screen drives the animation. To overcome the downside that you need to do all your filming within cable reach of your laptop iStopMotion now comes as a phone app, too, so you can view your work on your mobile. There’s also an iPad version for filming with this tablet (which needs to be steady). All are aimed at letting kids do animation quickly. But its good enough for slow adults like me.
There are three programs in this genre. I’ve tried all three (iStopMotion, FrameThief, and Stop-Motion Studio) and iStopMotion is by far the superior. It has the most features, ease of use, speed and stability. It is also the best designed. — KK
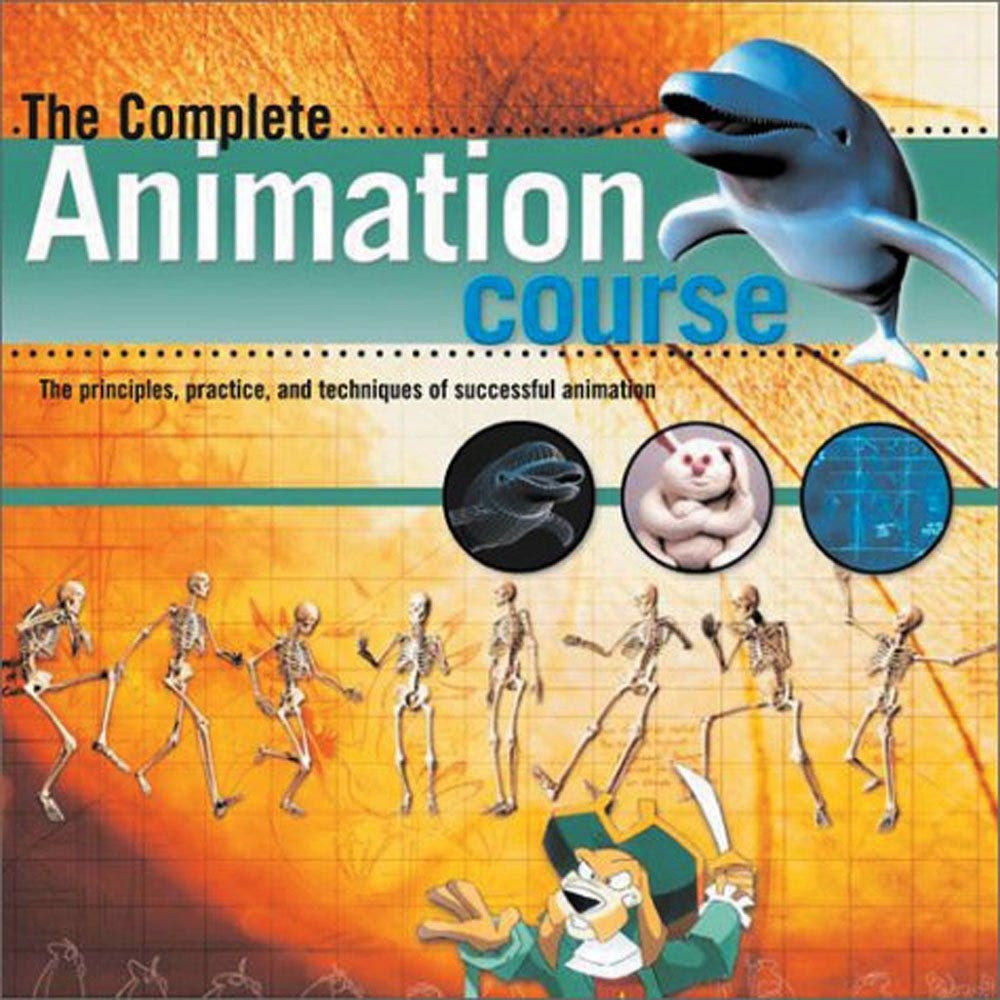
Desktop animation how-to
All films will become animations. That prediction is based on the rate at which special effects become standard effects in big-budget films. Even a “live action” movie these days is composed frame by frame, and the skills and logic of animation take over. An ordinary digital camera, a hi-end PC or Mac, with iMovie software or equivalent, gives anyone the tools to do cinematic animation without tears. The Complete Animation Course is the best of many recent books riding the re-newed popularity of animated films. This guide is a great how-to orientation for making your own animated film using affordable technology. It introduces you to classic animation basics, and the many methods which combine old fashioned techniques (cartoon, paper collages, claymation) with computer based tools. I found it had just the right level of detail — sufficient to get you going without bogging down in how to do what’s already been done.
Twelve Principles of Animation
- Squash and Stretch.
- Anticipation. This is setting up the action before it happens, usually with a slight movement in the opposite direction to the main one.
- Staging. This is related to the way the film as a whole is “shot,” considering angles, framing, and scene length.
- Straight-ahead Action and Pose-to-Pose. Straight-ahead action starts at one point and finishes at another in a single continuous movement, such as running, whereas pose-to-pose is a variety of actions in one scene requiring clearly delineated key frames to mark the action’s extreme point. How the in-betweens are executed can alter the whole rhythm of the action.
- Follow-through and Overlapping Action. Follow-through is the opposite of anticipation. When a character stops, certain parts remain in motion, such as hair or clothes. Overlapping action is when the follow-through of one action becomes the anticipation of the next one.
- Slow In — Slow Out. This means using more drawings at the beginning and end of an action and fewer in the middle. This creates a more lifelike feeling to the movement.
- Arcs. These are used to describe natural movement. All actions create circular movements because they usually pivot around a central point, usually a joint. Arcs are also used to describe a line of action through a character.
- Secondary Action is just that, another action that takes place at the same time as the main one. This may be something as simple as turning the head from side to side during a walk sequence.
- Timing. This is something that can’t be taught. In the same way that comedians who rely on it to get the most from their gags have to learn it through experience, you too will get it right only through practice. Timing is how you get characters to interact naturally. Timing also has to do with the technical side of deciding how many drawings are used to portray an action.
- Exaggeration. This is the enhancement of a physical attribute or movement, but don’t make the mistake of exaggerating the exaggeration.
- Solid Drawing. This conveys a sense of three-dimensionality through linework, color, and shading.
- Appeal This is giving personality to the characters you draw. If you can convey it without the sound track, you know you are on the right track.
These are not hard and fast rules, but they have been found to work since the early days of animation. Bear them in mind at the storyboard stage and your animation will definitely have more fluidity and believability.