Fermentation
Tools for Possibilities: issue no. 56
Once a week we’ll send out a page from Cool Tools: A Catalog of Possibilities. The tools might be outdated or obsolete, and the links to them may or may not work. We present these vintage recommendations as is because the possibilities they inspire are new. Sign up here to get Tools for Possibilities a week early in your inbox.
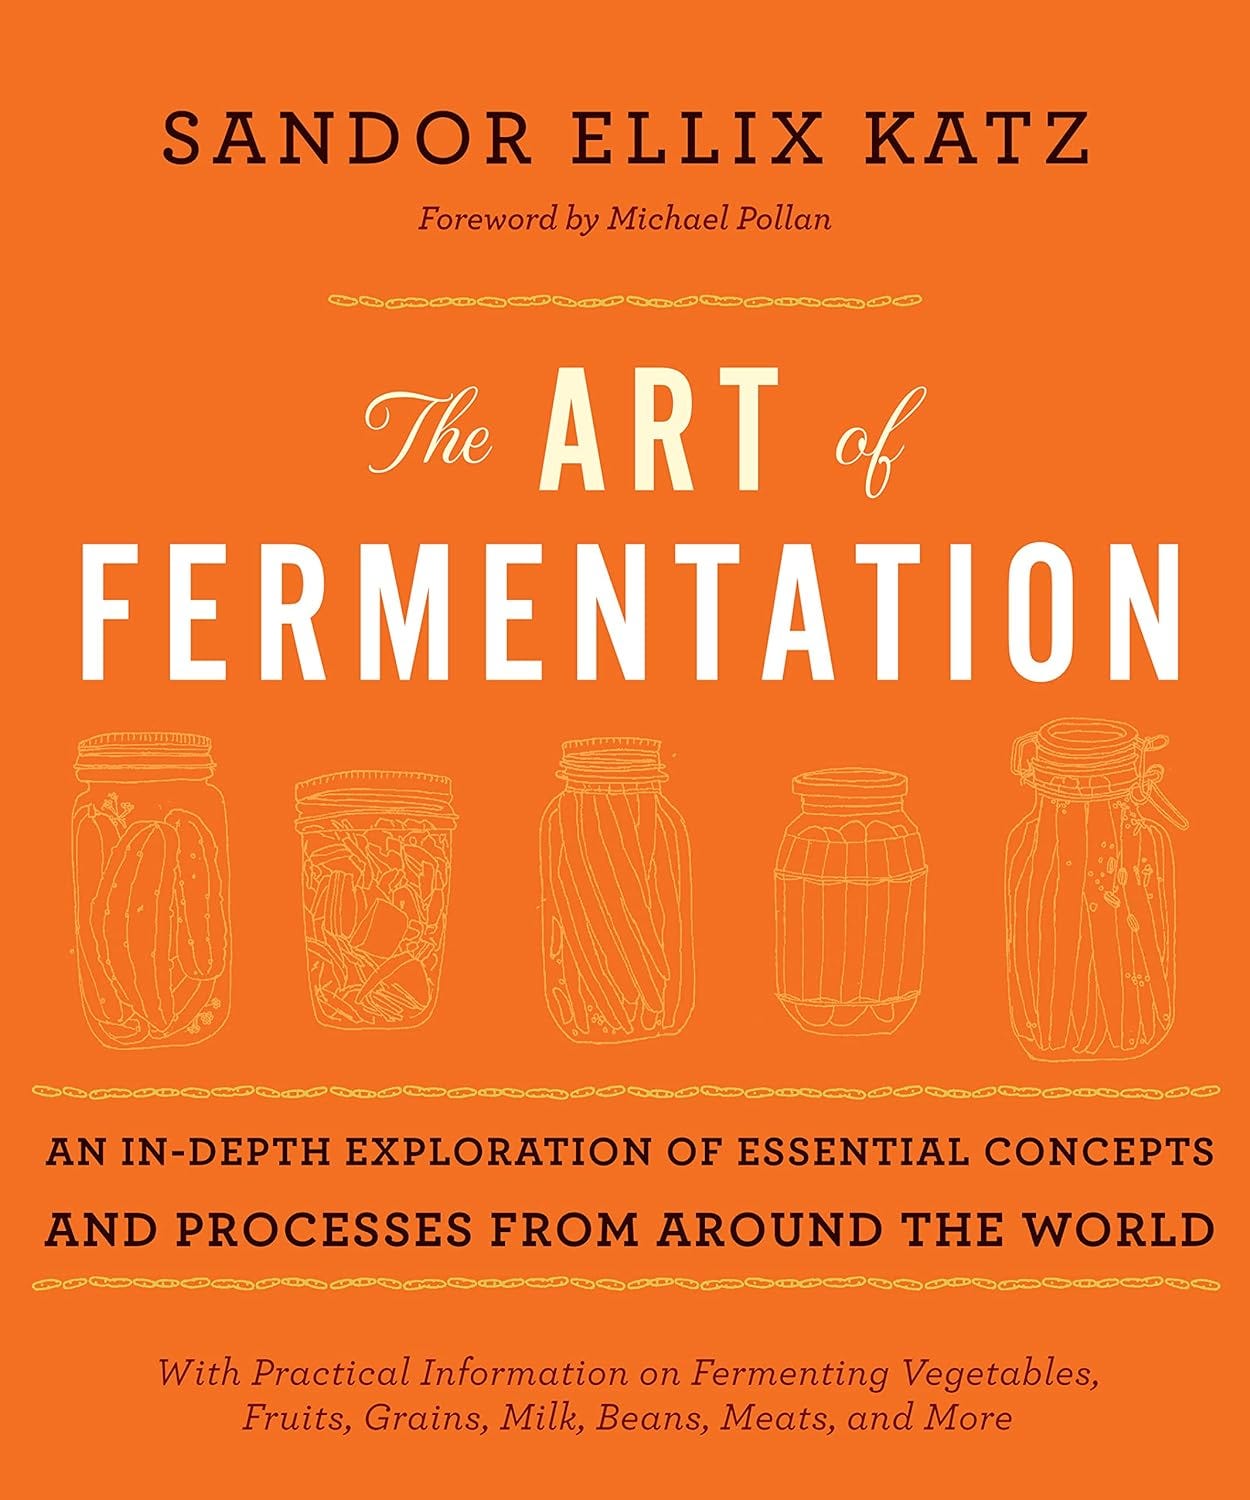
Fermented food cookbook
Yogurt, bread, beer, kimchi, wine, cheese, miso, kraut, and vinegar are among the many foods produced with the aid of microorganisms. Those are living beasties of a type that we ordinarily try to remove from what we eat. This cookbook is full of fermentation recipes. It presents a unified theory of “live-culture foods,” a way of connecting their different methods in order to understand why fermentation is a Good Thing, and why there should be more of it.
Fermentation is fairly easy to do. It can self-correct many beginner’s errors. It is definitely a slow-food process, but at the same time, a low-effort process since the bugs do most of the work. The recipes here are starter ones, broad in scope, easy to do, just to get you going. The appendix contains a good roundup of sources for a large variety of live cultures. You can find deeper more complex recipes in specific books, but here in one slim volume is a great introduction to how to ferment. At least once, you should make your own yogurt, bread, beer, kimchi, wine, cheese, miso, kraut, and vinegar. Find what you do well and make more of it. — KK
- Kefir is notable among milk cultures in that rather than using a bit of fermented milk to start the next batch, it relies upon a SCOBY, a rubbery mass of bacterial and fungal cells that has evolved an elaborate symbiotic arrangement, sharingnutrients, coordinating reproduction, and co-creating a shared form, which is not microscopic.
- I’ve made a couple of batches of Keckek el Fouqara, and they’ve been very popular. To start, mix bulgur with just a little more than its volume of water. Stirdaily. After about a week, it develops a sharp flavor, which keeps getting better as the days pass. After two to three weeks, add spices. My best batch included garlic, caraway, cumin, and sage, crushed together with salt with a mortar and pestle. Mix spices into the bulgur mix, adjust as necessary, and form into balls about 1/2” (4 cm) in diameter. Pack spiced fermented bulgur balls into jars, cover with olive oil, and age at least a few weeks, or up to about six months. Serve with crackers as a cheese alternative.
- Sourdough smells awfulA sourdough is a complex community of microorganisms. When it receives a fresh high-proportion feeding, yeast activity is most vigorous and the sourdough develops a yeasty smell. Then, as lactic acid bacteria follow yeasts into dominance in the sourdough environment, it becomes increasingly acidic. But if you neglect feeding your sourdough and the lactic acid bacteria exhaust their nutrients, the putrefying bacteria, also part of the community, can rise to dominance. This is what it means when your starter smells awful. Rather than discarding it all, retain a small amount from the very bottom of the jar. Give it a highproportion feeding to reawaken the dormant yeasts and lactic acid bacteria. Pamper it: Stir daily, keep it warm, and feed it every day or two, even if it doesn’t bubble right away. Sourdoughs are very resilient and can come back from even extreme neglect.
- The first moldI learned to make was tempeh (sometimes spelled tempe), from the Indonesian island of Java. Tempeh is made by growing molds, predominantly Rhizopus oligosporus, usually on soybeans; the mold pre-digests them, binds them together, and greatly reduces required cooking time. Fresh tempeh is truly delicious, vastly superior to what is typically available commercially. Althoughtempeh IS best known as a soybean ferment, it can be made from any combination of legumes and/or grains (and other substrates as well). For years I thought that some legumes were necessary, but my friend and helper Spiky, an irrepressible experimentalist, insisted on trying a batch of all-grain millet oat tempeh, with no legume whatsoever, and it not only worked but was quite delicious, lighter than soy tempeh and almost nutty. I typically make tempeh that is half legumes and half grains.
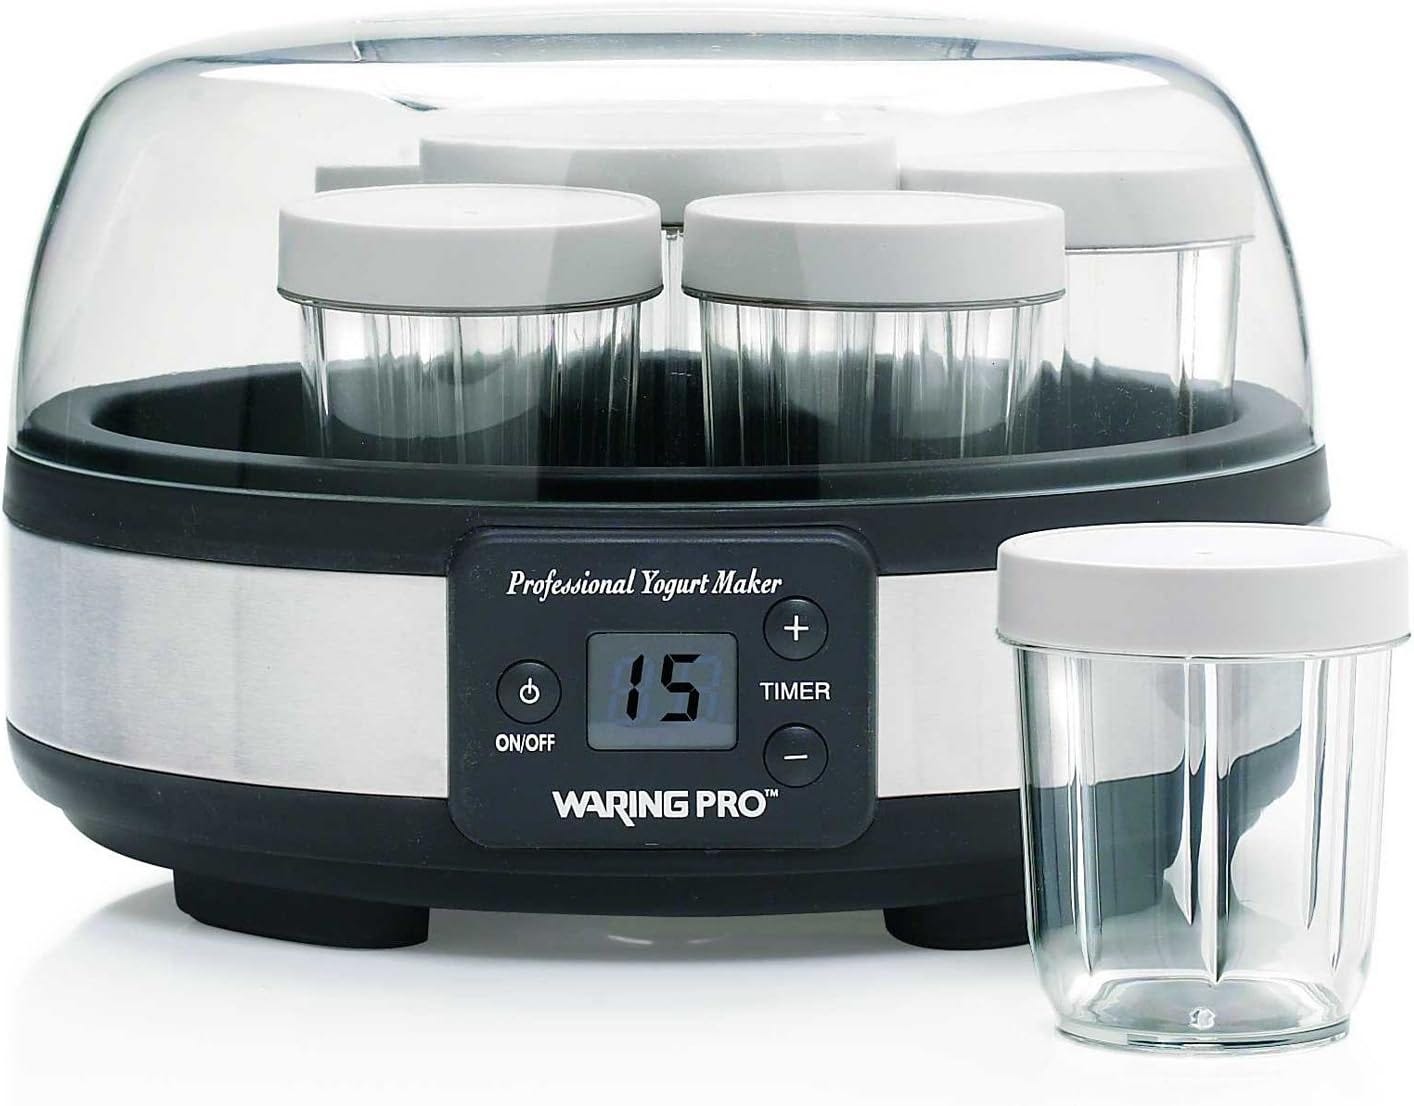
Countertop yogurt maker
I’ve been making my own yogurt for the past couple of years. Not only is it much tastier than store-bought yogurt, but it’s also much cheaper. At my local supermarket, an 8-ounce container of yogurt costs $1. That adds up to $16 per gallon. At the same supermarket, one gallon of low-fat organic milk costs $4.
Since I’m a believer in the power of probiotics (i.e. bacteria is good for your immune system), I usually eat three cups of home-made yogurt a day. That translates to a savings of $2.25 per day, or $67.50 per month — which means my $89 Waring Pro YM350 yogurt maker paid for itself in just a few months. Even if you don’t eat as much yogurt as I do, I recommend you try making it yourself. It’s so easy, and even fun.
Here’s how…
- Pour 4-6 cups of low fat milk into a microwaveproof glass bowl, and heat it until the milk begins to boil. (Boiling changes the milk’s composition so it will solidify when mixed with the starter culture.) If a skin forms on top of the milk, that’s a good sign you boiled it long enough.
- Let the milk cool to the point where you can tolerate holding your hand against the bowl. Remove and discard the milk skin. Add one tablespoon of your previous batch of yogurt (or plain store-bought yogurt if you’re just starting out), and mix together with a whisk. Do NOT add more starter yogurt to the mix in an attempt to speed up the process. Paradoxically, it will only slow down the fermentation (I’ve read that too much starter crowds out the bacteria from doing its job).
- Pour the yogurt into 8- or 16-ounce containers. Do NOT put on the lids yet. If you have an olderstyle oven with a pilot light, you can stick the glass jars in there and allow the warm oven to act as an incubator. Otherwise, use the yogurt maker or a seed-starter warming pad to ferment the milk into yogurt.
- Wait 8-10 hours, then screw the lids onto the jars and place them in the refrigerator. Tip: I like to mix my yogurt with nuts, blueberries, and honey from my beehive. My kids love yogurt, banana, and berry smoothies. — Mark Frauenfelder
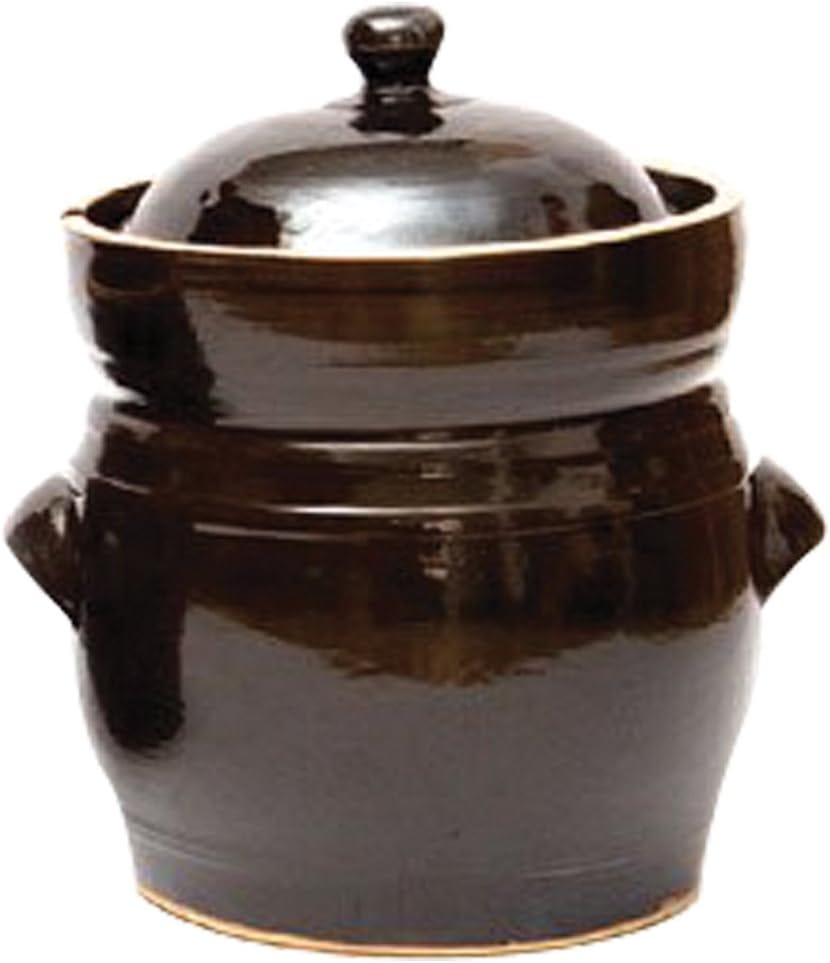
Sauerkraut stoneware
Fermentation Pot — NOT AVAILABLE
After reading the previously reviewed Wild Fermentation, I ended up getting this Polish-made crock pot. It has a lip you fill with water to keep unfriendly bacteria out. Note: If you want weight (recommended), get the 20-liter stone weights, not the smaller ones. Anyway, sauerkraut (great for digestion) is composed of: cabbage and salt, nada mas. Simple! First batch worked great. Centuries-old low tech. — Lloyd Kahn
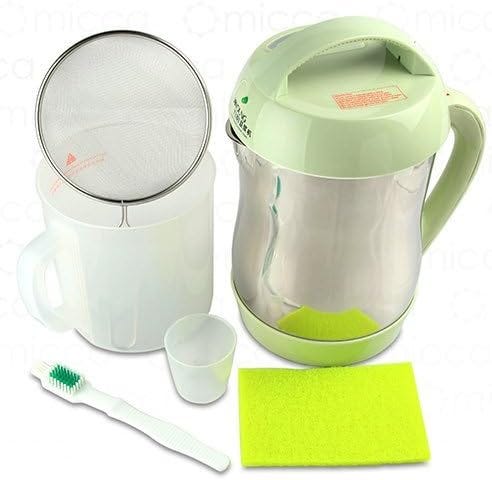
Easy homemade soy milk
I used to buy soy milk from the store in cartons. Aside from the fact it’s heavy (I transport groceries without a car), it comes in a tetra-pack, which is difficult to recycle. More importantly, commercial soy milk tends to include a number of ingredients I can do without, like chalk (calcium carbonate) and guar gum.
Unless you really like mucking with cheesecloth and lots of pots covered in soy scum, you owe it to yourself to buy a soy milk maker. After some research, I settled on the Joyoung CTS1048. This “filterless” model is a major improvement compared to earlier soy milk makers. Other devices require filter cups, which tend to get clogged with gummy okara (soy pulp) and are a terrible headache to clean. Instead, the CTS1048’s immersion blender head is contained inside a small steel cage. From there, the milk strains through a second, basket-style strainer. Clean-up is no harder than what’s required by a food processor.
Since the Joyoung makes 1.6 Liters per run, there’s plenty to serve up hot and/or store in the fridge. It doesn’t take long either, so you can always run it twice. Plus, it only costs around 15 cents a batch. I drink four times as much soy milk now, so the machine paid for itself in two months.
If you’ve never had fresh, hot soy milk, the way the Chinese like it, you’re missing out; it’s rich, foamy and all-around delicious. I always enjoy a warm glass as soon as a batch is done. Bonus: Aside from soy beans, you can add other ingredients. The Joyoung makes excellent coconut milk, for example, which eliminates an often preservative-laden canned good from the kitchen.
During my research, I discovered that most of the more-expensive soy milk makers are just rebranded Joyoung appliances, making the Joyoung the smart and economical pick. This is that rare product I can recommend with no reservations. — Sam Putman
Tip: Before starting, soak the beans until they’re plump. Although the Joyoung features a dry-bean mode, reviewers says the end product is inferior and your patience will be well-rewarded.
10/16/23