I want your input on this newsletter. How am I doing? What do you like? Don’t like? What would you like to see? Help me create a publication that best serves the needs of its readers.
Gareth’s Tips, Tools, and Shop Tales is published by Cool Tools Lab. To receive the newsletter a week early, sign up here.
Comparing Circular Saw Blades
In this Project Farm video, Todd tests 15 different circular saw blades to find out which ones are the best. He tested blades for performance in ripping 2×4 lumber (before and after striking nails) and compared for performance while cutting through oak and ripping an 8’ pressure-treated 4×4. Bottom line? The Makita blade ($10) was best overall. The Spyder also performed surprisingly well for its $5 price tag (at time of testing), although that price is currently over $12 each, so look for it on sale. Doing a web search, I see it’s available at some e-tailers for under $7.
Cutlist Optimizer
Speaking of cutting things. If you have a woodworking project that involves a fairly complicated cut list, there is a free app called Cutlist Optimizer. It allows you to both organize your cut list to better keep track of all of your pieces and allows you to optimize the parts you can get from your sheet goods.
How to Calculate 555 Timer Frequency and Duration
Ah, the venerable 555 chip. One of the most useful and popular ICs in electronics history. Invented in 1971, released in 72, it remains a go-to solution for a myriad of timer, delay, pulse, and oscillation applications. In this Digi-Key video, they cover the steps for calculating the necessary resistor and capacitor values needed to achieve the frequency and signal duration that you’re after in your project.
The Power of Great Reference Books and Knowing the Names of Things
As both a maker and a word nerd (I edited Wired’s “Jargon Watch” column for 13 years), I’ve always tried to impress upon people the power in knowing what something is called. Knowing the proper name for something allows you to look it up, learn about it, track it down (if it’s a tangible object). In this Adam Savage video, he harps on the same thing. He does so while extolling the virtues of a book he recently discovered and loves, the Backstage Handbook. This visual technical reference is for stagecraft, but most of its contents–divided into tools, hardware, materials, shop math, electrics, and architecture–can be applied to all manner of making. You you get to learn the proper names for all of the tools, hardware, and materials it covers. Magic!
TOYS! StylusReach Flexible Flashlight
Cool Tools has launched a new newsletter called Tools for Possibilities. Every week, subscribers get sent a page from the CT book: Cool Tools: A Catalog of Possibilities. I was tickled to see that the first page I was sent had a review that I wrote on the StylusReach flashlight. The Cool Tools catalog was released in 2013. Nine years later and I still have, use, and love this flashlight. Good tools do that.
Newsletter reader Paco Hidalgo sent this in response to the piece in the last issue on water and baking soda as a CA glue accelerator.
“I first tried the Zip Kicker CA accelerator and found its smell very disagreeable, nauseating, and the spray bottle made it very difficult to apply just a small drop. I later leaned that cyanoacrylate glues “set” (polymerize) by the mere presence of trace amounts of water vapor in the atmosphere. This infographic explains.
“So, I concluded that if that is the case, then liquid water would certainly accelerate the polymerization. I found that just a drop of water from a toothpick or needle onto a blob of the glue does indeed accelerate the setting process. I never heard of using baking soda but that would add a foreign material to the bond. Why do that? [See comment below] There would be no reason to mix baking soda with water since water alone does a good job.
“BTW: A ‘secret’ that I learned from the guy at the counter of a mall hobby shop, is that CA glues will keep indefinitely in the freezer. I think the dry environment prevents the glue from polymerizing. The manufacturers don’t want you to know that so they tell you not to freeze their glues. I keep partial bottles of different types of CA glue, including LOCTITE, sealed inside a ziploc bag in the freezer that are at least 10 years old. I can take a bottle and use it immediately without waiting for it to come to room temp. It is liquid and works just as fast. I wipe the tip with acetone after each use and keep a common pin in the narrow opening so it doesn’t clog.
“I keep all my solvent glues, including Lexel, E6000, and Goop in the freezer too, with the same result. I think the cold environment keeps the solvent from evaporating and escaping from the imperfect seal that normally shortens the shelf life. I keep epoxy glues in the refrigerator. This is enough to prevent them from self-polymerizing.”
[Just to clarify: Baking soda is commonly used by itself as an accelerator, especially in the hobby/modeling communities. Besides being an accelerator, it adds more structure to the join. Large amounts of baking soda can be added to CA glue to create a very hard material. This soda and CA combo as a structural material is common among luthiers repairing bridges and fret boards. It can be sanded, drilled, etc.]
Become a Patron!Support our reviews, videos, and podcasts on Patreon!
Cool tools really work.
A cool tool can be any book, gadget, software, video, map, hardware, material, or website that is tried and true. All reviews on this site are written by readers who have actually used the tool and others like it. Items can be either old or new as long as they are wonderful. We post things we like and ignore the rest. Suggestions for tools much better than what is recommended here are always wanted.
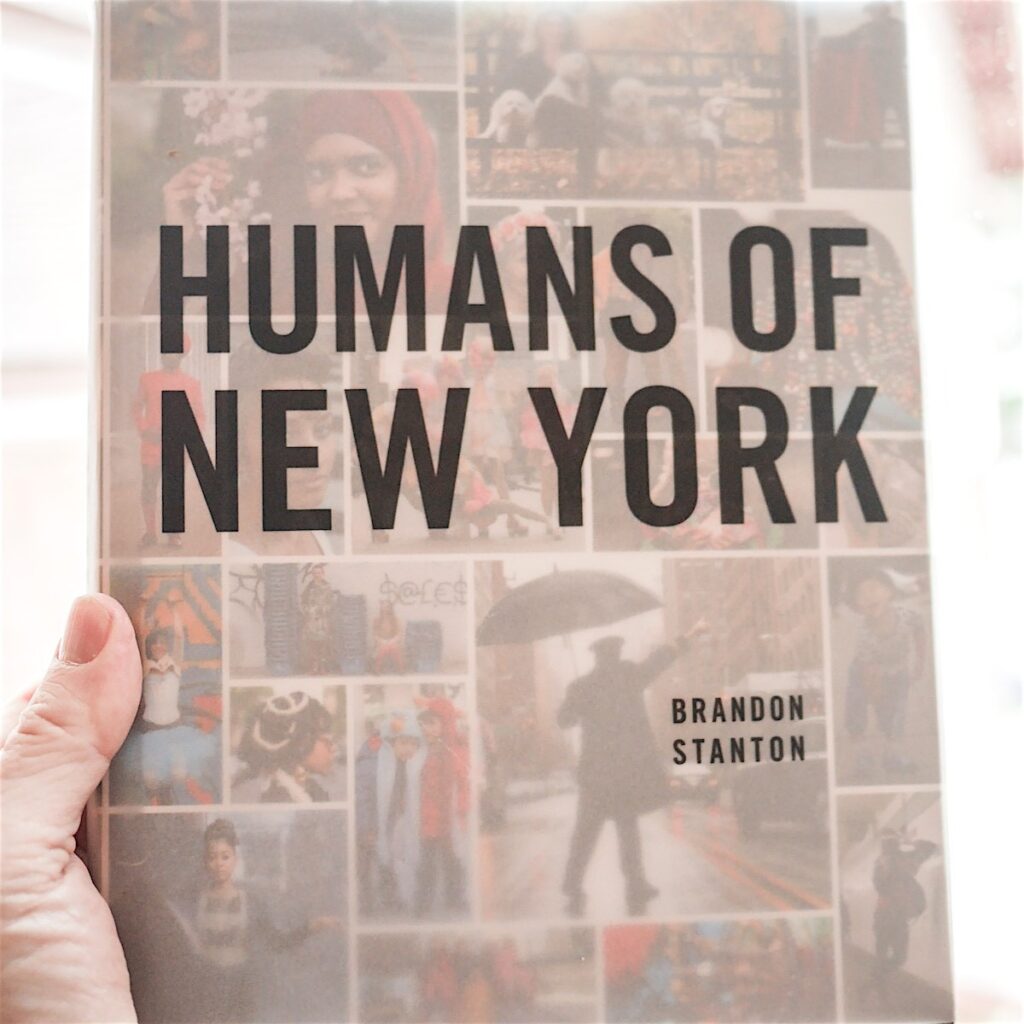
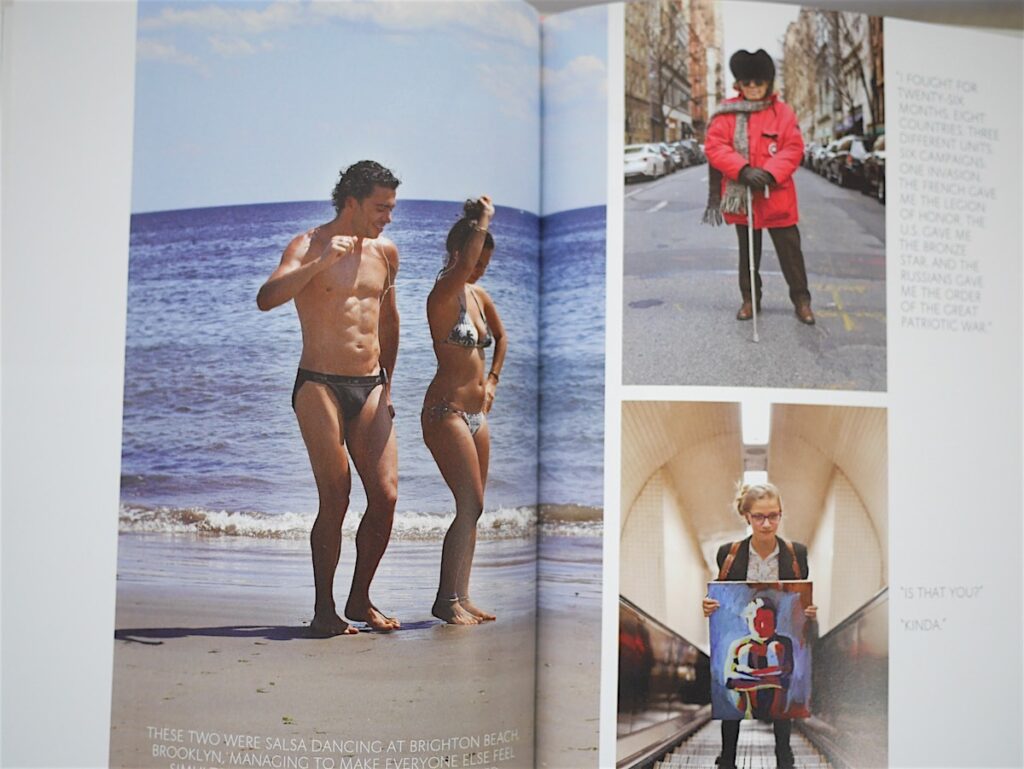
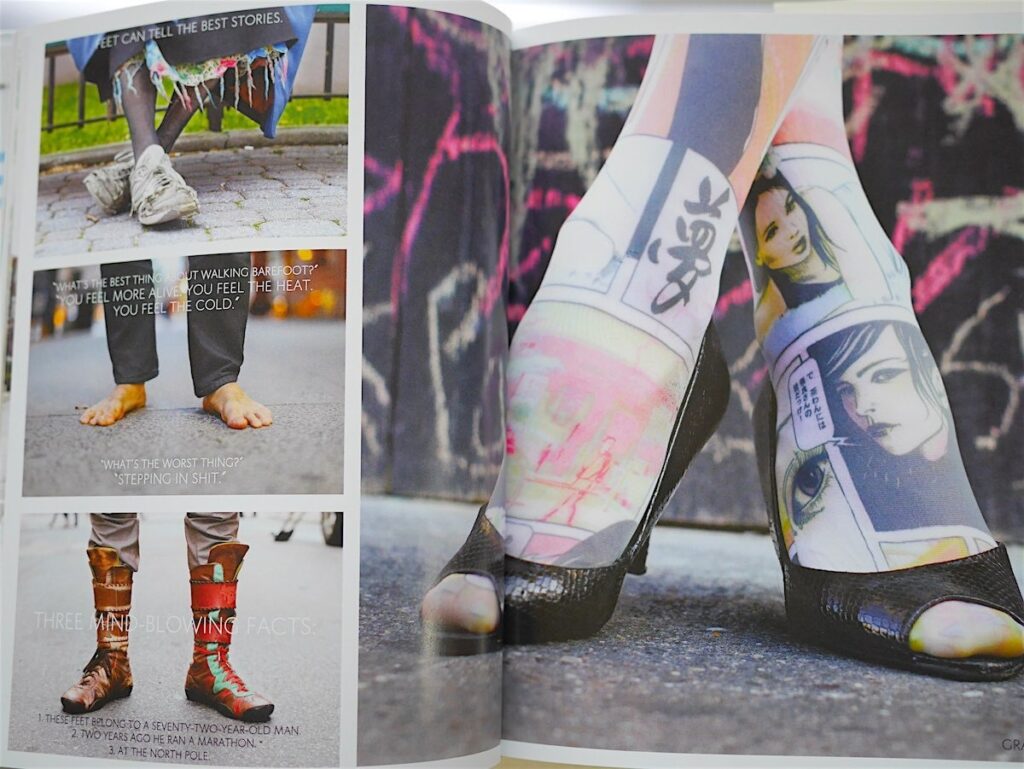
Brendon Stanton started photographing random strangers in New York City in 2010. He treated each of them like a celebrity, portraying them in a classy portrait on the street. He then added a little bit of their life story in their own words. These mini-autobiographies were the secret sauce that transformed random snapshots of strangers into a remarkable series of portraits of real people that you could connect with. Brandon posted his photos-plus-bio on his blog, Humans of New York, which quickly went viral on social media until he had millions of followers. The 400 best of his portraits were fan-funded into this printed book. – Kevin Kelly
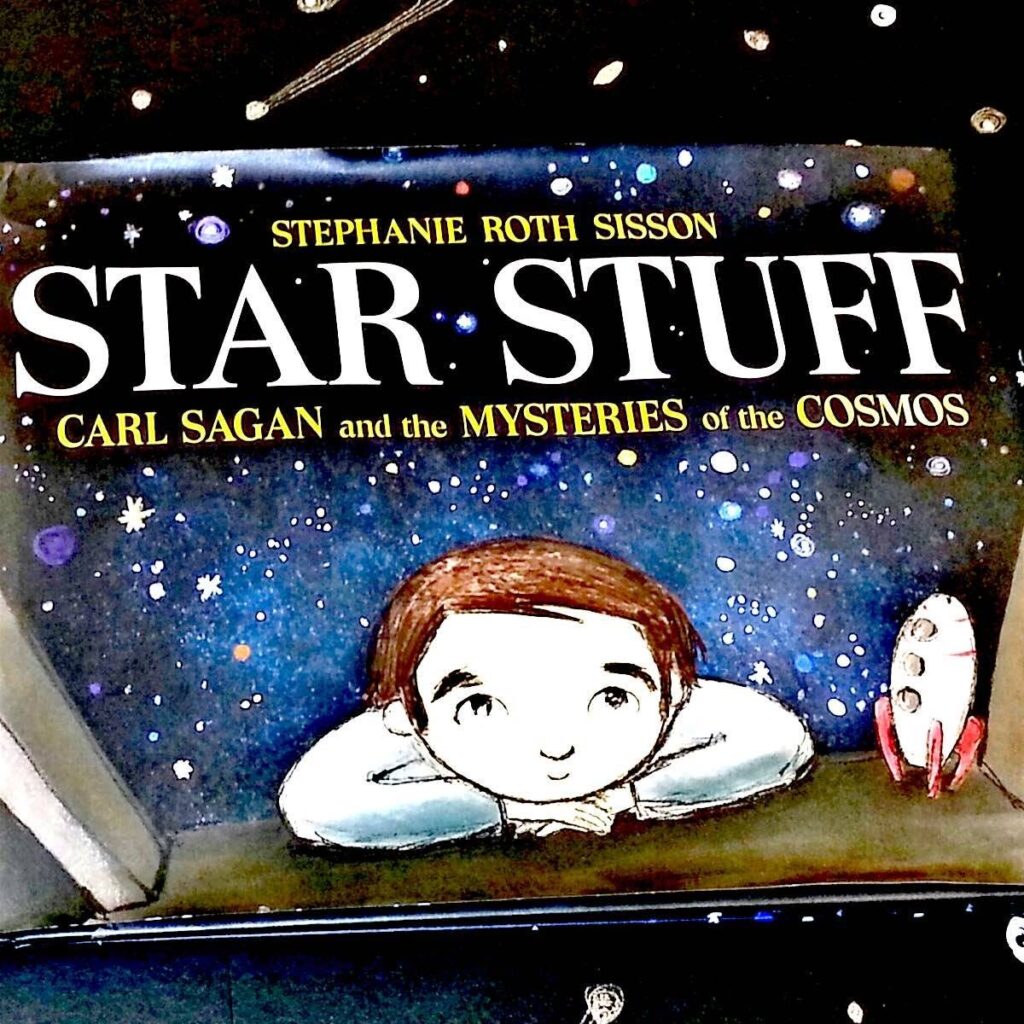
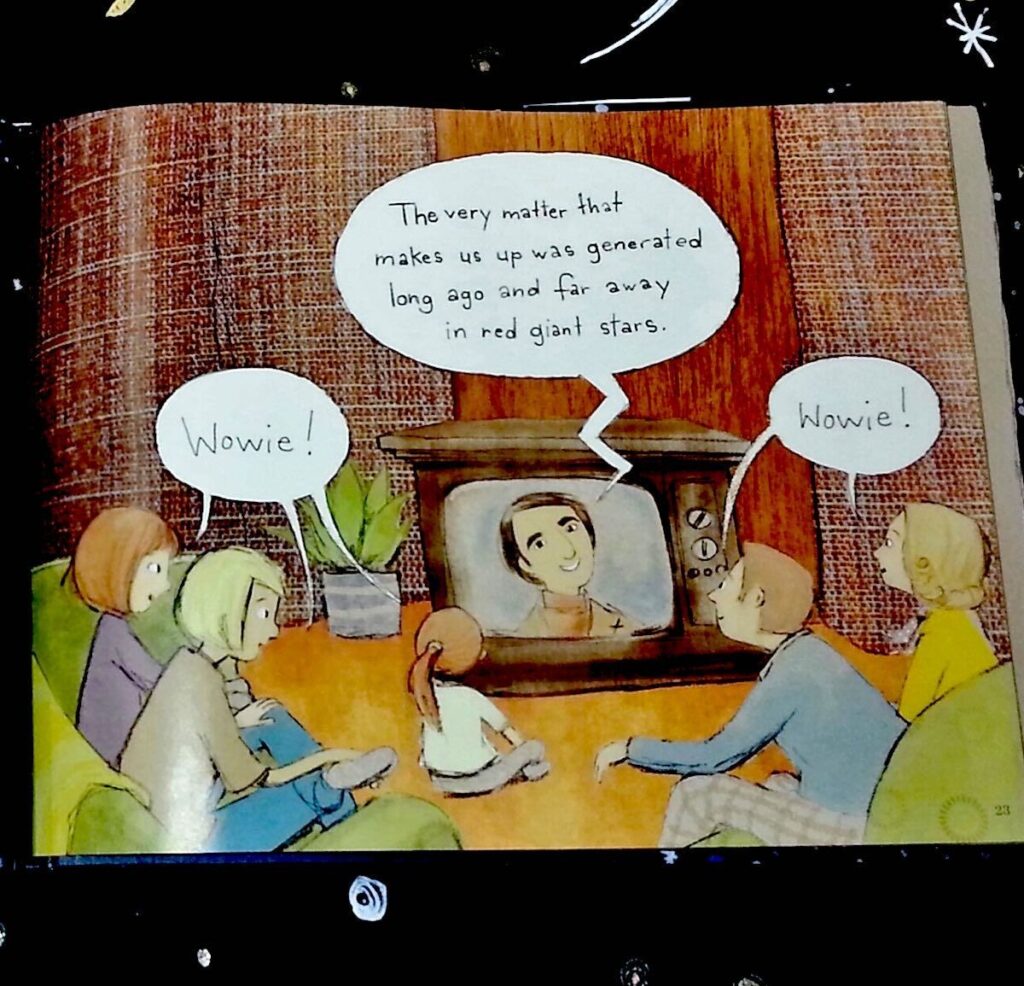
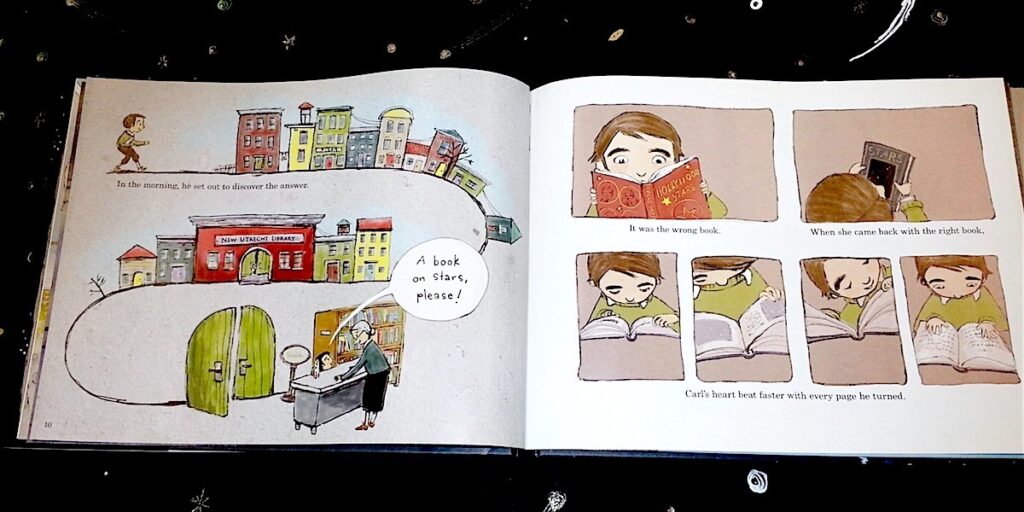
STAR STUFF: CARL SAGAN AND THE MYSTERIES OF THE COSMOS
Star Stuff: Carl Sagan and the Mysteries of the Cosmos by Stephanie Roth Sisson Roaring Brook Press 2014, 40 pages, 8.8 x 11.4 x 0.4 inches
A popular Internet meme pairs a photograph of astrophysicist and humanitarian Carl Sagan with that of reality show star and shrill media figure Nicole “Snooki” Polizzi. The caption states, “If you don’t know who this is… (referencing Sagan) …but you know who this is… (Snooki) …Congratulations! You’re what’s wrong with the world!” Certainly a bit harsh and overstated, leading another Internet blogger to modify the last part of the meme thusly: “That’s a real shame! Why not Google ‘Carl Sagan’ and learn all about him? Read his books, watch his shows and be inspired!”
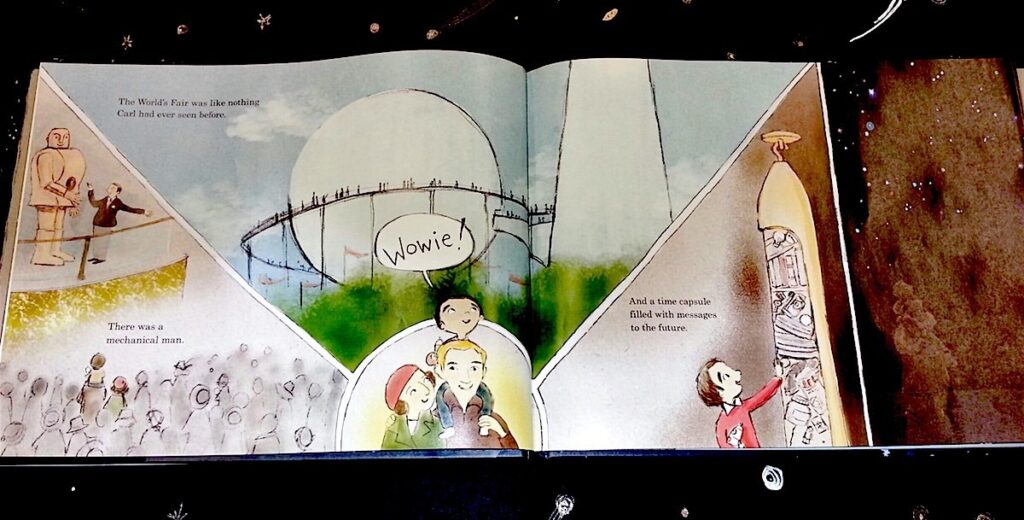
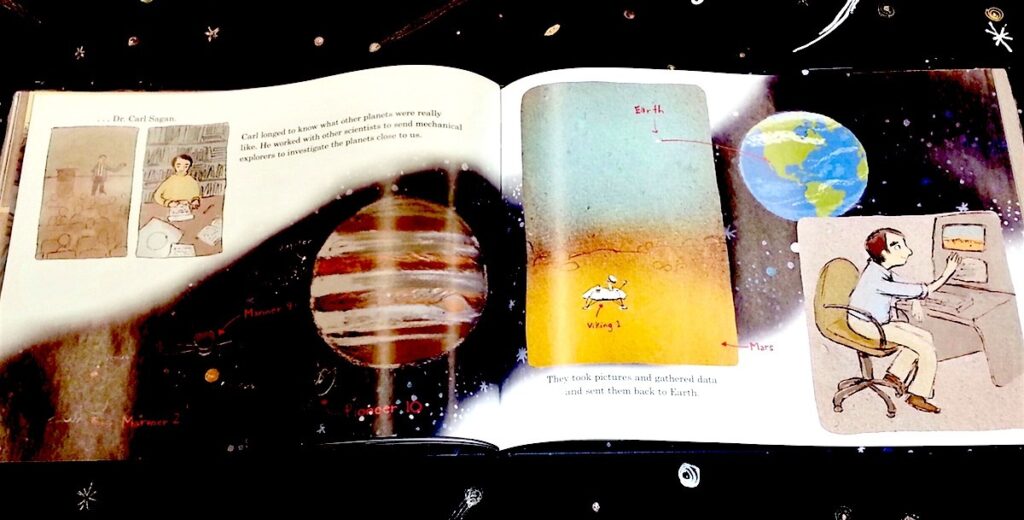
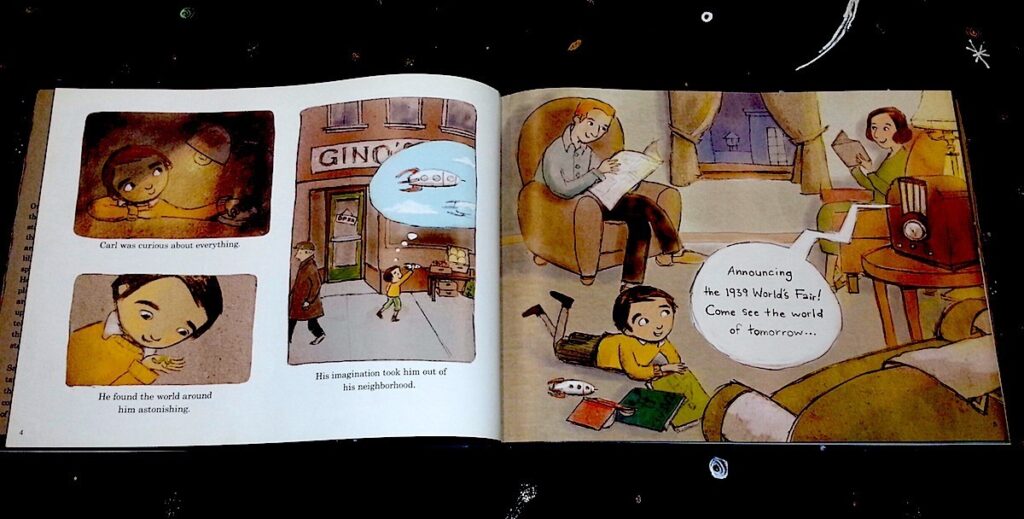
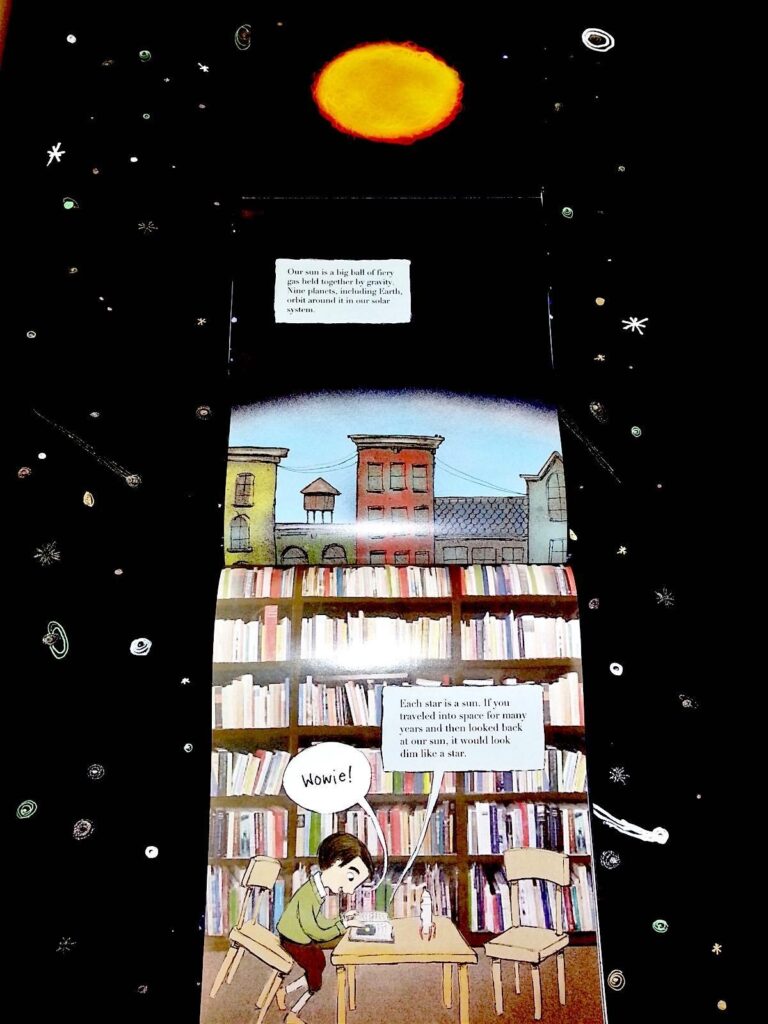
Reading is one sure path to inspiration, which prompted Stephanie Roth Sisson to write her children’s biography of Carl Sagan. “Carl Sagan was able to ignite imagination and wonder and pull science out of the antiseptic staleness that existed in my classroom,” states Sisson on her website. “[He] made it relevant to me and millions of people around the globe.” Star Stuff covers everything from its subject’s Brooklyn boyhood and how his love for science began at the public library and the 1939 World’s Fair, to his work with NASA, the release of his seminal PBS series Cosmos and his role in founding the SETI Institute (Search for Extra Terrestrial Intelligence) to find life in the universe. The illustrations are playful and engaging, and the text is quite accessible. As a special education teacher, I shared the book with my class which led to their writing a paper about his life and work. The book has since become a student favorite and a staple of my regular curriculum.
Parents and teachers who want to get even more out of sharing this beautiful book with their kids might want to pair it with this video of the humble Dr. Sagan teaching a class of children at his elementary school alma mater here. Truly, a reminder of what an inspired intellect and great soul the man was. – Lee Hollman
Books That Belong On Paper first appeared on the web as Wink Books and was edited by Carla Sinclair.Sign up here to get the issues a week early in your inbox.