In this TronicsFix video, Steve buys 7 broken NES game cartridges, priced from $5 – $30, to see how hard it is to fix them. Most of the repairs come down to cleaning the “golden finger” contacts on the edge of the circuit boards and Steve finds that a combo of pink eraser, IPA on a Q-tip, and a metal polishing cloth does the trick. One game had badly corroded pins on a chip and was therefore DOA, another had a short in one of the chips (same), a few required jumping wires to repair broken copper traces. But, in the end, only a couple of the games were beyond basic repairs.
Awesome Woodworking Tips from Lloyd Khan
When I was a teen, I was obsessed with the Whole Earth Catalogs and completely enamored with the work of often-featured designer-builders like Jay Baldwin, Greg Baer, Malcolm Wells, and Lloyd Khan. Khan was responsible for the very WEC-like outsized Shelter publications, featuring crazy, cool, and arty owner-built dwellings. Lloyd is still around, still doing his thing. His Instagram is worth a follow. This particular post is loaded with a number of high-quality construction tips.
Getting to Know the 555 Timer Chip
In this DroneBot Workshop they provide a clear and concise 42-minute introduction to the ubiquitous and versatile 555 timer chip. They discuss how the 555 works, its various modes, and some of the basic projects you can use it in.
A Chemist Explains How Super Glue Works
Brent, of the excellent game crafting and miniature painting channel, Goobertown Hobbies, also has a Ph.D. in chemistry. In this video on his channel, he explains the chemistry behind cyanoacrylate (aka Super Glue) and how the glue actually works.
Electroplating 3D Prints
Via Donald Bell’sMaker Update comes a recommendation for this article on Makezine about how to create faux chrome finishes on 3D prints. The process involves lots of sanding and smoothing of the print, a spray with a copper conductive paint, then an electroplating bath. The results are pretty spectacular.
Testing and Ranking Heavy-Duty Staplers
In this Project Farm video, Todd tests out 14 different brands of heavy-duty staplers. He looks at units from Makita, Milwaukee, Ryobi, Arrow, DeWalt, WorkPro, Bauer, Neu Master, Ework, Bielmeier, Stanley, and Citadel. The staplers were compared for resistance to jams, stapling speed, capability to drive staples into spruce, oak, and composite decking. Bottom line? The Ryobi performed very well and offers the best value, at $84 (at time of testing). The stapler that tested best overall was the Makita, at a whopping $210 at time of testing.
Shop Talk
Newsletter reader Paul Cryan asks:“How do you know if a tip you’ve come across is original enough to report?”Good question, Paul. A lot of it comes down to experience and intuition. I’ve been writing in the DIY space for over 30 years, so I have some sense of the saturation of tips and techniques that are shared. But ultimately, I don’t sweat “originality” as much as I do practicality. If it’s a great tip, even if it’s been around for a while, even a very long while, it’s worth sharing with those for whom it’s new and as a reminder to those who may already know it. I see tips all the time that serve as a reminder for me to finally break down and try it out (or bring it back into my work flow).
***
I got a lot of responses to my “Shop Talk” post about areas of DIY where you say “Hell, no, get me a pro.” Everyone seemed to be on the same page. Reader Craig best summarized the responses I received:“My dad did almost no home or auto repairs. Not because he didn’t know how, but because he freakin’ hated doing them. Mom, however, might have been able to build a house with a pocketknife and a pair of vise grips. She just had skills…lots of them.”I have done a wide spectrum of things but as I’ve gotten older, I triage everything:If I want to try something, I do.If I don’t want to, I don’t.If it absolutely must be done and I don’t want to do it, I hire it out.No guilt, just a depleted treasury.”
Become a Patron!Support our reviews, videos, and podcasts on Patreon!
Cool tools really work.
A cool tool can be any book, gadget, software, video, map, hardware, material, or website that is tried and true. All reviews on this site are written by readers who have actually used the tool and others like it. Items can be either old or new as long as they are wonderful. We post things we like and ignore the rest. Suggestions for tools much better than what is recommended here are always wanted.
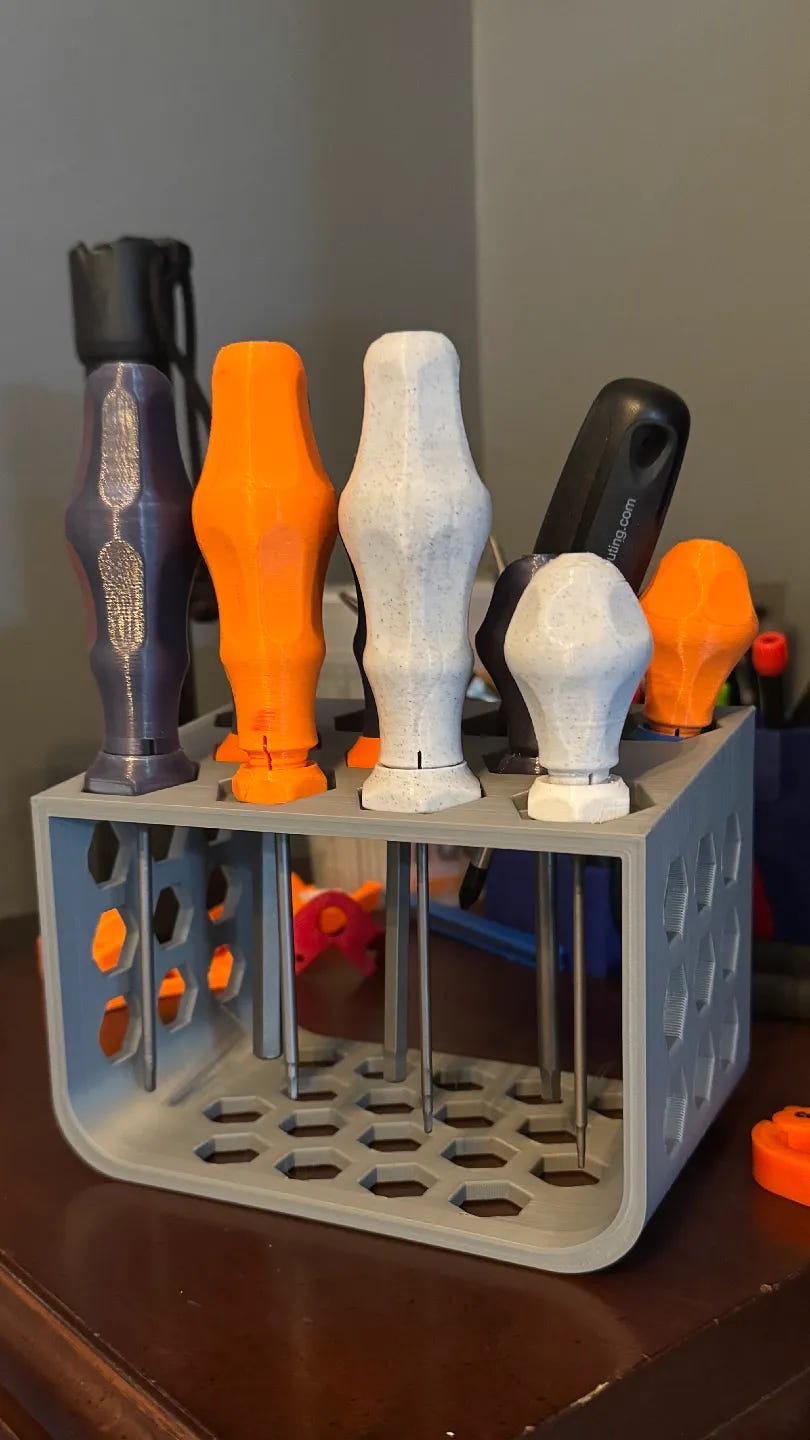
Every tool has two functions. One is the job it was designed to do (aka the business end). The other is how it interacts with you, the user. Manufacturers optimize the first and often don’t give enough thought to the second. For those with ability issues, it’s often on you to buy or DIY a better human interface.
The goal isn’t just comfort. A larger, softer handle spreads the force across more of your hand, reducing the amount of squeezing your fingers have to do. That means less pain, less fatigue, and, perhaps most importantly, more time spent making things than recovering from making things.
There are all sorts of ways you can create custom, ergonomic handles. Here are a few approaches worth exploring.
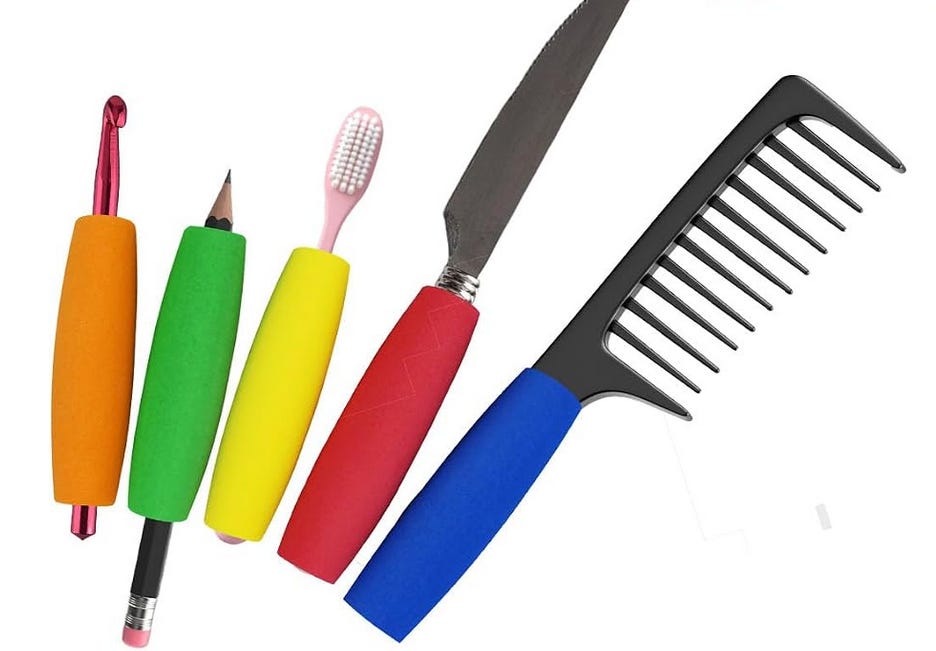
Foam Grip Tubing
This is the simplest place to start. Occupational therapists have been recommending foam tubing for years. The tubing slips over existing handles, instantly increasing their diameter while adding a layer of cushioning. It’s inexpensive, easy to cut with scissors, and available in different sizes and colors. It works on everything from screwdrivers and paintbrushes to knitting needles, gardening tools, kitchen utensils, and pens. It isn’t glamorous, but offers a real comfort upgrade for only a few bucks.
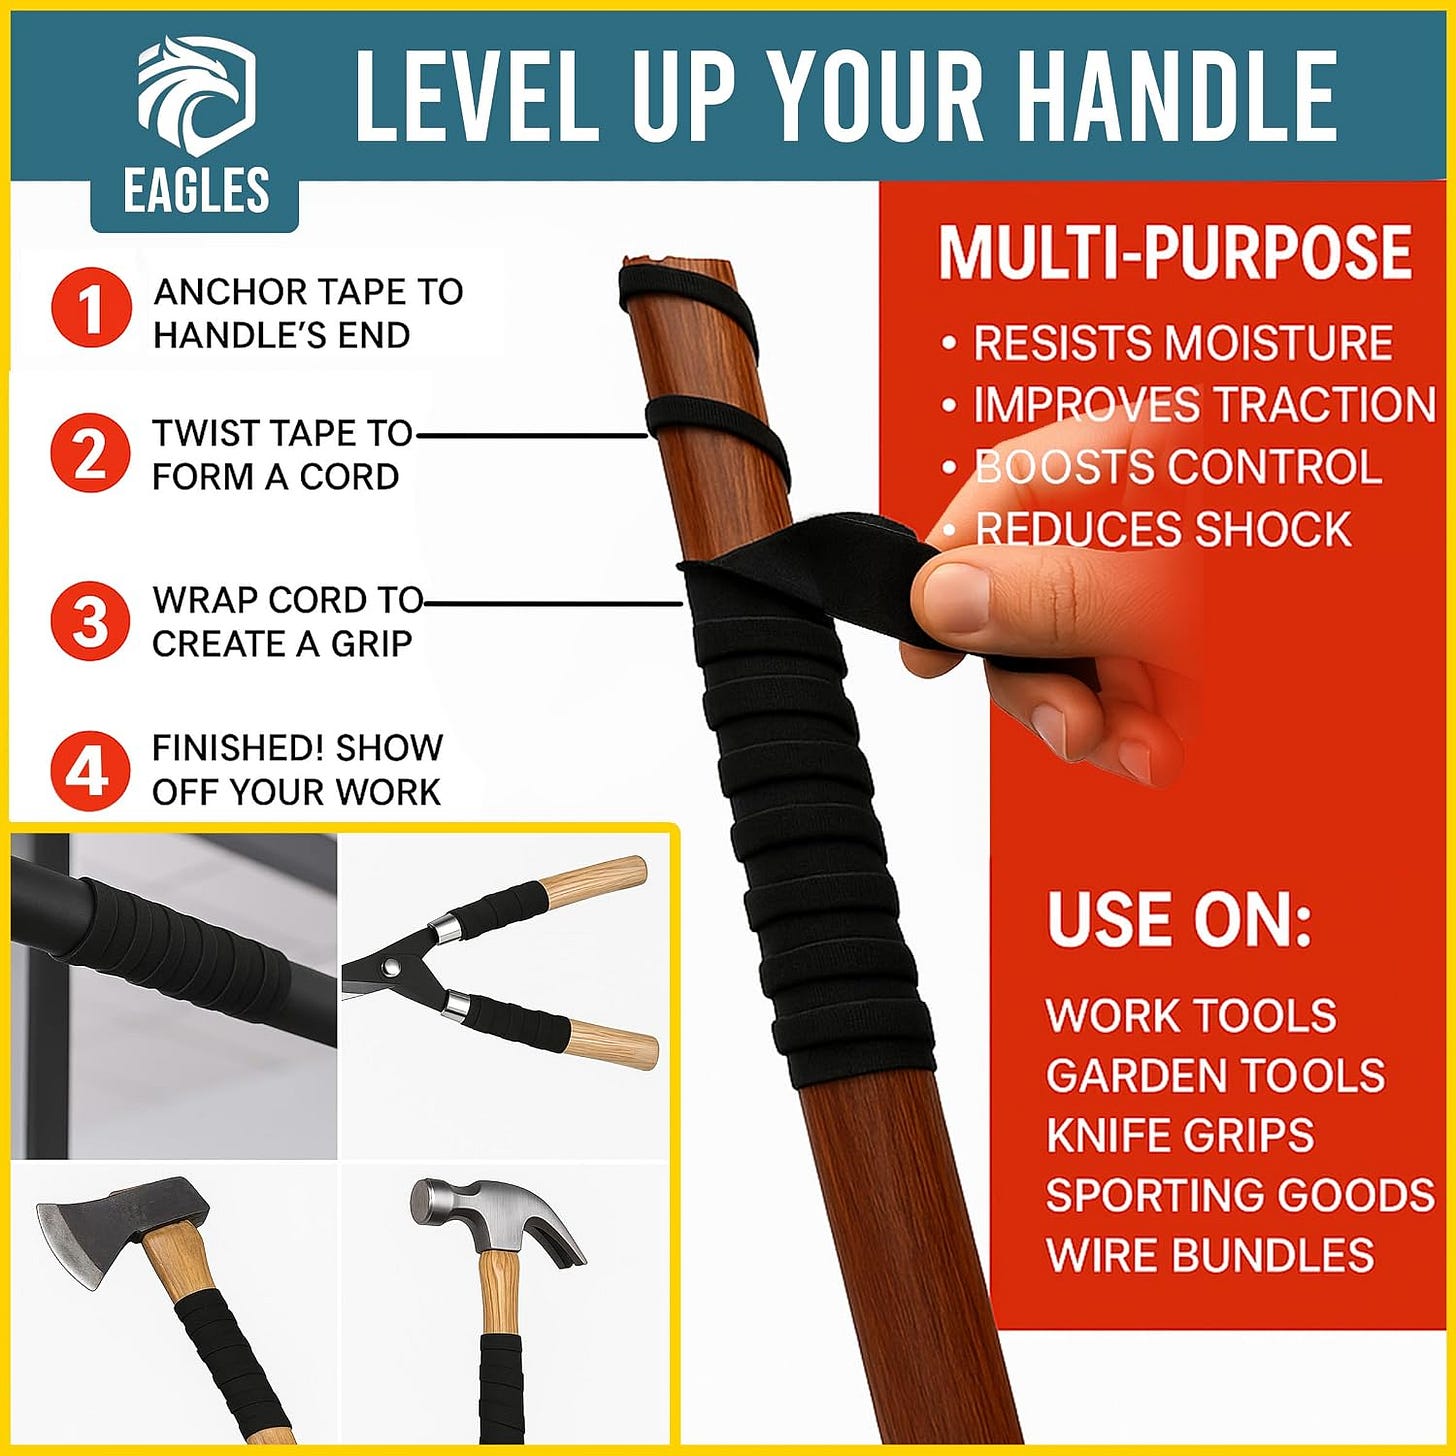
Self-Adhering Wrap
You’ve probably seen the stretchy wrap used to wrap hockey sticks and other sporting equipment. That same material makes an excellent custom tool grips. Add layers until the handle feels right to you. It’s inexpensive, washable, and gives you complete control over the final shape. And when it wears out, you just remove and re-wrap. Self-stick bandage tape also works. Here’s a video of that approach in action.
Heat-Shrink Tubing
For a cleaner, more permanent solution, consider heat-shrink grip tubing. Slide it over the handle, warm it with a heat gun, and it contracts into a snug, durable covering. It looks surprisingly close to a factory-installed comfort grip and stands up well to regular shop use and abuse.
Mold Your Handle to YOU
This is where things get truly personal. Several products let you create a grip that’s custom-shaped to your own hand.
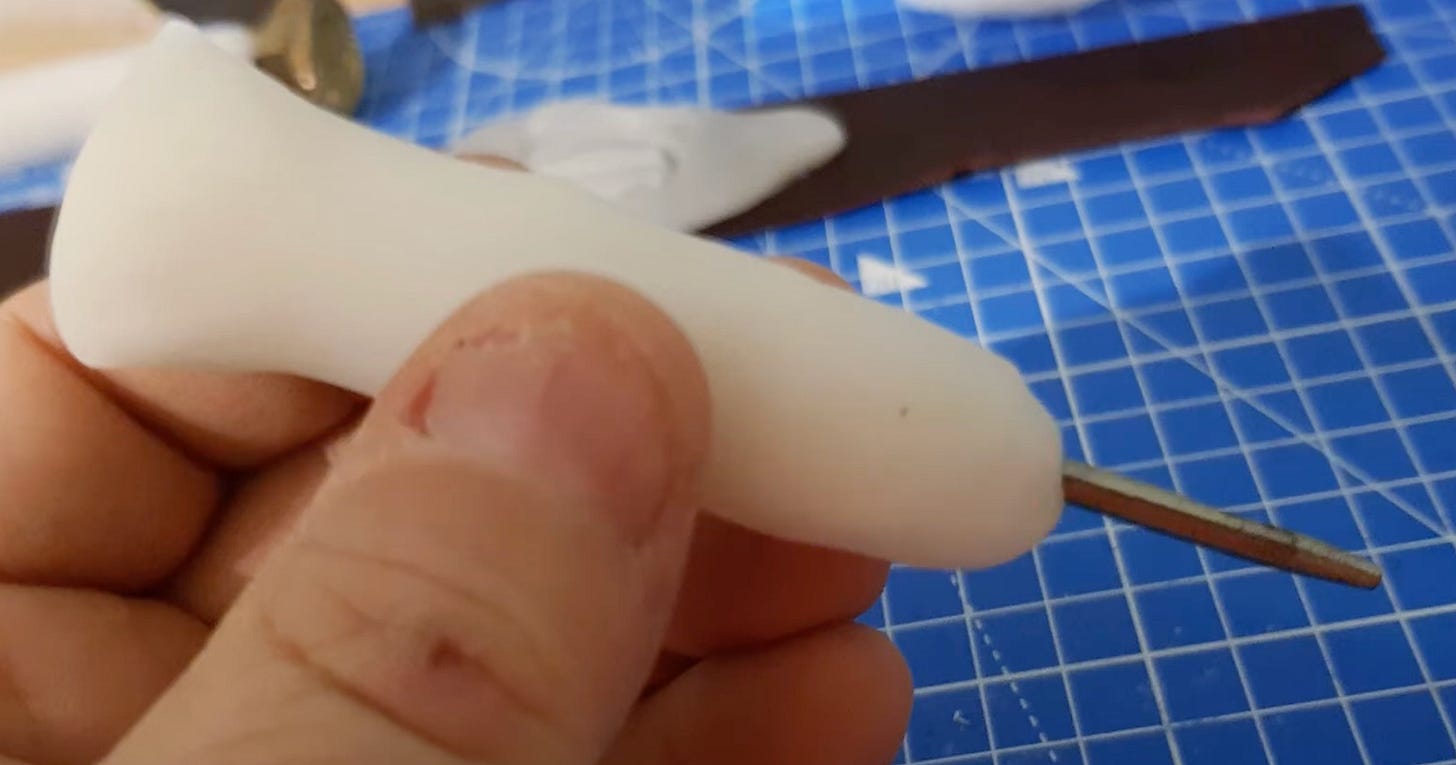
Sugru is a moldable silicone putty that stays workable for about half an hour before curing into flexible rubber. Wrap it around a handle, grip the tool naturally, and your fingers create a perfectly fitted handle. The next day, you’ve got something that feels as though it came from a custom orthopedic workshop.
Another option is moldable thermoplastic pellets, sold under names like Polymorph, InstaMorph, and Polly Plastics. You just drop the pellets into hot water and they become soft enough to mold like clay. Here’s a quick video on making a basic handle with Polymorph.
One of the great joys of being makers is that we have the knowledge and wherewithal to modify our environment to fit our needs. Our tools deserve the same attention. If a handle hurts, don’t assume you’re the problem. Redesign the handle.
Have you modified a favorite tool to make it easier for you to hold? Did you invent a grip using something unexpected? Send me a photo and tell me what worked. I’d love to see your solution.
DiResta’s CNC Tips
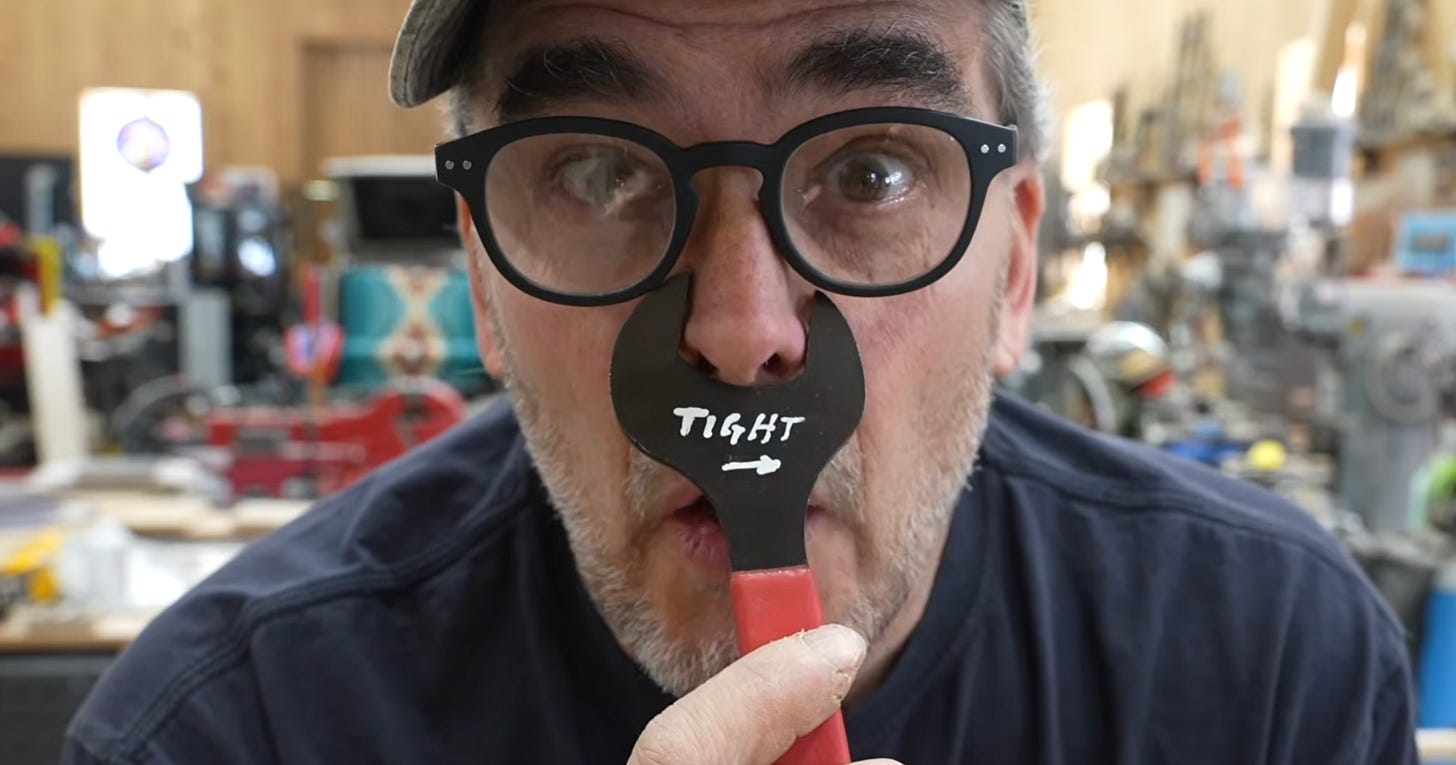
I always love when JimmyDiResta does these tips videos and he hasn’t done one in a while, so I was thrilled to see this latest installment on CNC Tips. In it, he covers a broad range of tips, from the basic to “woah!”-level ideas. Some of what he covers: Cutting a shallow placement outline into the spoilboard first, drawing the cutter diameter into your CAD drawing before machining to check for clearance, modifying the Z-zero plate with multiple stepped reference depths, using wedges for work-holding instead of elaborate fixtures, inspecting V-bits with a cheap digital microscope, and raising or lowering Z-zero by a business-card thickness rather than immediately changing toolpaths.
And my favorite of the video, a real “Why didn’t I think of that?,” marking “TIGHT —>” on your collet wrench.
https://www.youtube.com/watch?v=SNsoRWza7G4
Building a Dream Desk
https://www.youtube.com/watch?v=R1ul9iBhpVM
Most of us electron wranglers spend the majority of our waking lives at a desk, our eyeballs glued to a screen, our fingertips softwired to a keyboard. Like when you realize that you spend a third of your life in bed and decide to invest real money in a great bed and bedding, Morley Kert, in this video, realizes that, given all the time he spends at a computer desk, it’s worth building himself the ultimate workspace. And for him, besides a generous L-shaped desk, that meant drawers, drawers, and more drawers.
The video walks through every step of his process, from planning and building the desk to constructing over 80 drawers (he built the cabinet bodies and then 3D printed the drawers themselves), through the final finishing and assembly.
My biggest takeaway from this video was the inspiration to seriously rethink my own work desk setup and to not be afraid to invest real time and money in my desk’s comfort, convenience, and usefulness.
I now have well over 10,000 subscribers to this humble little newsletter. And 50 paid subscribers. A million thanks to all of you. Doing this newsletters is a true joy for me and I especially like feeling like I’m connected to a community of fellow makers. Thanks to everyone who’s sent me an email, made a comment, shared a tip or tool. Let’s keep the ball rolling for another 200 issues!
If you want to financially support this work, please consider a paid subscription. It helps keep me in Pocket Notebooks. I appreciate you.
A very special thanks to Hero of the Realm subscribers: Moses Hawk, Jim Coraci, Donobster, Peter Sugarman, and Will Phillips for your generous support.