Gareth’s Tips, Tools, and Shop Tales is published by Cool Tools Lab. To receive the newsletter a week early, sign up here.
I want to grow my subscriber base. To aid in this, I’m announcing a Holiday Giveaway Challenge. I’ll be giving away a bundle of inscribed copies of both of my tips books (Vol. 1, Vol. 2) and three of my favorite everyday tools: The Williams ratcheting screwdriver, the Canary cardboard cutter, and a plastic razor blade. To be eligible for the drawing, you need to convince three people to sign up for my newsletter (and then email me their names). If you sign up 5 (or more), you get two entries in the drawing. Contest ends Midnight, Dec. 11. Sorry, but this contest is US-only!
Force Conversion Calculators
On Digi-Key’s website, they have a set of calculators for converting between various units of physical force (newtons, gram-force, metric ton-force, and others). So, the next time you need to covert between Sthène and Poundal…
Torture-Testing Bench Vises
Bench vises are one of those common tools where people rave about the cheap ones available at Harbor Freight. I’ve always wondered how true this was. So, seeing this Project Farm video, I was anxious to know how the Freight would fare. Todd tested the following brands: Heuer, Ridgid, Yost, Wilton, Baileigh, Irwin, Forward, Central Forge, Olympia, Myoyay. Vises were tested for clamp load, durability from impact, anvil durability, and clamp load failure point. This is one of the few Project Farm videos I’ve seen where Todd pushed the tool to complete failure.
Sure enough, the $69 (at time of testing) Harbor Freight vise (Central Forge) performed amazingly well. Not surprisingly, the $500 (at time of testing) Heuer was best overall. Now that I see this testing, I’m definitely going to grab a Harbor Freight vise. When we moved to California last year, I left my two vises on the east coast and I’ve been missing having one (beyond my Dremel hobby vise).
The Basics of Photochemical Machining for Precise Parts
In this Applied Science video, Ben provides a nice and thorough introduction to photoetching small, precise metal parts, aka photochemical machining. The process is involved, not really for beginners, and this is a work-in-progress video. But, because there aren’t any vendors out there (that I’m aware of) providing this service for small-batch photochemical machining, this video is a way in if you need to consider creating such small, precision metal parts on your own.
Bringing a Rusted Cast Iron Skillet Back from the Dead
Over on Boing Boing, Mark Frauenfelder shared this video on one of the many processes (basically they’re all the same with some variation) for reviving a completely rusty cast iron skillet. Years ago, I decided to revive the 3 very rusty skillets I had in the bottom of my pots and pans cabinet. I watched several videos and followed a similar process. It was so satisfying to bring these decades-old kitchen tools back to life.
The Existential Pleasures of Restoration and Repair
Good as new!
Speaking of kitchen tools, my wife’s handheld mixer died recently. I heard it seize up as she was making something downstairs. We could’ve just bought a new one (this thing is ancient), but I really wanted to fix it, especially as she told me of its lineage. This is the first and only mixer she’s ever had. Every holiday feast was made with this mixer. She raised her kids on this mixer. Her sister gave it to her. As I like to say, tools always come with stories, and this one has great stories. I took it to my workbench, took it apart, and had a look. I quickly discover that the wormgear that transfers the motor’s spin to the beater gears was frozen. Some WD-40 and and few gentle twists with the needle nose and it was working again. Easy! The beater ejector had long ago broken, so I fixed that, too. The mixer was filled with decades of dust, batter gunk, and thickened oil. I took everything apart, cleaned it, inside and out, and put it all back together. This process was an act of love, for my wife, and also for the stories this mixer tells. And now, will continue to tell.
Noteable Quotables
“I always work at the edge of what I understand.” -Musician, artist, Brian Eno
“There is nothing worse than a brilliant beginning.” –Pablo Picasso
Shop Talk
Paul Cryan writes:
Watching the Stumpy Nubs vid on oscillating tools, I thought about getting mine out and seeing if it could solve some of my “learning issues” with 3D printing. Not only did my Dremel Multi-Max MM40 fit with a Diablo HCS flexible adhesive scraping blade do beautiful work cutting away support material from PLA prints, but I’m pretty sure it will work to get those stubborn PETG prints to release from the PEI print surfaces I’ve got on all my printers. To my surprise, at a shallow angle of attack (e.g., < ~30 degrees) the oscillating adhesive blade doesn’t seem harmful to the print surface, despite its keen front edge, and it wiggles under really stuck PETG. As pointed out in the Stumpy Nubs video, the oscillating blade can be grabbed without danger. I think it might become my new favorite way of releasing sticky 3D prints so that I don’t damage the surfaces of my printers.
***
Reader Kristian Reinhart (who was the winner of last year’s holiday tips challenge) sent a batch of new tips. Here are a few:
* The quickest non-chemical way I’ve found to clean up the surface of 3D prints (especially flats or edges on FDM prints) is using a snap-off blade and scraping over the surface. Much less hassle than sandpaper. Card scrapers, especially small ones, also work great, and depending on their shape and the shape of the print, shape do so far better than the snap-off blades, but they’re not as ubiquitously available and require maintenance.
* When lending tools or other things, I take a picture and edit it to write down the name of the recipient, then I store those pictures in a separate folder on my phone. That way, I always know exactly what I lent out to whom, and from the date of the picture, when.
Become a Patron!Support our reviews, videos, and podcasts on Patreon!
Cool tools really work.
A cool tool can be any book, gadget, software, video, map, hardware, material, or website that is tried and true. All reviews on this site are written by readers who have actually used the tool and others like it. Items can be either old or new as long as they are wonderful. We post things we like and ignore the rest. Suggestions for tools much better than what is recommended here are always wanted.
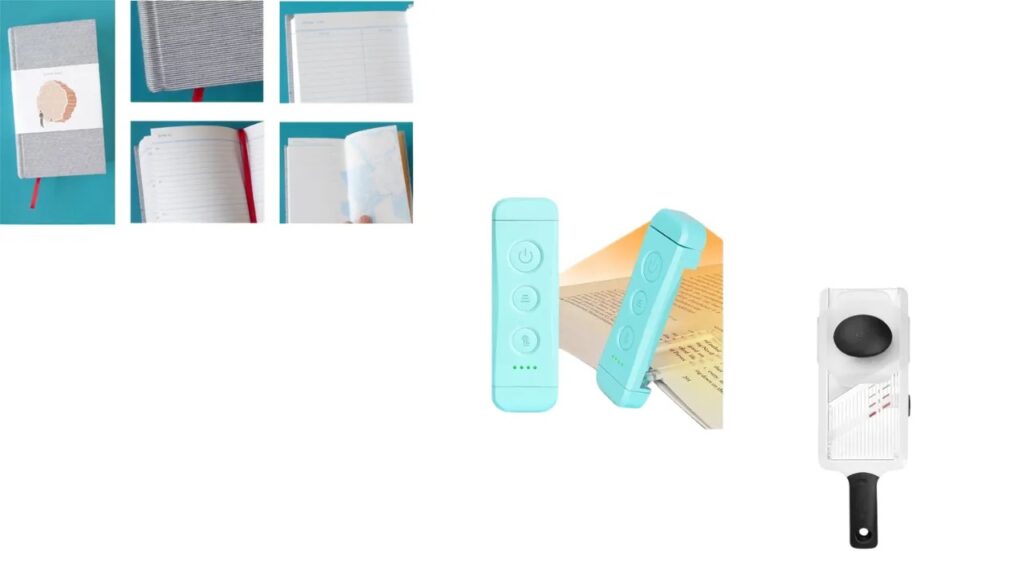
Five year diary- only a couple sentences a day, but the perspective that emerges once you are into the second or third year is incredible. Like, it turns out everything bad happens to me on December 11. Everything good is first week of April. I’m on year 7.
Reading light (bookmark style from Glocusent) - this tiny thumb drive of a nightlight saves me from looking at my phone if I’m awake in the night, with warm and cool settings and different brightness.


 Good as new!