Gar’s Tips & Tools – Issue # 167
Special Issue: Ten Top Tips That Will Change Your Life
Gar’s Tips, Tools, and Shop Tales is published by Cool Tools Lab. To receive the newsletter a week early, sign up here.
Special Issue:
Ten Top Tips That Will Change Your Life
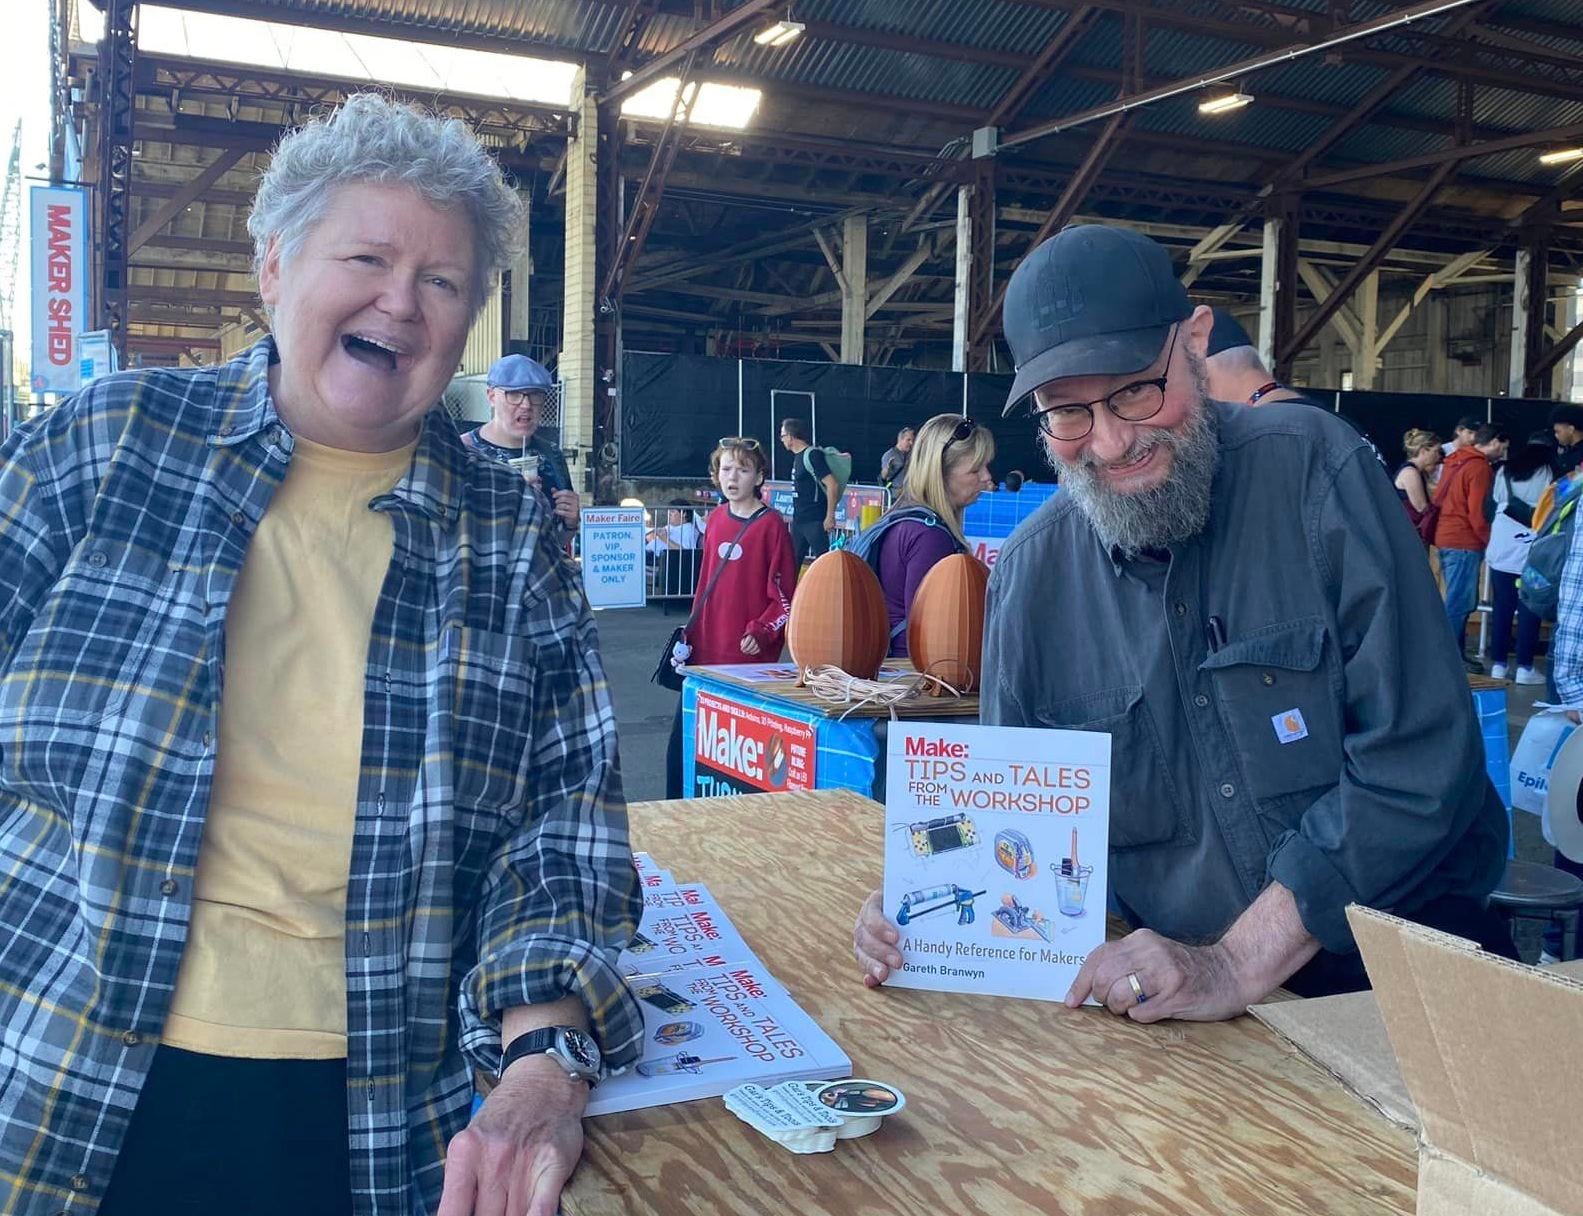
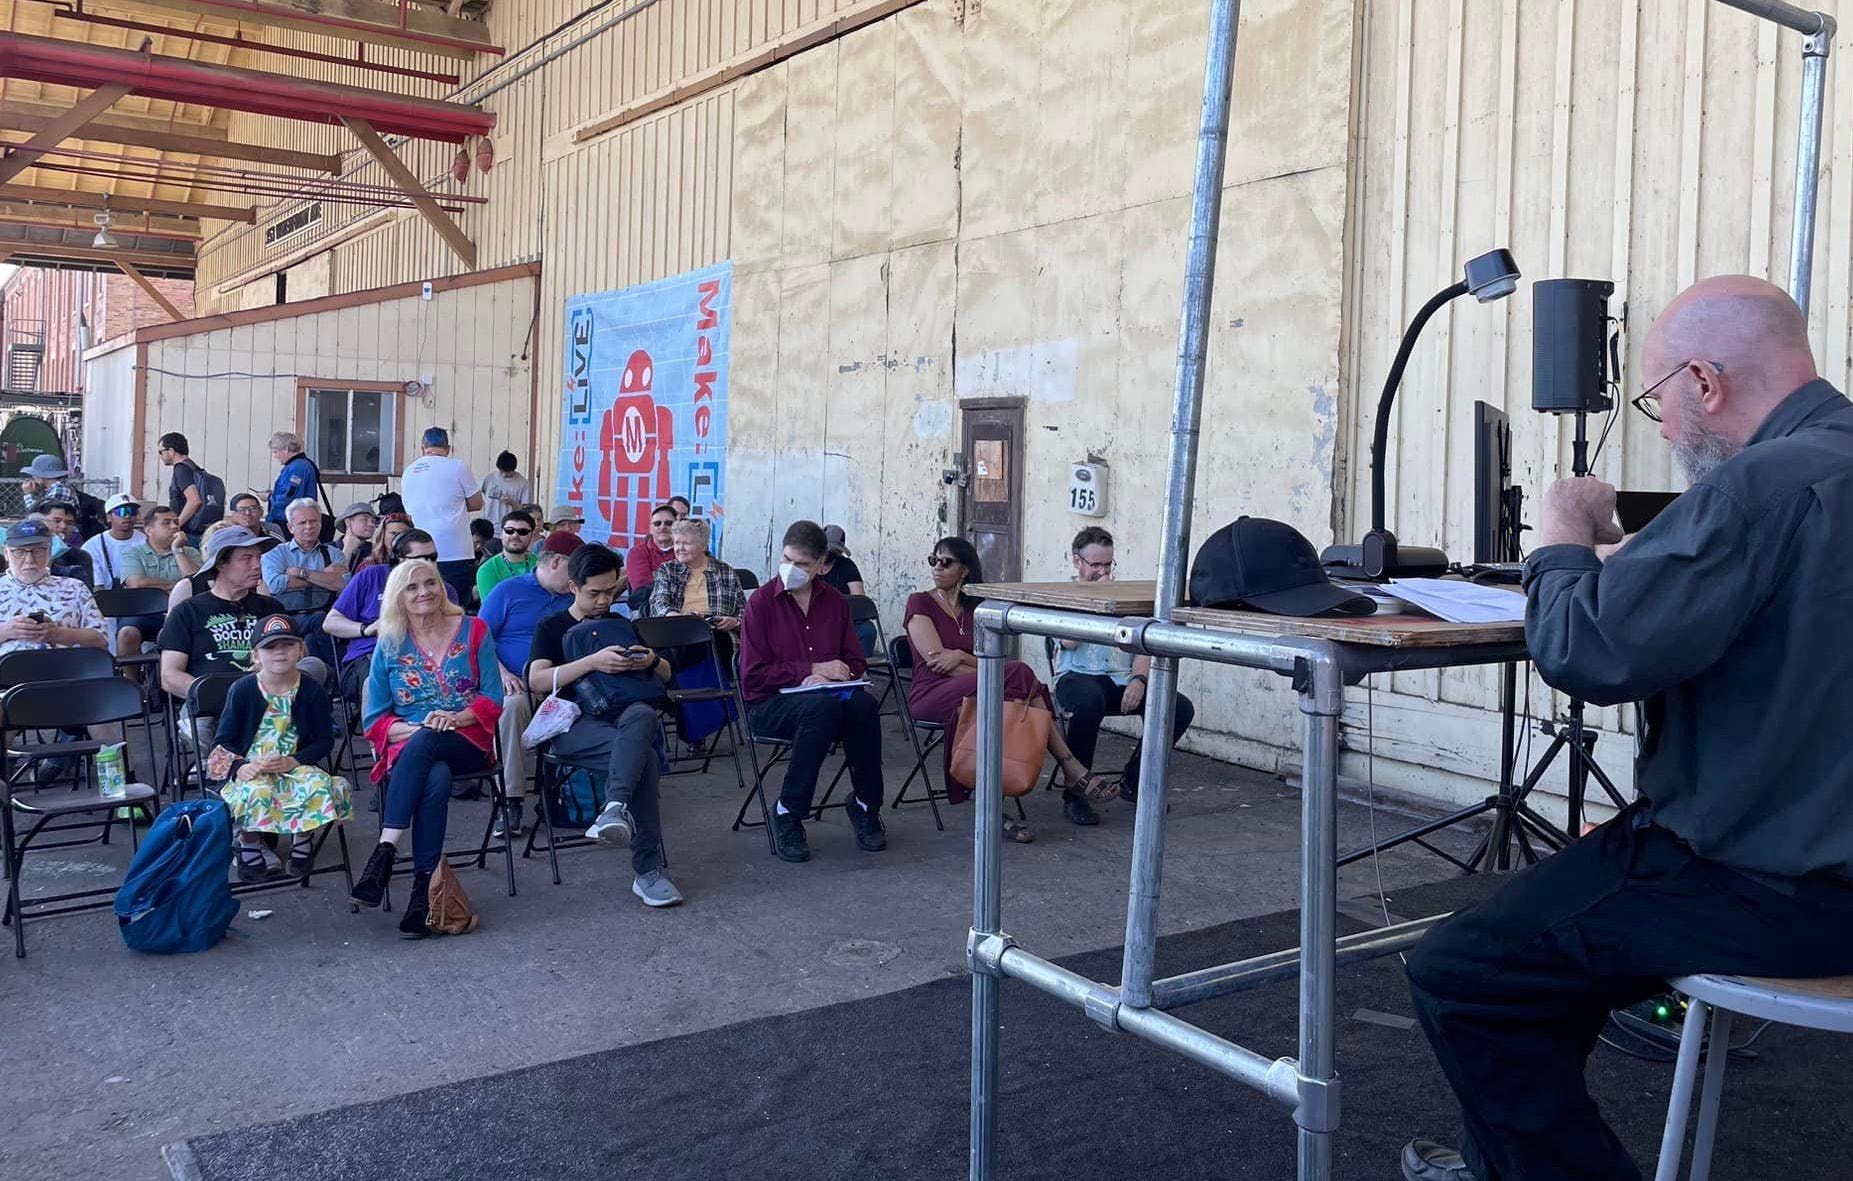
Two weekends ago, I gave a talk at Maker Faire Bay Area on ten top meta-level tips. I promised the attendees that I would follow up the talk with a special issue of the newsletter that went into a bit more depth on each of these ideas.
If you came to my talk, thank you. I hope it was useful. And thanks for subscribing. I would love to hear from any readers if these tips have an impact on you. I would also love to hear if you have any other “meta-level” tips that inform your workflow or your approach to your work.
The Universe is a Collection of Parts
I met an inventor once, named Perry Kaye. He had a brilliant approach to prototyping his designs. He didn’t try to reinvent the wheel—he used existing wheels from something else. He called his approach “Frankenstein prototyping.” When Perry came up with a new idea, rather than going the conventional route of drawing up plans and paying a rapid prototyping service or someone else to fabricate it (this was pre-3D printing and all of the home fabrications available now), he’d just head to Home Depot, the toy store, hardware, office supply store, etc. He’d find the parts he needed on existing products (a handle here, a type of blade there, this motor, that gearbox). Then, he’d cut up these existing products and stitch them together into his new monster creation.
This is an incredibly powerful perceptual shift— to see the physical world around you as a collection of parts that are currently in one configuration, but also available to be taken apart and recombined into something else.
Besides saving time and money, there’s an added benefit. When you’ve spent so much time and money prototyping an idea, you become literally invested in making it work, even if it doesn’t. But when you’ve only invested an afternoon and a few bucks on a Frankenstein prototype, you’re more likely to salvage whichever parts you can, and move on to the next idea. This method of rendering your ideas allows you to iterate quickly and gets you to a smarter, more viable design that much faster.
Of course, you don’t need to be an inventor in the classic sense to benefit from this way of looking at the world. You can make one-off creations with this method, or solve vexing design problems on existing projects. We have this perceptual blindness where we tend to see things as they are rather than the potential for what else they can become. Frankenstein prototyping is a way of training oneself to see that potential.
You Go to School on the First One (or the First Few)

This idea comes from maker extraordinaire, Jimmy DiResta. When undertaking anything new where you don’t really know the process, the tools, the materials, etc., by the time you’re done, you’re ready to begin. The process of feeling your way through the first iteration has taught you what you need to know to do it right the second time, or the third. This to me is very much adjacent to two other meta-level tips: Permission to Play and Permission to Fail. Having a open, playful attitude about trying new things and giving yourself permission to fail (and to try again) are, I think, key ingredients that have fueled the maker movement. (Other ingredients in that fuel include cheap, readily available tools, supplies, and materials, easily accessible instructions online, and a community of fellow makers to share your creations with, get feedback from, etc.
1st Order Retrievability
From Adam Savage comes this idea for shop organization. First off, you put everything in your shop on good, lockable casters: machines, benches, storage units, anything that can be mobilized. Then, when working on a project, you move mission-critical assets for that project closest to you and everything else moves into the background. For many of us, this is more of an aspiration than something easily accomplished, but it’s a worthy goal and most of us can at least caster-ize the main tools and carts in our shop. BTW: You can often find affordable, high-quality, lockable casters, used, on eBay.
Working the Cube

We are often working in a home workshop that is small and over-filled with stuff. And we often fail to take complete advantage of the full, available volume of space. We tend to only think in terms of walls (and only to a reachable height) and floor space. Things change when you start thinking of the full cube as potentially usable work and storage area. Think about how you can use ALL of the wall space, the insides of doors and cabinets, the ceiling for hanging things, rolly carts under tables, etc.
The Kenny Rogers Rule
When you’re building anything, especially something complicated, the build can sometimes turn ugly. If you try to force your way through, you can often dig yourself into an even deeper hole. So, here’s what you do: “Put the soldering iron down. Step away from the steaming robot entrails!” You’ll be amazed at what an hour away, vegging out in front of the TV, rolling around on the floor with the cat, or sleeping on your problem will do. It almost never fails. Here’s a corollary: The extent to which you don’t want to drop what you’re doing and take a break (“I know I can fix this, damn it!”), is inversely proportional to the extent to which you need to take a break. Why the “Kenny Rogers Rule”? Cause as Kenny wisely told us in the song, “The Gambler:” “You got to know when to hold, know when to fold ’em, know when to walk away…”
Don’t Stack Things on Top of Other Things
Artist, filmmaker, and maker, Van Neistat has a great, fun video on his organizational philosophy. One of his key principles is not to stack unrelated things on top of other things. You obviously need a lot of shelf space to make this work so he includes ideas in his video for quickly making shelves. And where do you put the shelves? See Working the Cube above.
Be Kind to Your Future Shelf
This is another gem from Adam Savage. The basic idea is to do a thorough clean up when done with a project so that when you’re ready to do the next project, you don’t have to take yourself out of your inspirational flow by cleaning first. Adam does suggest taking little breaks as you work (see Kenny Rogers Rule) and to clean up as you go. This can be a great in-process project reset.
Details Layer
Scott of Essential Craftsman shared this pearl of wisdom on an episode about using construction string: “Details layer. The more accurate you can get in your details, even with something as mundane as how you tie your knot – it all accumulates to acceptable accuracy.” This is a maker’s truth. I’ve been thinking a lot about this lately because I’m the king of cutting corners, lazy work habits, and fudging details. So, I know exactly what he means. I think understanding and applying this concept is the difference between a skilled craftsperson and an amateur. As I work, I don’t put tools away, I don’t stop and sharpen or change blades when I should, I don’t read instructions, I try and rush things, and I try and skip doing things the way I know they should be done. Details layer, and before I know it, I am frustrated and the project is way off square (whether literally or figuratively). This weekend, I tried to be ever-mindful of this truth and I could immediately see a difference in my work. I think I’m going to make a “Details Layer” sticker and hang it in my shop. BTW: This video is a master class on many levels; worth your time. For one, I love all of the terms for knot tying: bite, rendering, bitter end.
Rule of Thumb for Buying Tools
I get asked a lot about getting started in one area of making or another — what sorts of tools should one buy. I tell people to start off with cheap tools that are known to be decent. Harbor Freight is your friend. Go onto YouTube and research the tools you are interested in. Some tools at Harbor Frieight are perfectly fine, others you want to avoid. So, you buy the cheapest you can for a tool you don’t know how to use yet. Learn how to use it, and see if it integrates into your process and your shop. If you use it a lot, you will likely quickly come up against its weaknesses and limitations. At that point, go and buy the best of that type of tool that you can afford. Frequently, that tool will last you for the rest of your life. This way, if you invest in cheap tools for some area of making you’re new at, say woodworking, and then you discover that woodworking isn’t something you’re going to do a lot of, you have not wasted much money.
There is a caveat here: Cheap tools rarely perform as well as a high-quality version of the same tool, and you need to be conscious of this when working with them. Decades ago, when I thought I might want to get serious about grilling, I bought a cheap, starter gas grill at Home Depot. It was like grilling on the surface of the sun! Not good. But, in using it, I learned how much I loved grilling and eventually went out and bought a really high-quality unit. The difference in grilling on my original grill and then moving onto the better grill was like graduating from a wiffle ball bat to a real baseball bat and that switch only deepened my appreciation for the “hobby” and the amazing things I could do on that live-life stove. I still have that grill today.
One-Handed First-Aid Kit
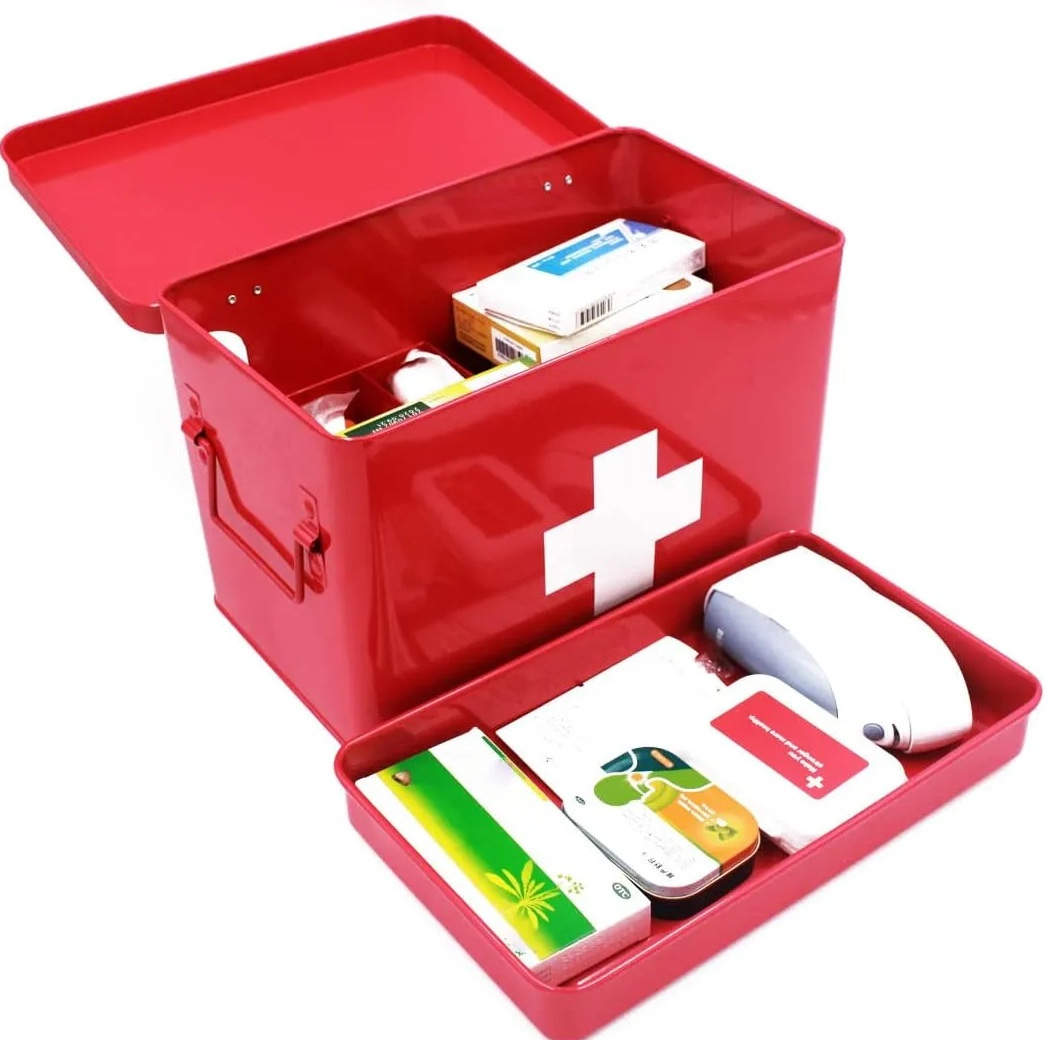
Do yourself a favor and if you don’t have a good, easily accessible first-aid kit in your shop, make a commitment today to get one. You want one that’s got a flip top or a big, easy-to-open latch or a tackle box-style case with drawers in front. You want to be able to access the kit, open it, and get out bandages for cuts, saline to wash out eyes, etc.
For the contents of your kit, you want to have at least: iodine, hydrogen peroxide, band aids, cloth bandages, gauze, dressing pads, butterfly closures, triple antibiotic cream, saline, tweezers, scissors, medical tape, aspirin, disposable non-latex gloves, and a decent emergency first-aid guide.
I just bought the above vintage-style metal first-aid box from Amazon. It’s nice, but it was rather expensive ($40) and my unit had badly bent compartments inside. I also plan on installing a little rod in the center of the top tray so you can pull it out with one hand.
I Have Stickers!

I now have Gar’s Tips & Tools stickers. If you want one, send one of your maker stickers to me (435 OFarrell Dr, Benicia, CA 94510) and I will send you one of mine in return.
10/31/23


