Gar’s Tips & Tools – Issue #174
Weekly-ish access to tools, techniques, and shop tales from the worlds of DIY
Gar’s Tips, Tools, and Shop Tales is published by Cool Tools Lab. To receive the newsletter a week early, sign up here.
Jimmy DiResta Pays Tribute to His Dad… Through Tips
In this sweet 30-minute video, Jimmy DiResta pays tribute to his father, Joe DiResta, who sadly passed away last November. Joe was a maker OG and was constantly passing down tips to his kids. Jimmy remembers his father and periods in his life through the tips that his dad shared. There are some really great tips in here — such as always handing a tool to someone handle-first and bending a nail when toe-nailing so that you get more bite into the destination piece of wood. I bet you’ll find something here you didn’t know.
Thanks, Dad! Rest in power.
What’s the Best Charger/Power Bank Under $30?
In this Project Farm video, Todd looks at portable power banks. He tested models from Anker, INIU, S22 Mini, Miady, LOVELEDI, IXNINE, KEOLL, CFIAI, iWalk, FEOB, Baseus, Durecopow, Erkrist, MREGB, RGVOTA, and GOODaaa. The banks were tested for maximum output wattage from USB and Lightning ports, maximum mAh/Watt Hour capacity, and the amount of time it took to recharge the completely drained power banks. So, which is best? For under $20 (at time of testing), the Keoll got straight As. At only $20, the INIU charged quicker than the Keoll and has slightly more storage capacity (32.8 Watt hours vs. 26.6). The Cadillac of power banks was the Anker ($92) delivering a whopping 69.7 Watt hours).
5 Must-Reach-For Klein Tools
It’s always interesting, given several options, to see which tool you tend to reach for in a pinch. It may not be the best tool, the most expensive, but some X-factor makes it your go-to: handle-feel, smoothness of operation, some special design feature that comparable tools don’t have. In this Last Best Tool video, Doc looks at 5+ hand tools from Klein that he tends to grab over other tools/brands. He shows off their huge diagonal cutters, lineman’s tool, 8” needle nose pliers, and multi-pliers. And how about that hawkbill utility knife? I think I need me one of those!
Experimenting with Faux Neon and Resin Signage
All Jimmy D, all the time! Here Jimmy talks us through his process of creating a faux neon sign using laser cutting, LED strips, and poured resin. I love videos like this where a maker talks through the experiment, discovery (and failure) process they went through in realizing their project. As Jimmy likes to say “You go to school on the first one.” He shows the first sign he made, what he learned, and how he applied it to the next sign. And in the middle of that second sign, he had an ah-ha idea to try pouring resin into the laser-cut grooves of the letters to achieve a more vibrant, more neon-looking effect. The results are lovely. And as Jimmy points out, the vibrancy achieved makes the sign look good and high-impact whether it’s turned on or not.
Shop Talk
Readers offer their feedback, tips, tales, and tool recommendations.

In response to my piece about the expensive but great JustRite dispensers, Kevin Kelly wrote:
And then there are these plastic acetone dispensers – $7 for 2.
Coming from the world of manicures and nail polish, these are especially useful for dispensing small amounts of acetone for things like hobby modeling (my jam). I immediately ordered a set. They’re great! I now have one with acetone and one with Goo Gone on my hobby desk and the JustRite dispenser, with acetone, is on my garage work bench.
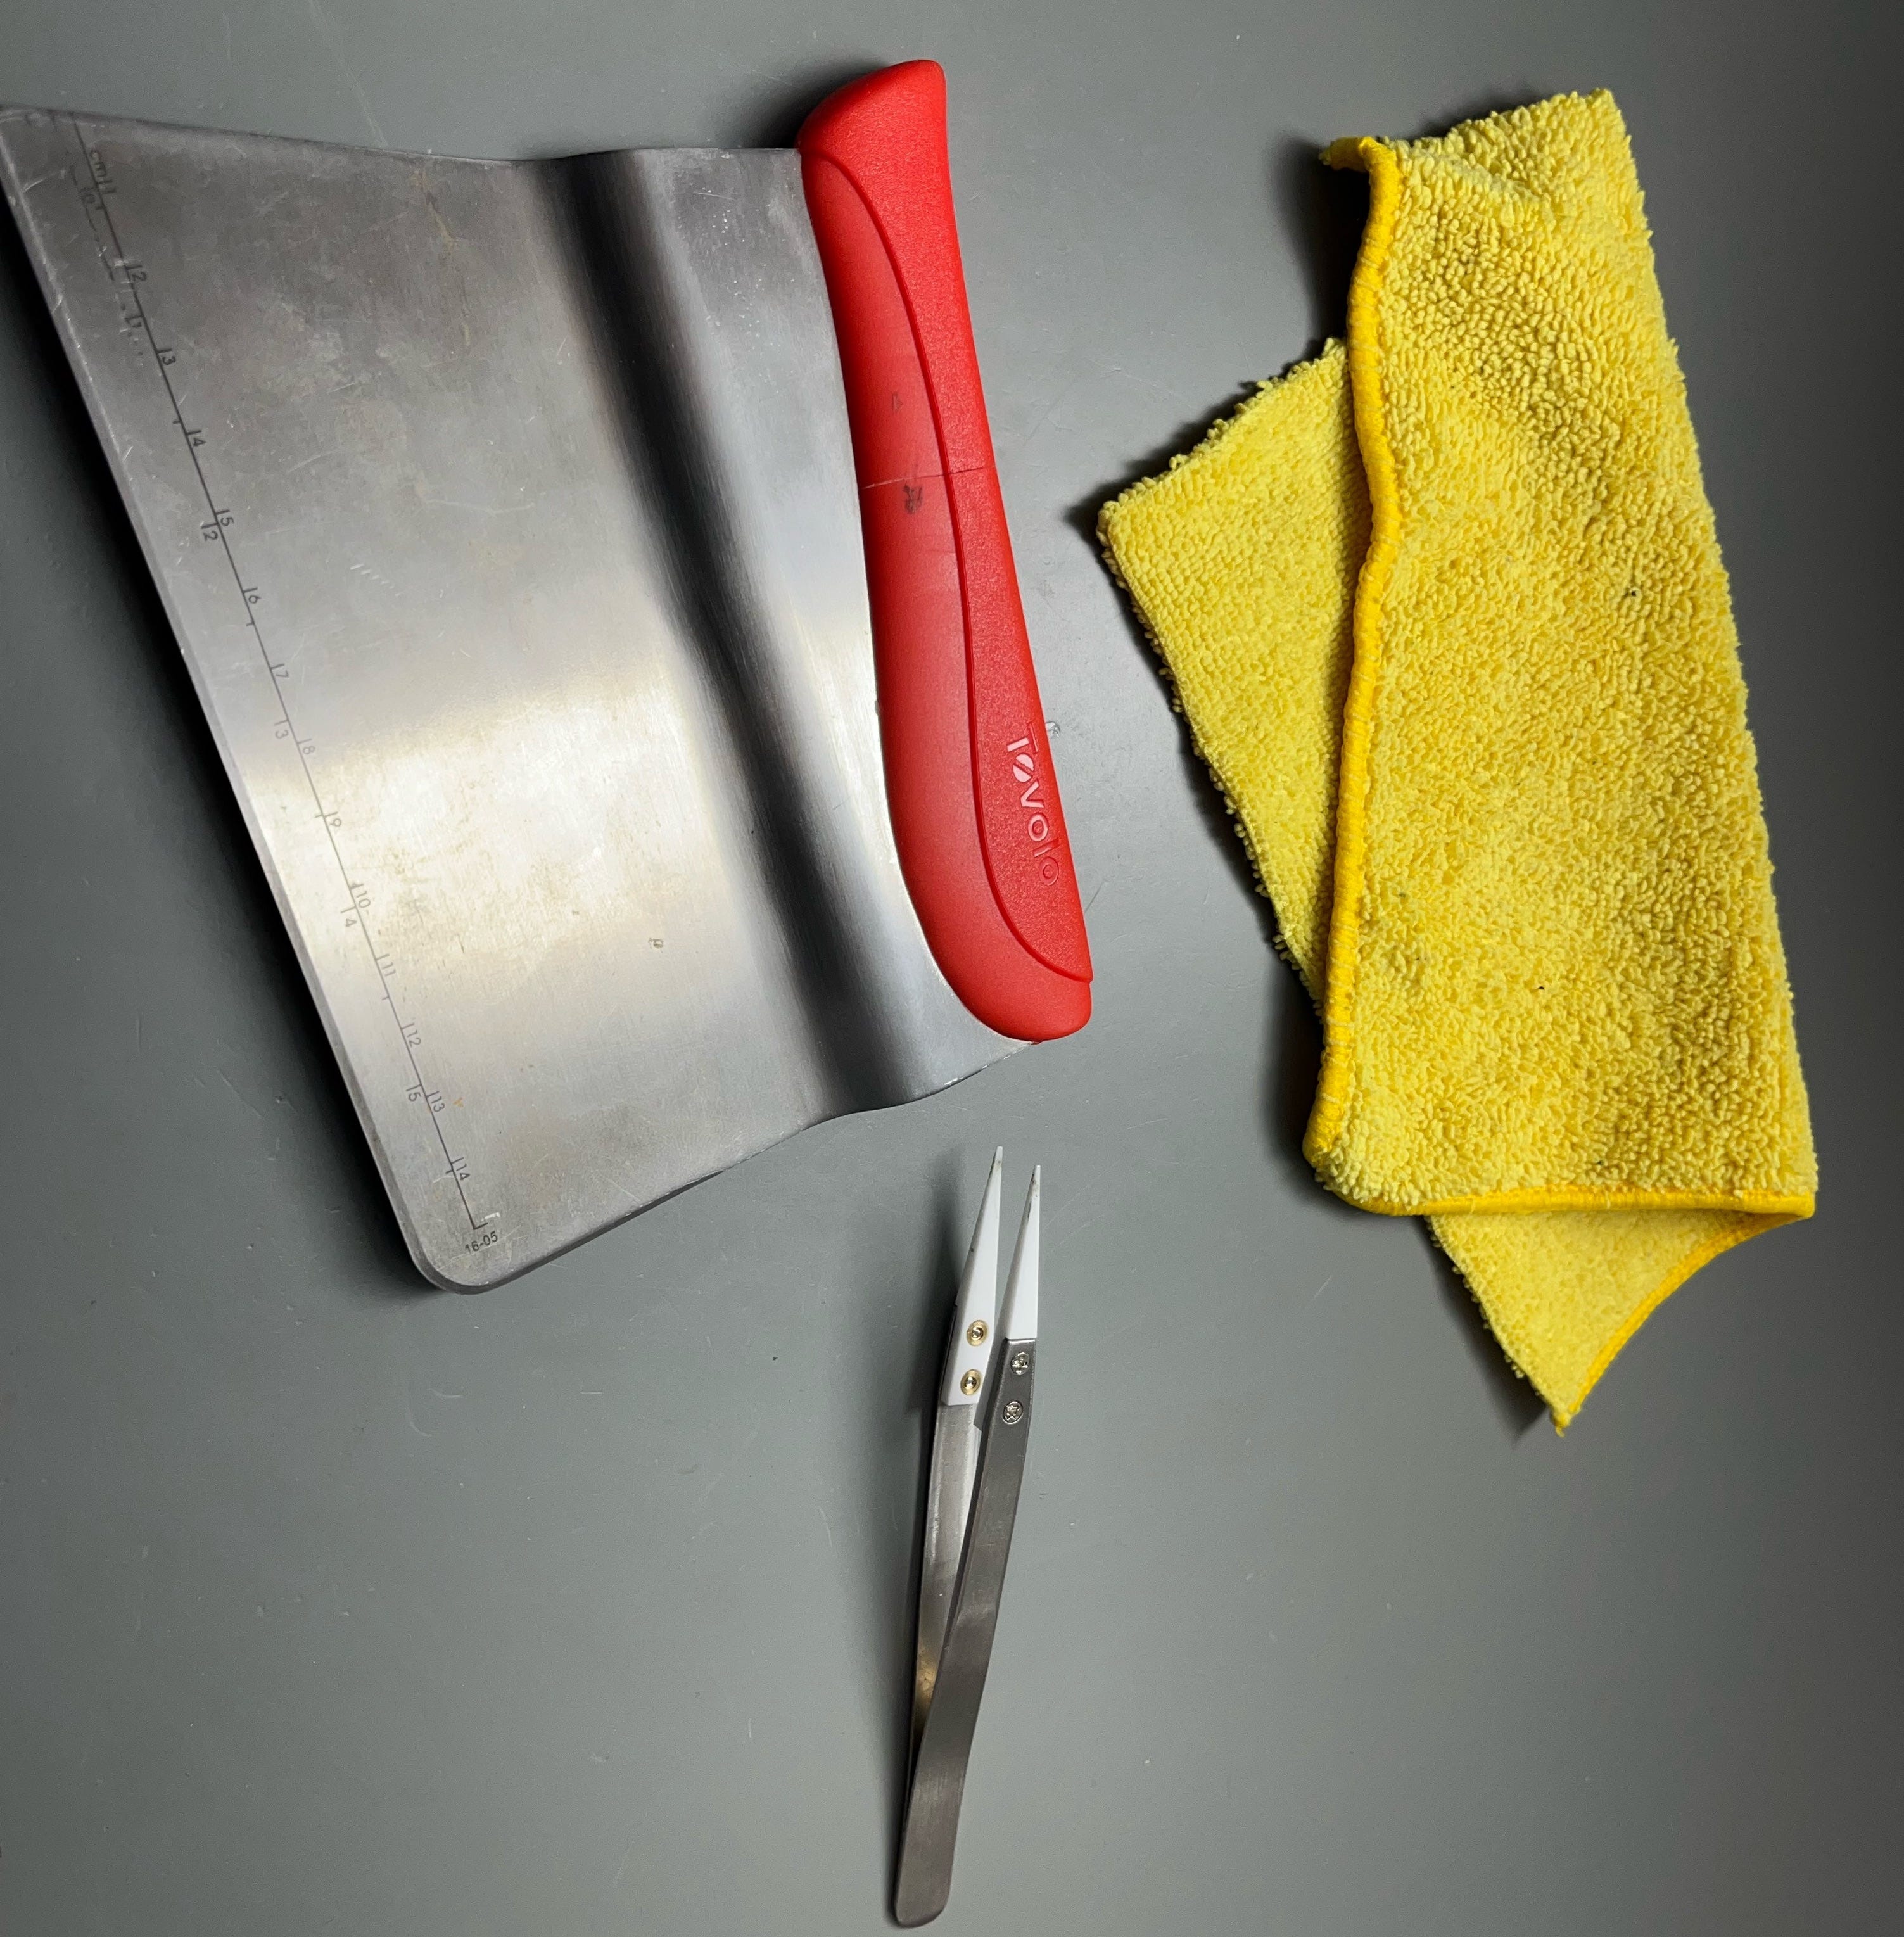
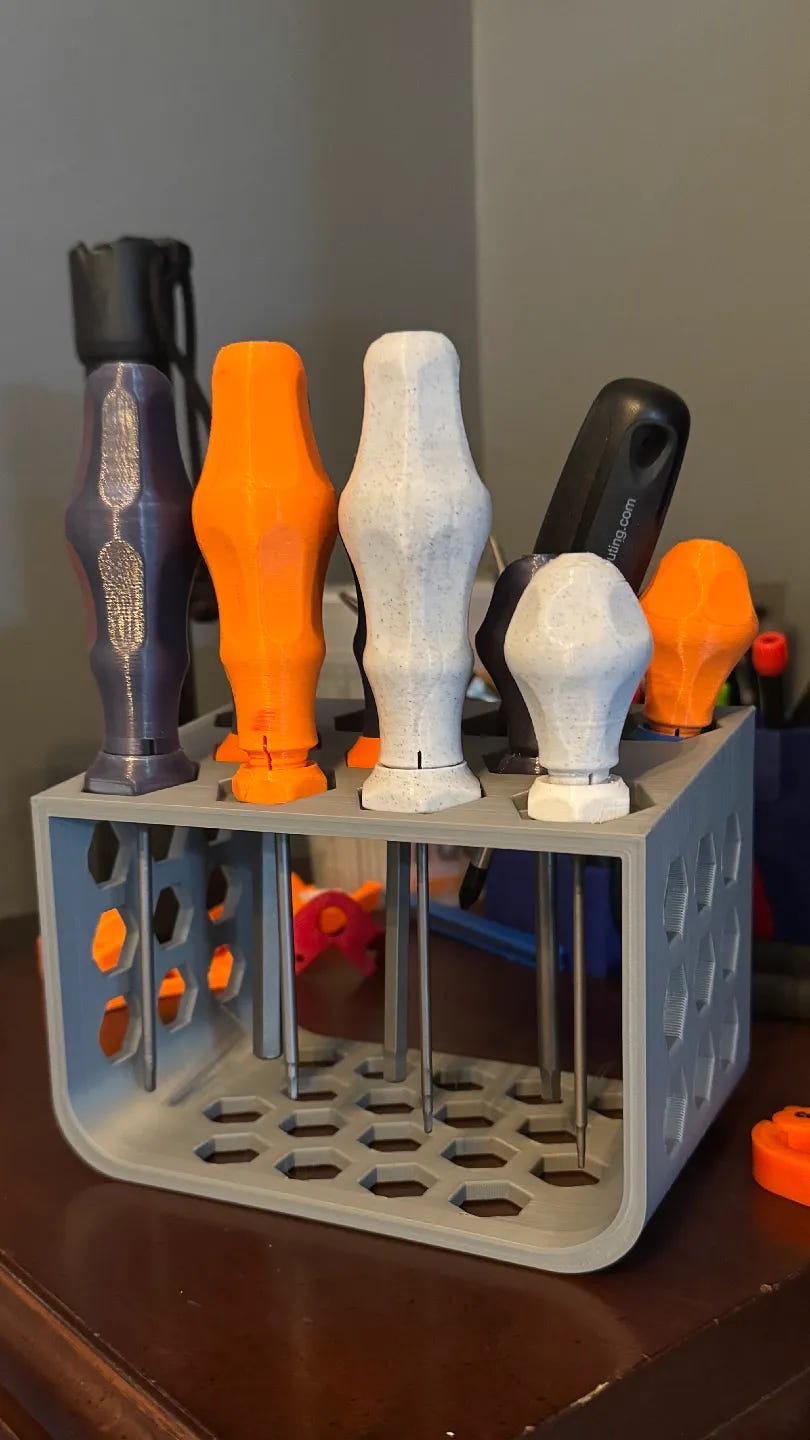
Responding to my call for 3D printed tools, Paul Cryan instead sent me three of his favorite tools for 3D printing:
1) Ceramic-tipped tweezers — After learning early that poking around a hotend with metal tools when it’s hottest (i.e., powered on with electrical current flowing throughout it) can cause disastrous short circuits, I realized that using non-conductive tweezers lets me pick, scrape, and pry away at hot plastic on an active printer without releasing any of the dreaded magic smoke.
2) Kitchen bench scrapers/dough cutters — These make fantastic print removers and bed cleaners. Really useful when aimed low and sideways at large objects stuck to PEI surfaces. They often force that initial release necessary for careful removal that doesn’t tear away chunks of precious print-bed surfaces like PEI adhesive sheets.
3) Gluey microfiber cloth — I’m a bit slow, but it took me YEARS to figure out that I could print to my heart’s content with PETG and not ruin all of my PEI print bed surfaces by slathering them first with glue. The problem was that I associated the ubiquitous 3D-printing glue stick with getting prints to stick, but that was backwards thinking. Slather some glue stick all over the print bed, wet a good microfiber cloth (I get the yellow ones at Costco and cut them into quarters with a hot knife, then go at the gluey surface until the noticeable clumps and streaks are gone and you’ve got a nice, thin layer of glue water. Don’t wash the rag out! It “seasons” with glue over time and gets even better when re-wetted for repeated uses. Eventually, you can skip the initial glue stick slather and just re-wet and reuse the gluey microfiber rag. The microfiber helps because it doesn’t leave fibers or mystery chemicals behind like paper towels or similar disposables do.
All cheap, but all indispensable to me now.