Hole Center Measuring Attachment
Gareth's Tips, Tools, and Shop Tales - Issue #75
Welcome to the first GTTST of 2021! I’m really looking forward to where we can take the newsletter this year and how I can best serve you. I’d love to hear from you. What would you like to see more of? Less of? Is there anything I’m not covering that I should? I see this publication as a conversation, so I’m always looking to hear your tips, stories, tool and supplier recommendations, and anything else related to making, inspiring creativity, and self-reliance.
Hole Center Measuring Attachment
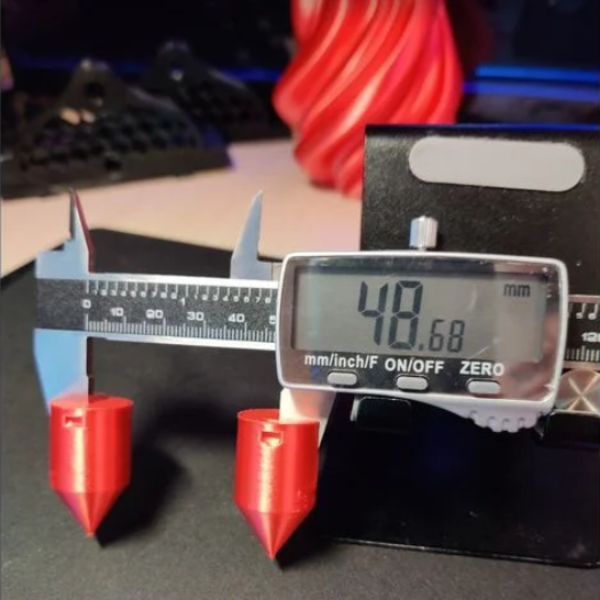
Find your center, man.
On Facebook, Sean Ragan shared this Thingiverse file. It’s for printing adapters that go over the external jaws of a set of calipers to accurately measure the center of holes. In response to the post, Evil Mad Scientist, Lenore Edman pointed out that you can get the same result using this trick (which I’ve written about before): “You can get center-to-center measurements by measuring your hole’s diameter, zeroing out your calipers, then taking an outside-to-outside measurement. (Zeroing essentially subtracts the diameter of one hole.)” Sean Ragan responded: “I know that trick, but it’s not terribly accurate because you don’t get good indexing on the curved interior surfaces of the holes in either step, whereas turned, tapered caliper heads can be relied upon to be kinematically on-center in round holes with no wiggle room.”
Breadboard Basics and Tips
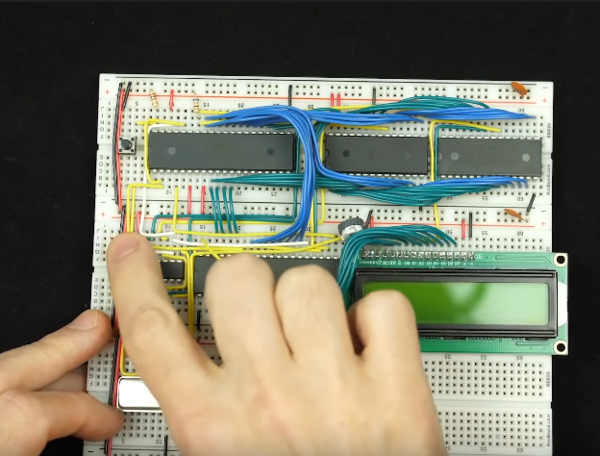
Neatness counts.
I love seeing the different working techniques of makers and their reasoning behind them. In this Ben Eater video, he runs through the ways he prototypes circuits on a solderless breadboard. He describes why he likes to keep it loose (using flexible jumper wires) when first testing out a circuit (to not let all of the fussy measuring and wire cutting get in the way of his creativity). And then he shows, once he’s decided on a circuit design, how he tightens things up with measuring, cutting, and installing neater wire hookups. Ben also describes why he doesn’t always use an auto-stripping wire cutter and how he accurately measures and cuts wire lengths using an old-school stripper. He also explains why he doesn’t use bending tools, preferring to let experience show him where to properly bend his leads. One great tip when cutting wires: Measure three breadboard tie-point holes beyond where you want to plug in your wire, cut there, and then strip the wire back by three holes. This will give you perfect wire length and perfect depth in the tie-point hole.
Noting Paint Colors Inside of Switch Plates
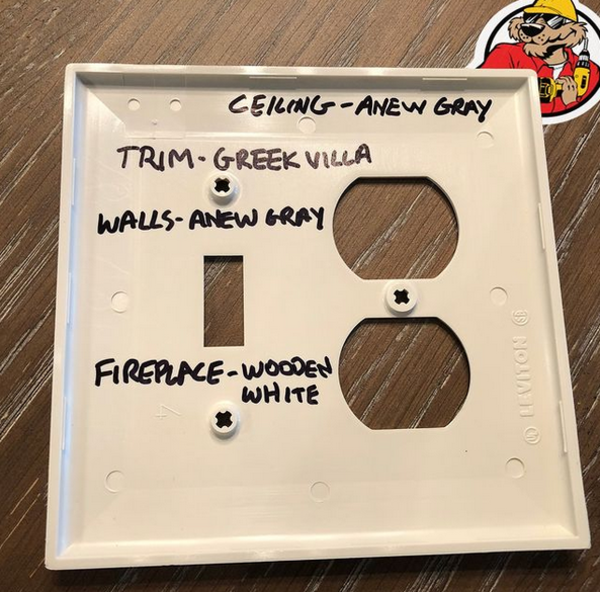
Message in a switch plate.
On the Acme Tools Instagram page, they shared this wonderful tip. To keep track of what paints were used in a room, list them on the backs of switch plates in that room
This reminded of a piece that Sean Ragan posted on Make: years ago about writing a time-capsule about your time in the house and pasting it on the back of a switch plate for future occupants to discover.
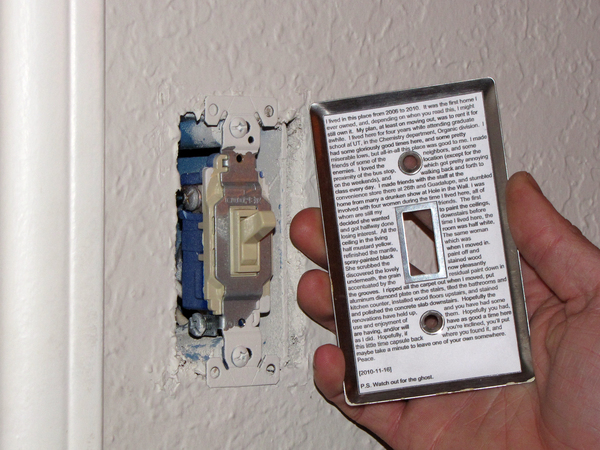
Every switchplate tells a story.
Story Board Templates
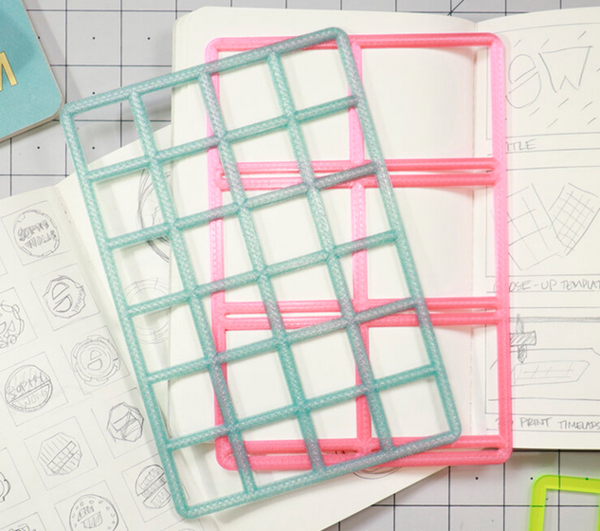
3D printed story-telling tools.
Sophy Wong has a new video up where she shows her 3D printable storyboard and thumbnail templates and how to use them in a sketchbook. I wrote about these in the newsletter ages ago when Sophy first showed them on Twitter and have been looking forward to her making the files available and telling us more about how she uses them. Here is the project page on her website and the files on Thingiverse.
Adding Magnet Switches to the Savage Workbench Lights
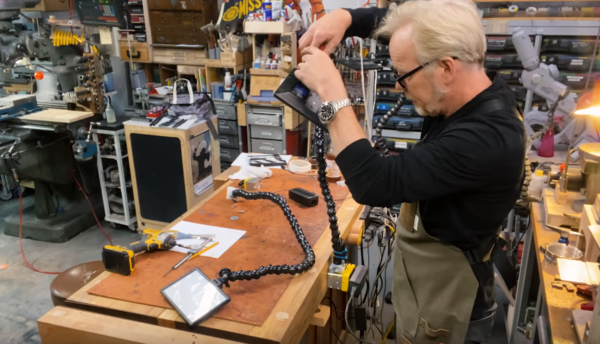
You can never have too many lighting options.
The Adam Savage “One Day Build” that’s had the biggest impact on me was his project for building bendable LED workbench lights using video light panels and Loc-Line tubing (parts here, here, and here). I bought the parts immediately, built my own, and my workbench has never been the same. In this follow-up video, he shows how he used magswitches (magnets you can switch on and off) to add bench-wide mobility to his lights.
Toys!
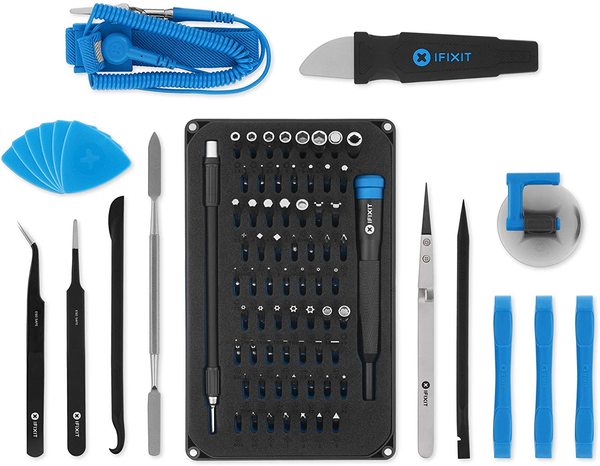
The iFixit Tech Toolkit
Certain tools are so beloved that, if you mention them to owners of said tool, they light up like a Christmas tree and can’t stop talking about how much they love it. Such is the case with the iFixit Pro Tech Toolkit. This kit has everything you might need for taking apart and repairing personal electronic devices, from a 64-piece bit driver set, to spudgers (tools for opening pressure-fit plastic components without causing damage), tweezers, a suction cup phone-screen remover, and a grounding strap. If you repair your own computers, game consoles, phones, and other consumer electronics, you want this kit (if you don’t already have it).
Shop Tale: They Almost Called Him Stubby
Newsletter reader (and general contractor) Jack B sent in this cautionary tale. It’s a fine example of what I call The Kenny Rogers Rule (knowing when to hold ‘em, fold ’em, and when to walk away from a project). If you have a shop tale to share, email me.
The weather had been terrible, one huge snowstorm after another. We were way behind on a four-plex build and that meant that even the general contractor (me) had to pitch in and work hard to finish.
Late into the night before Christmas, I was cutting OSB (oriented strand board) with a Skilsaw. I had two full sheets on sawhorses and was cutting along when it dawned on me that I might not have the blade set low enough. Without thinking, I reached under the OSB to see if I could feel the blade. In the fog of fatigue, feeling a spinning blade with my fingers made perfect sense. As luck would have it, I was only cutting through one of the sheets, so my fingers were safe. When I realized what I’d just done, I immediately stopped for the night. Being nicknamed “Stubby” for the rest of my life seemed too great of a price to pay.
Maker’s Muse

(Gareth’s Tips, Tools, and Shop Tales is published by Cool Tools Lab. To receive the newsletter a week early, sign up here. — editors)