Marking Your Drivers
Gareth's Tips, Tools, and Shop Tales - Issue #66
Marking Your Drivers
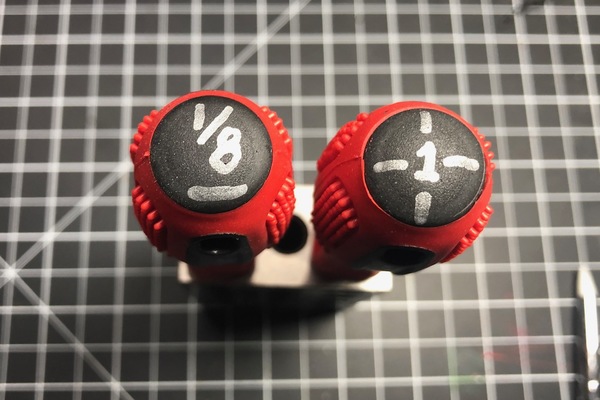
1/8″ slotted and PH1.
I don’t know why more tool manufactures don’t mark the butt-ends of their drivers with the size and type of the tool. I got a large set of drivers last year and the benchtop holder for them obscures the labels on the handle so that you have to lift each one to see what it it is. Dumb! To fix this, using my FastCap marker, I’ve labeled each driver with size and type (in the above case, a line for slotted, cross-hairs for Phillips). Robertson/square drivers get a square symbol, and for Torx, I just use “T” before the size.
Annealing 3D Prints in Salt
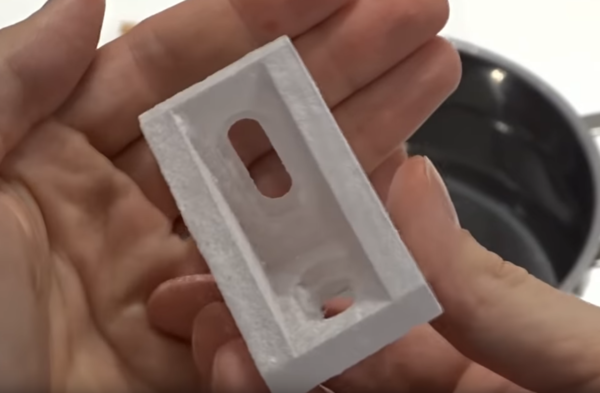
Salt parts to taste.
In response to the item in issue 64 about annealing 3D prints in plaster to increase their strength, reader TokyoSpark pointed me to this video on treating printed parts with powdered, baked table salt(!) It not only increases part strength, but it makes them water- and gas-tight.
Kitchen Shelf Liner as Bench Pad
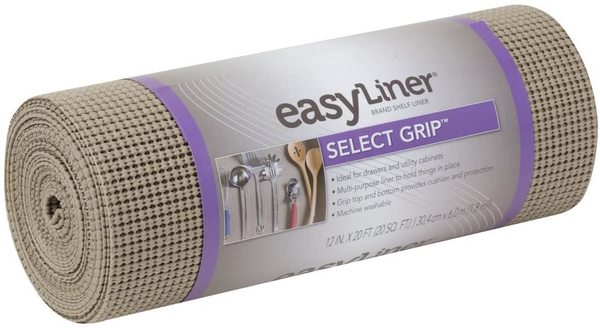
Here’s a great idea from Family Handyman magazine (sent in to them by a reader). Use grippy kitchen shelf liner material on your bench when you want to hold items in place and not have them slip (especially when clamping is not ideal). The material is slightly sticky and the the mesh design allows sanding dust, etc. to fall through as you work.
Erasable Marker Pen
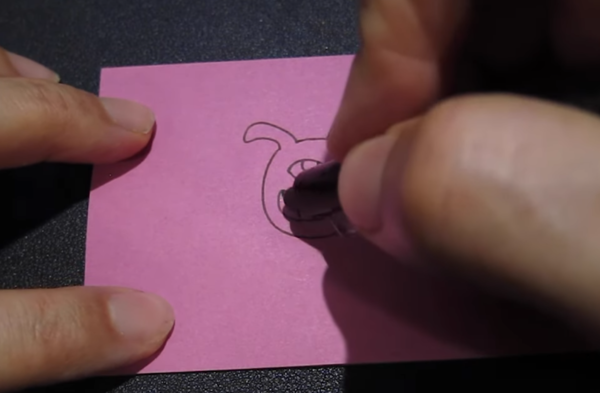
Erase your mistakes with thermo-reactive ink.
In this Cool Tools Recomendo Shorts video, Mark Frauenfelder recommends the FriXion Clicker erasable pen. This is a thermo-reactive gel pen with a hard plastic eraser. Rubbing over a pen mark generates heat which melts and lifts the ink. A commenter in the video points out that you can also use a heat gun to remove an entire image – and even freeze to restore it.
Making Jack o’ Lantern Teeth and Exposed BRAAAAINS
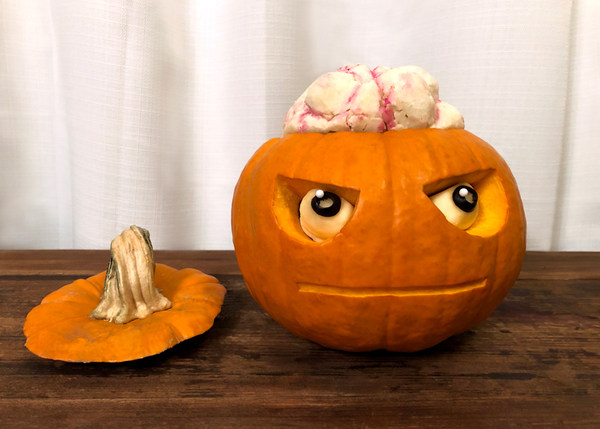
Pumpkin’ brains made from cauliflower. From Allrecipes.com. Photo by Glenn Bryant.
Dungeon crafts maven Vanessa Mus’e, aka The Crafting Muse, offers this tip on how to create jack-o’-lantern teeth on her Instagram feed:
“…for those wondering how people are adding teeth to jack-o’-lanterns. It’s blanched almonds more often than not.
Boil some water, drop in the almonds for a couple minutes. Chill quickly and the skins should pull away leaving exposed nut flesh. Whittle to desired shapes.”
Also, in this piece on AllRecipes.com, they share a fun and easy idea for giving your pumpkin exposed brains with a carved and painted head of cauliflower.
This reminds me of the time I made exposed brains for Halloween. This is easily done with a latex skull cap, caulk, and some paint.

I feel a strange breeze
Shop Talk
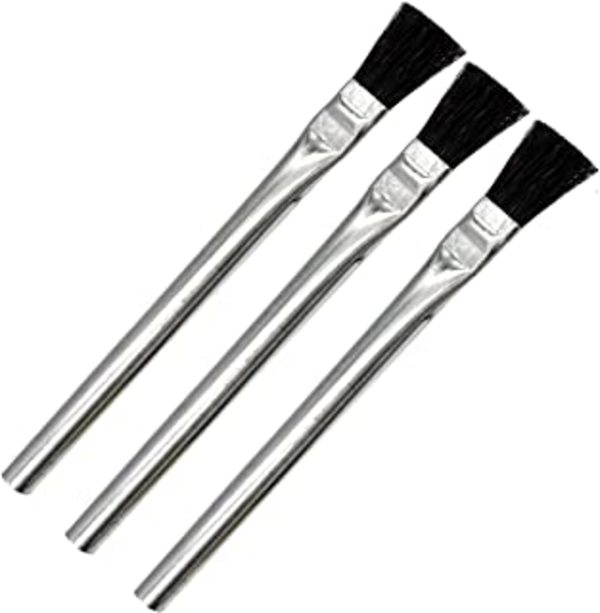
Acid brushes. Versatile and cheap.
In response to our brush talk several issues ago, reader Cymerian Designs responded: “One thing I do with acid brushes is to cut the bristles short so they become very stiff. That makes them usable as mini scrub brushes for getting into small crevices or for lightly abrading small surfaces to clean them.”
Mistakes Were Made
Reader TokyoSpark thought I was wrong in identifying the chain links on Laura Kampf’s folding bike project (issue 64). “I believe the chain Laura used on her bike was conveyor or motorcycle chain, the links are pretty hefty.” They are probably right.
(Gareth’s Tips, Tools, and Shop Tales is published by Cool Tools Lab. To receive the newsletter a week early, sign up here. — editors)


