What’s the Deal with Flat Washers?
Gareth's Tips, Tools, and Shop Tales - Issue #115
Happy Spring to you all! It’s a great time to get out there and make, repair, maintain.
Got a tip to share? Tool to recommend? A tall tale to tell us? A tip to bust? Please share with the class.
What’s the Deal with Flat Washers?
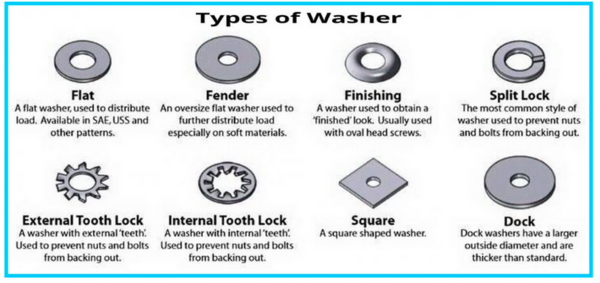
For many a maker newbie, the use of flat washers in fastening might seem superfluous. Yes, you can assemble many things without using them, but washers are there for a reason. Here are their main uses:
Load distribution: Their most common use of a flat washer is increasing the size of the bearing surface that a threaded fastener would otherwise provide. The washer distributes the load around the fastener and can help prevent the stressing, splitting of softer materials, like wood.
Spacing: Washers are sometimes added to reduce the length of a fastener so that it can fit a given depth.
Absorbing vibration: Plastic, rubber, fiber, or similar materials are used for washers in assemblies prone to a lot of vibration. Washers help absorb that vibration.
Leak prevention: Washers are often used where water or other liquids could otherwise leak around the fastener. Like vibration-absorption, these washers are usually rubber or other soft, conforming material.
Cosmetics/finishing: Washers can also be used to create a desired look in the design of a finished piece.
An Easy, Minimalist Connector to a Power Tool Battery Pack
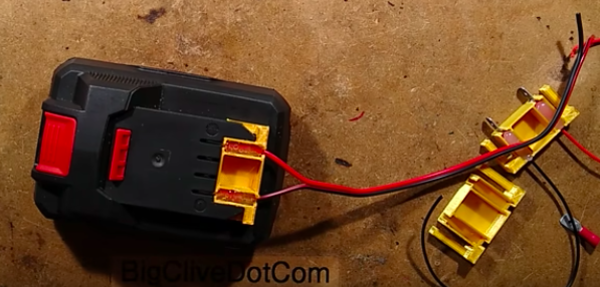
As BigClive points out in this video, there are lots of files on Thingiverse for printing out connector housings that can allow you to draw power from portable tool power packs. But many of them are overly complicated. So, Clive created these simple housings that let you attach spade connectors to both Parkside and Ryobi power packs. They only take minutes to print. Clive includes the OpenSCAD code for the two prints in the description and someone in the comments added the code for an improvement on the Ryobi print. Also, read the comments for a discussion on inline fusing.
Using UV Resin As “Glue” to Repair Resin Prints
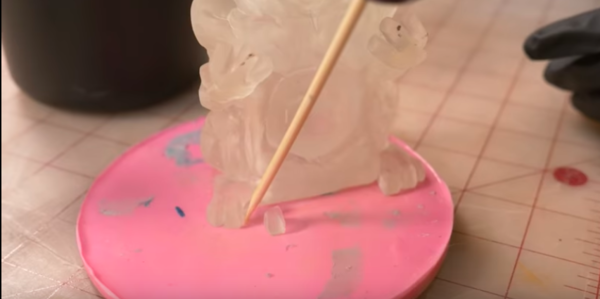
In an episode of Punished Props (where Bill and Britt are 3D printing their own animal totem from the Inscryption video game), Britt shares a useful tip. If you have a piece of a resin 3D print break off, you can reattach it by applying resin like a glue and then hitting it with some UV light.
Using Painter’s Tape to Cover the Insert Hole on a Tablesaw
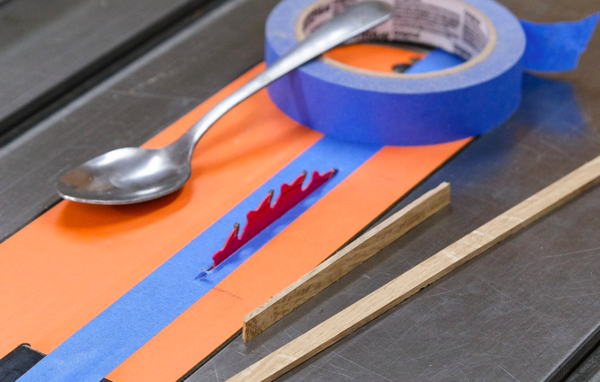
Here’s a smart woodworking tip sent in by a viewer of Colin Knecht‘s YouTube channel. If you’re cutting narrow strips of wood on a tablesaw that risk falling into the insert hole around the blade, cover the insert with painter’s tape (burnishing it down with something like a spoon). The tape will last for a good number of passes before it begins to fail.
Testing and Comparing Needle Nose Pliers
They say you get what you pay for. Not always. Sometimes, cheaper products can perform nearly or just as well as much-higher-priced brands. In the realm of tools, I always look to Todd of Project Farm to unearth these inexpensive but worthy gems. In this testing video, he looks at needle nose pliers from Klein Tools, Stanley, Knipex, and many other manufacturers. He tests for handle wobble, weight, grip strength, twisting force, tooth damage, cutting strength, and overall build quality. Surprisingly, in the end, the Kobalt pliers (at $11) performed the best, with the Klein Tools pliers (at $30) also performing well.
Tips Busters: Snapping Razor Knife Blades: CONFIRMED!
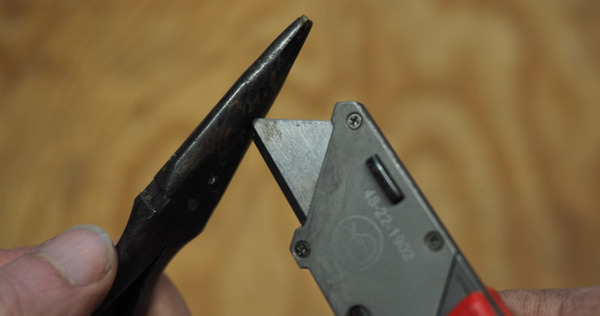
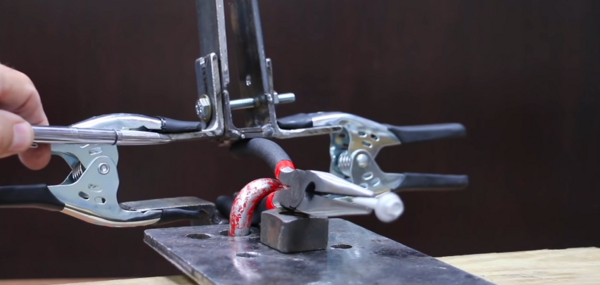
Snapping off 1/4″ with a pair of pliers.
Reader Sam Freeman has volunteered to be a Tips Buster. The first commonly-shared tip he wanted to test out claims that you can revive the cutting ability of a dull razor knife blade by snipping off ¼” or so of its tip. Here’s what Sam has to say:
Using a Milwaukee Fastback II, I cut through some heavy duty paperboard, using cheap Stanley blades. A new blade took two passes to cut through the material, and left sharp, clean edges on back. A worn blade took three passes and left gnarly, jagged edges behind. At first, I snipped off the tip with some wire cutters and tried again. The result? Three passes, and even worse looking edges. It turns out, I’d screwed up. The original article said to snap off a full ¼” with pliers, not cutters. So, I gave it another shot. Pliers worked exactly as advertised. The blade isn’t as good as new, but it left better edges than the older one and cut through in only two passes. So, if you are ever out of replacement blades, this method is worth a try.
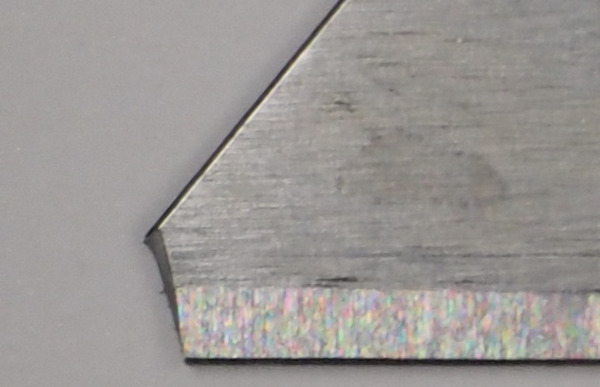
The resulting blade with dull tip removed.
Buy My Books and Support This Newsletter

(Gareth’s Tips, Tools, and Shop Tales is published by Cool Tools Lab. To receive the newsletter a week early, sign up here. — editors)


