Work, Work, Work, Put-Away, Put-Away, Put-Away
Gareth's Tips, Tools, and Shop Tales - Issue #87
Like what you see? Please share the love. Have ideas for improving this newsletter? Let me know. And, thanks as always for your support.
Work, Work, Work, Put-Away, Put-Away, Put-Away
What are the “anchor points” in YOUR shop?
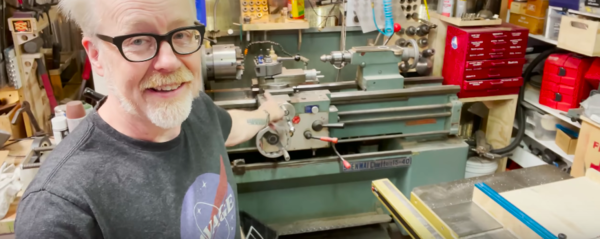
In this video, Adam Savage talks about the anchor points of a shop (the machines and workstations that the rest of the shop orbits around), the fact that you can never have enough casters on shop components (and on-hand), and other useful tidbits. For me, the pearl here is how he keeps his shop cleaned and organized as he works. As he puts it: “work, work, work, put-away, put-away, put-away.” By taking periodic breaks and cleaning as you go, you don’t end up with an insurmountable mess when you’re done. I’ve never done this, but I plan to start. Adam also talked in one of his previous organization videos about “giving a gift to your future self” by doing a thorough cleaning and organizing at the end of a project so that future you is ready to roll when starting the next project. Wise words.
Cutting Small Tubing with a Razor Blade?
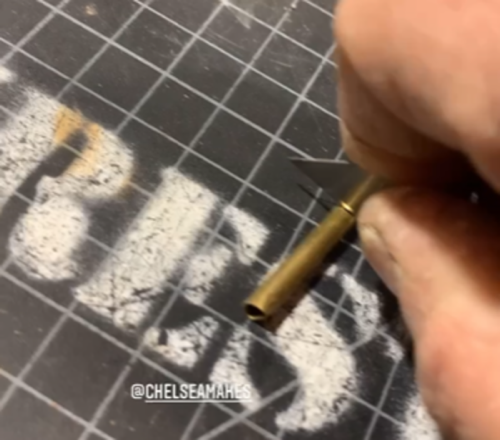
Score and snap. So satisfying.
On Jimmy DiResta’s Instagram stories, he shows a neat trick for cutting small diameter copper tubing (brass, too?) by scoring it first with a razor knife and then snapping it off in a vise.
Foam Detailing with a Woodburning Kit
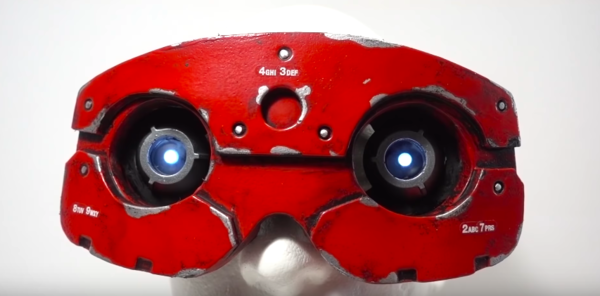
Using a woodburner to create rivet heads and other details.
On the Evil Ted YouTube channel, he builds an easy-to-make pair of cyberpunk goggles out of foam. What I loved about this project is the use of the different tips in a cheap woodburning kit to burn rivets and square details into the foam material.
Cool Dowel Hack

Hey, it works for axes and hammerheads…
Got a hole that’s a little too roomy for your wooden dowel? Here’s a method for expanding the dowel in the hole using a little wedge.
Skill Set: Preparing a Mold Box and Mixing Silicone
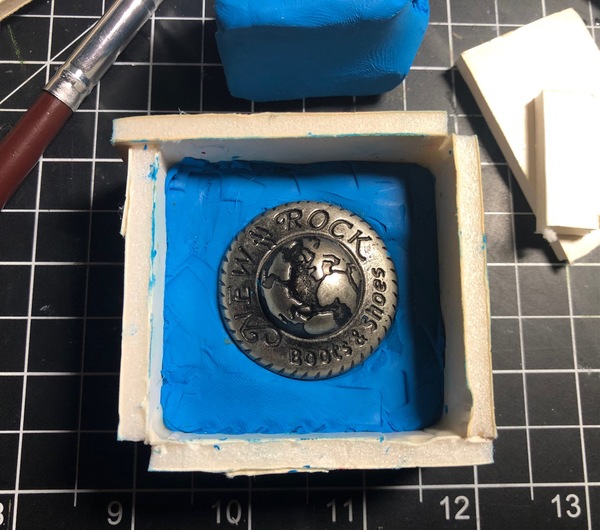
It ain’t pretty, but it does the job.
For those playing along in our molding and casting series (first installments here and here), I hope you made your mold box for our first one-part mold. Here’s my quick n’ dirty box. I made it from scraps of foamboard. Because my object was not flat on the bottom, I embedded it in clay.
It’s now ready for silicone. The silicone that comes with the Alumilite kit is a ten-to-one mix ratio (by weight), silicone to catalyst. Alumilite also has a video on how to mix their silicone. Follow the instruction on your RTV rubber, if different.
As always, refer to Paige Russell’s one-part molding class on Instructables. Among other things, she shows a neat trick for easily measuring the volume of needed silicone using tapioca, rice, or similar grains.
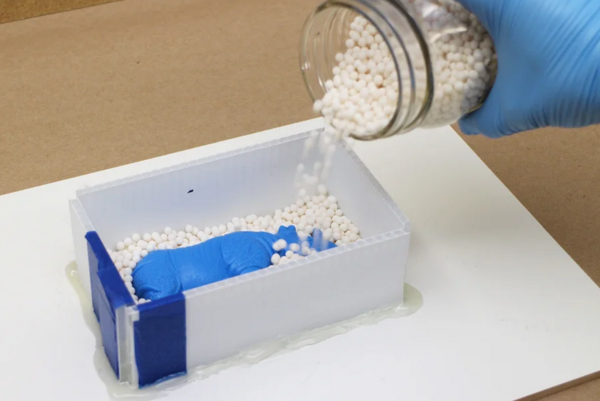
Using tapioca to measure the mold amount needed.
Tips for Molding:
* Wear gloves.
* If you’re measuring your silicone by weight on a digital scale, cover the scale with a Ziploc bag (or similar) to protect from spills
* Make sure to mix the rubber and catalyst before combining and then make sure you mix them together really well. No streaks!
* Pour the silicone into one corner of your mold box and let it flow in, around, and over your object.
* Alumilite offers a handy Volume Calculator for determining how much silicone rubber you need.
Storage Tech: Square Bottle Drawer Trays
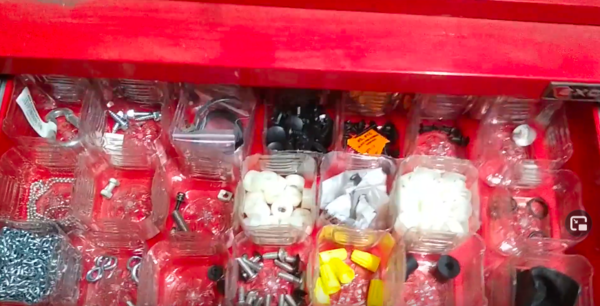
Free plastic organizers.
Reader Justin Gasal sent me this tip and even made a little video. He uses square plastic bottles to make removable parts bins for his tool drawers. I do something similar. I use segmented plastic food trays. Here’s my rotary tool accessories organized in a party platter container. I cut tool cloth to go in each bin.
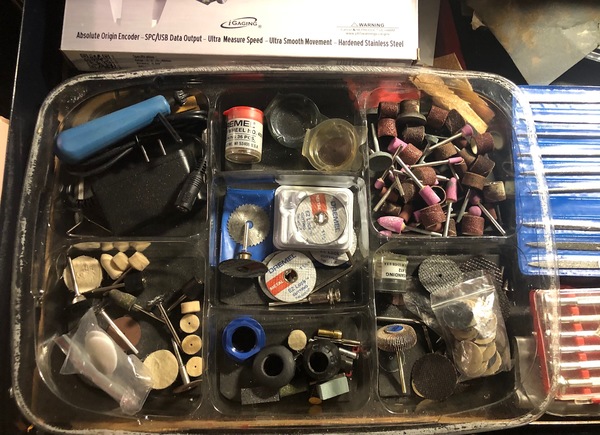
Yummy Dremel crudités.
(Gareth’s Tips, Tools, and Shop Tales is published by Cool Tools Lab. To receive the newsletter a week early, sign up here. — editors)


