Month: March 2020


 03/2/20
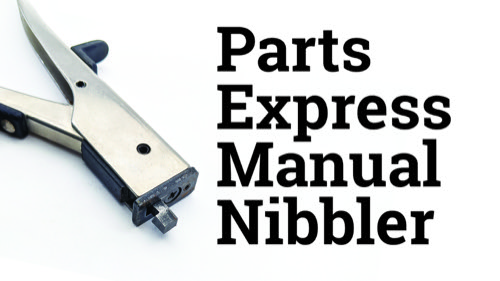
Nickel Plated Nibbling Tool
Make square holes for fuse holders, switches, indicator lamps, etc.
03/2/20
Make square holes for fuse holders, switches, indicator lamps, etc.


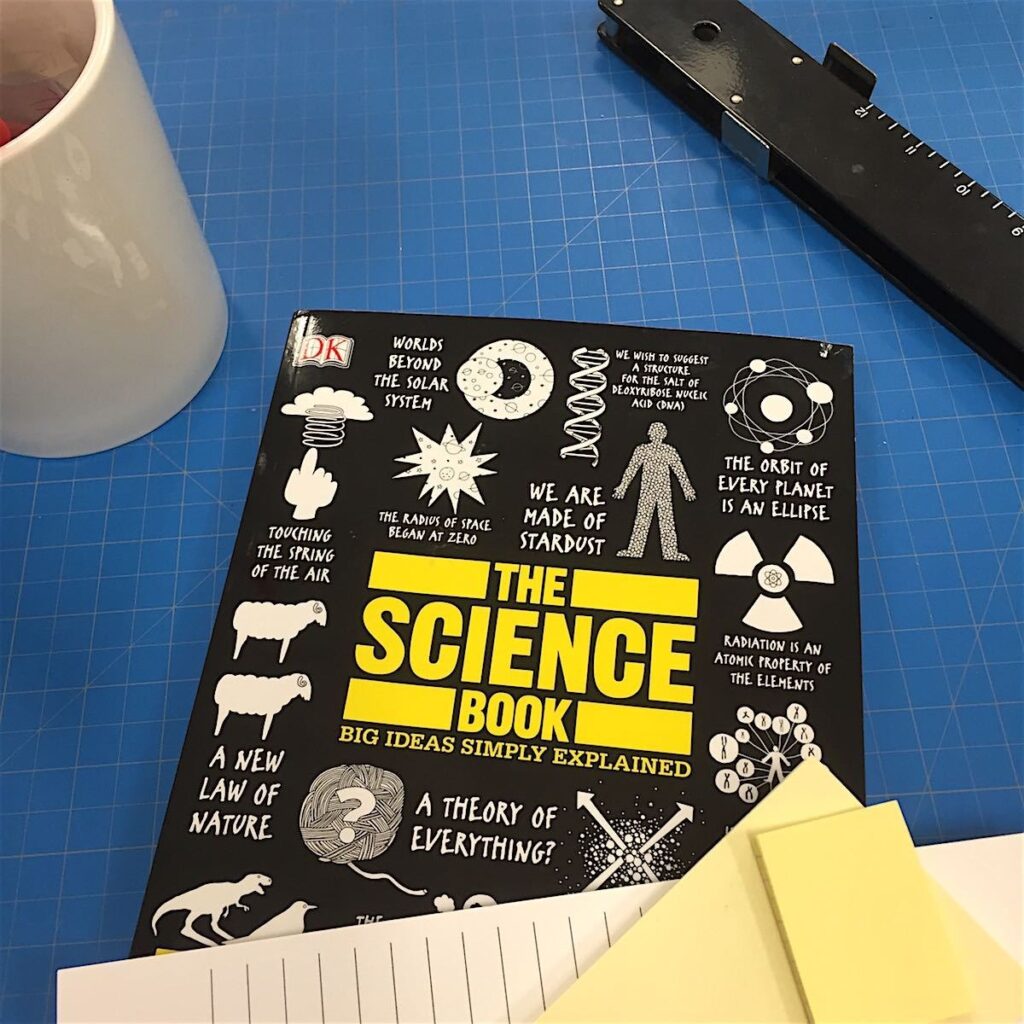

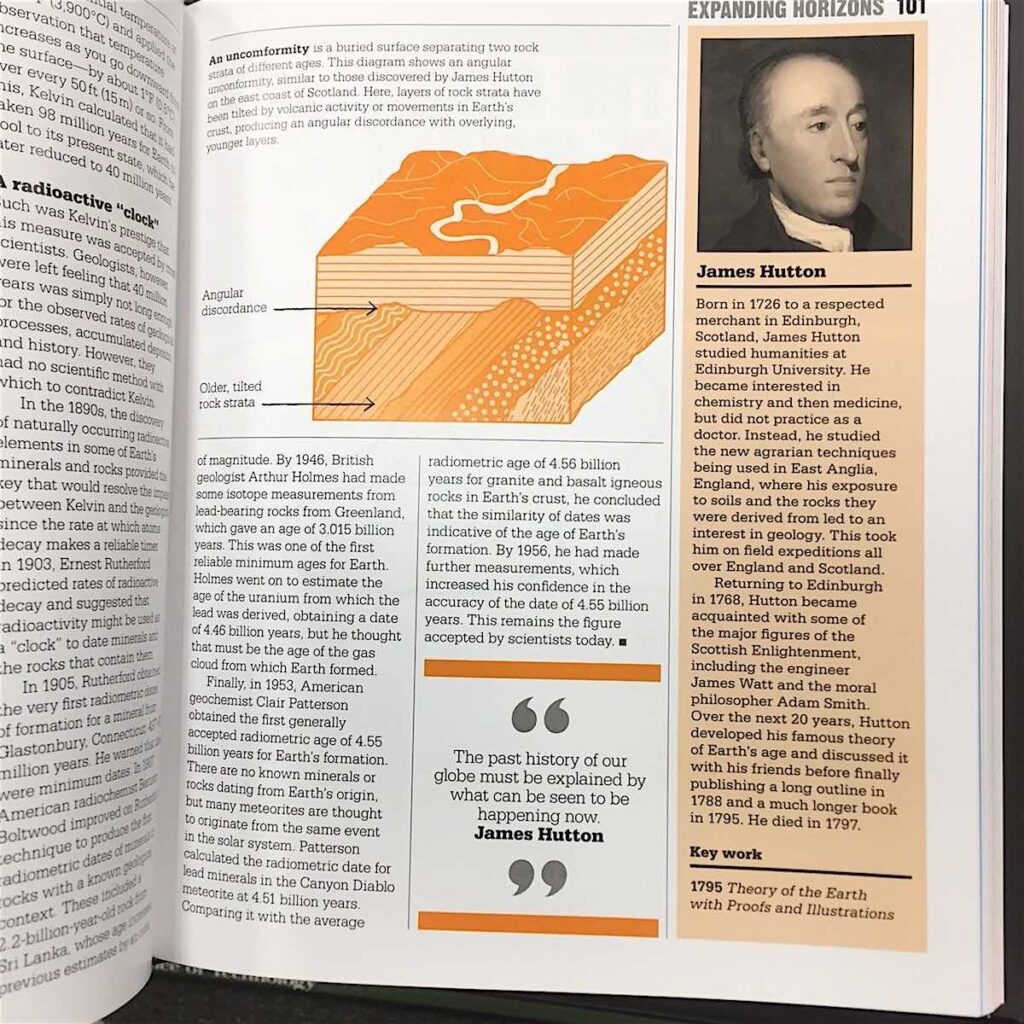
The Science Book (Big Ideas Simply Explained)
by DK
DK
2014, 352 pages, 8 x 9.6 x 1 inches
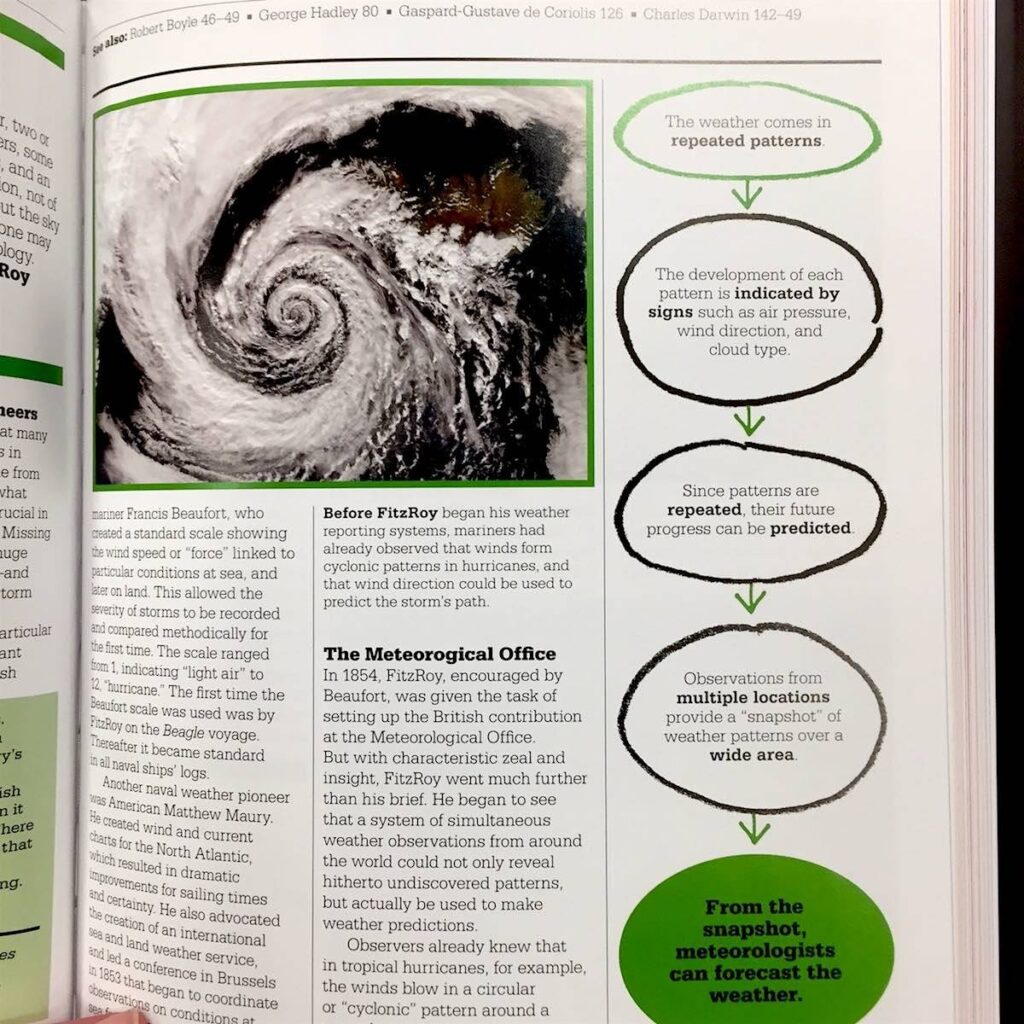
The Science Book is DK publishing’s “greatest hits” of science. Laid out chronologically and full of diagrams and photos, it gives you a coffee table book experience but in a manageable way. No book clocking in at 350-ish pages could be totally comprehensive, yet it includes most of the major scientific milestones from 600 BCE to today without being dry or overwhelming.
I found that I was able to gain a better understanding of principles that I only marginally understood, like Einstein’s Theory of Relativity, which is clearly laid out in layman’s terms and with genuinely helpful visuals. Genetics is a particularly complicated topic that has always fascinated me, so I was especially drawn to the chapters that tackled it and found a diagram using bees to explain recessive traits to be one of my favorite features. The individual chapters are broken up into sections and use sidebars and trivia to keep things interesting, so no matter what topic you land on the information is always accessible. I haven’t read it cover to cover, but rather peruse whatever topic catches my eye and always find something I didn’t known before. Textbooks devoted to science have an unfortunate tendency to be dry and technical, so I am especially excited to share The Science Book with my son as he gets older, with the hope that it may help him develop a real interest in science and an appreciation of its value. – Amber Troska
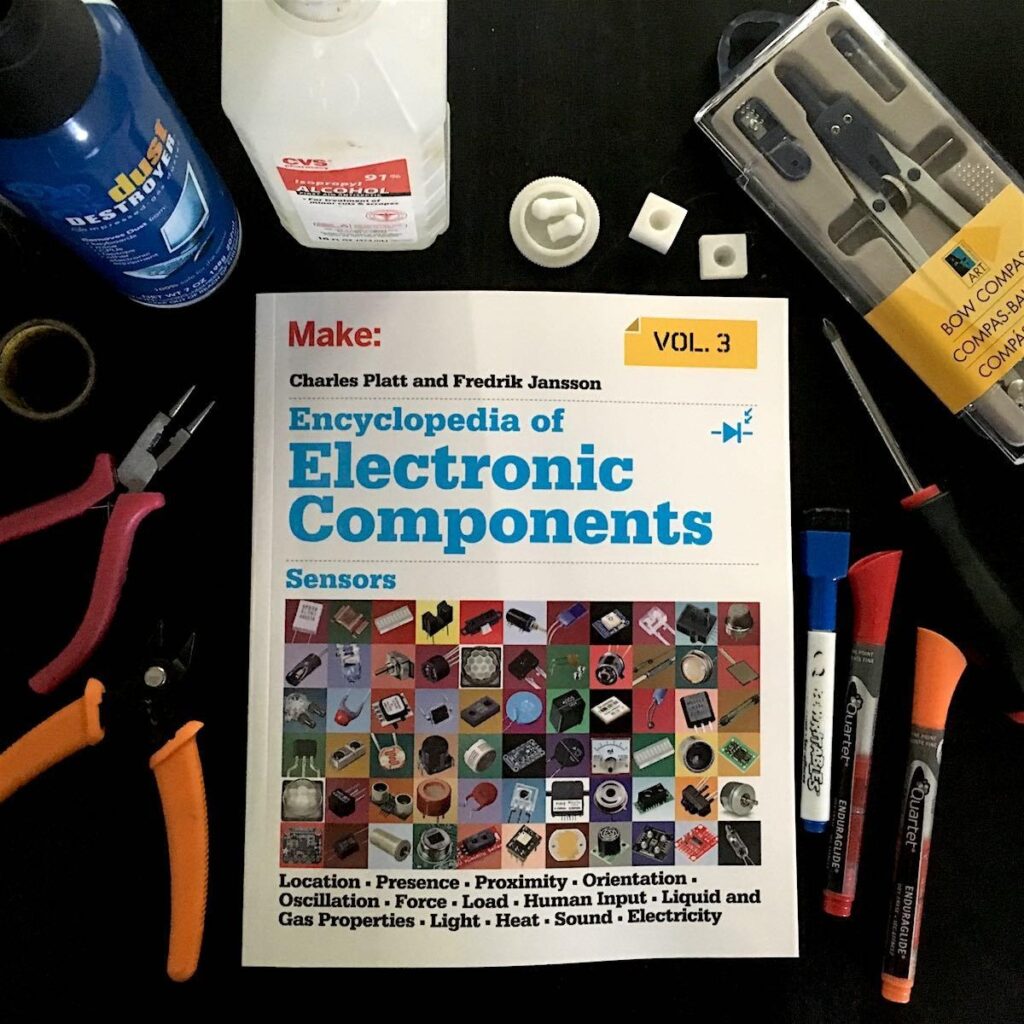
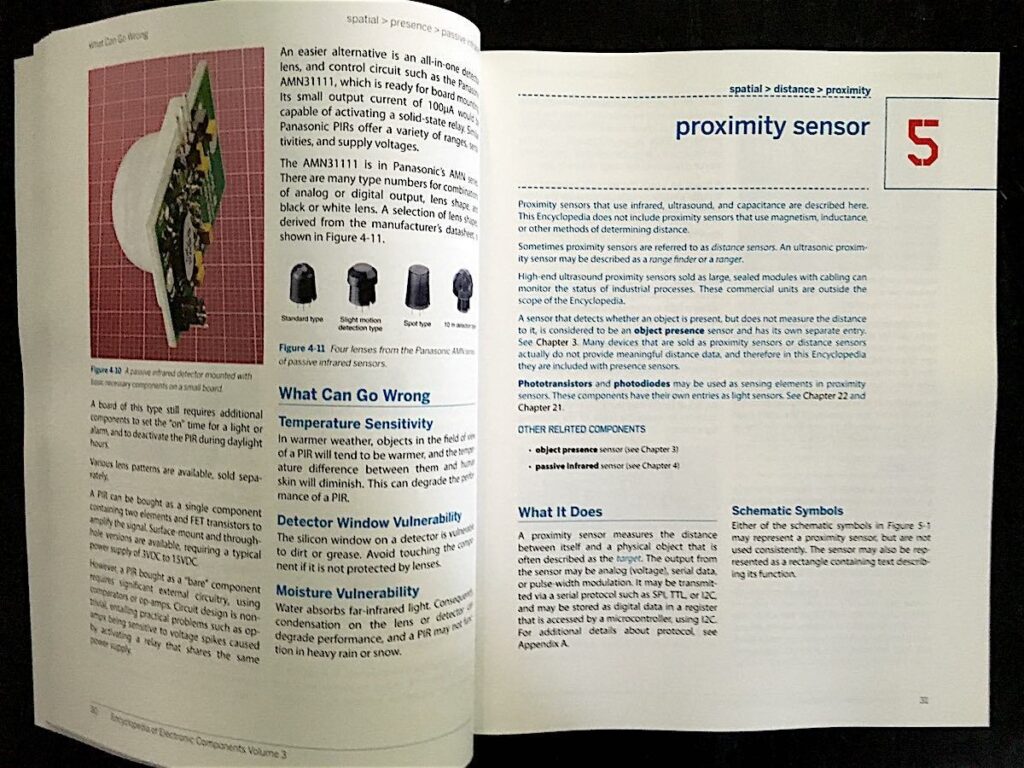
Encyclopedia of Electronic Components Volume 3: Sensors
by Charles Platt and Fredrik Jansson
Maker Media
2016, 256 pages, 7.9 x 9.6 x 0.4 inches (softcover)
With this somewhat slim but jam-packed volume, Make: contributing editor and electronics columnist, Charles Platt (here joined by Fredrik Jansson), completes his detailed explorations of the modern, common electronics components most useful to today’s electronics hobbyists and other DIYers.
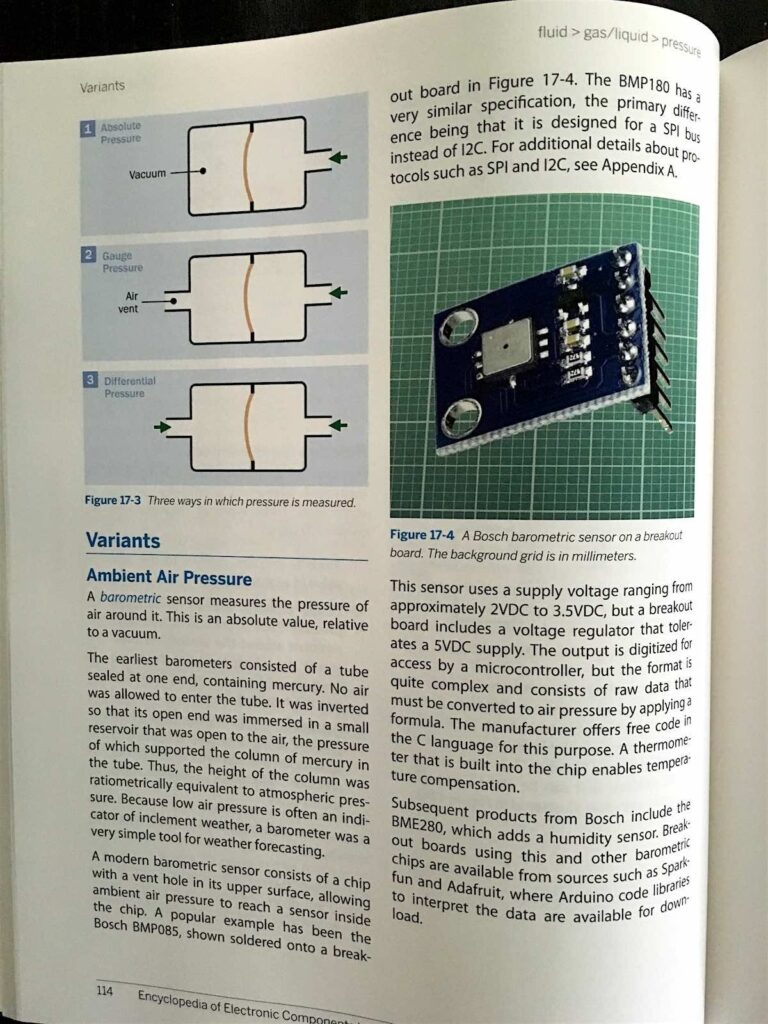
The first volume, which Wink reviewed earlier, covered batteries, power supplies, motors, resistors, capacitors, inductors, switches, encoders, relays, diodes, transistors, and more. Volume 2 covered LEDs, LCDs, audio, amplification, digital logic, and related components. This third and final volume examines common (and a few not so common) sensors for detecting location, presence, proximity, orientation, oscillation, force, load, human input, liquid and gas properties, light, heat, sound, and electricity.
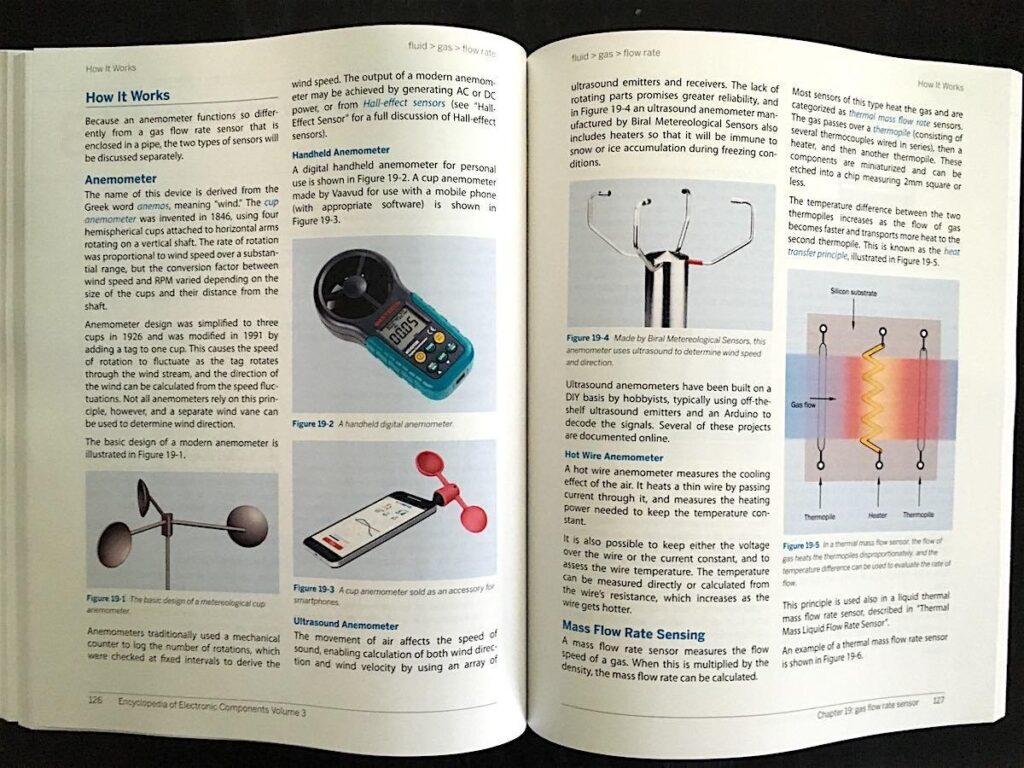
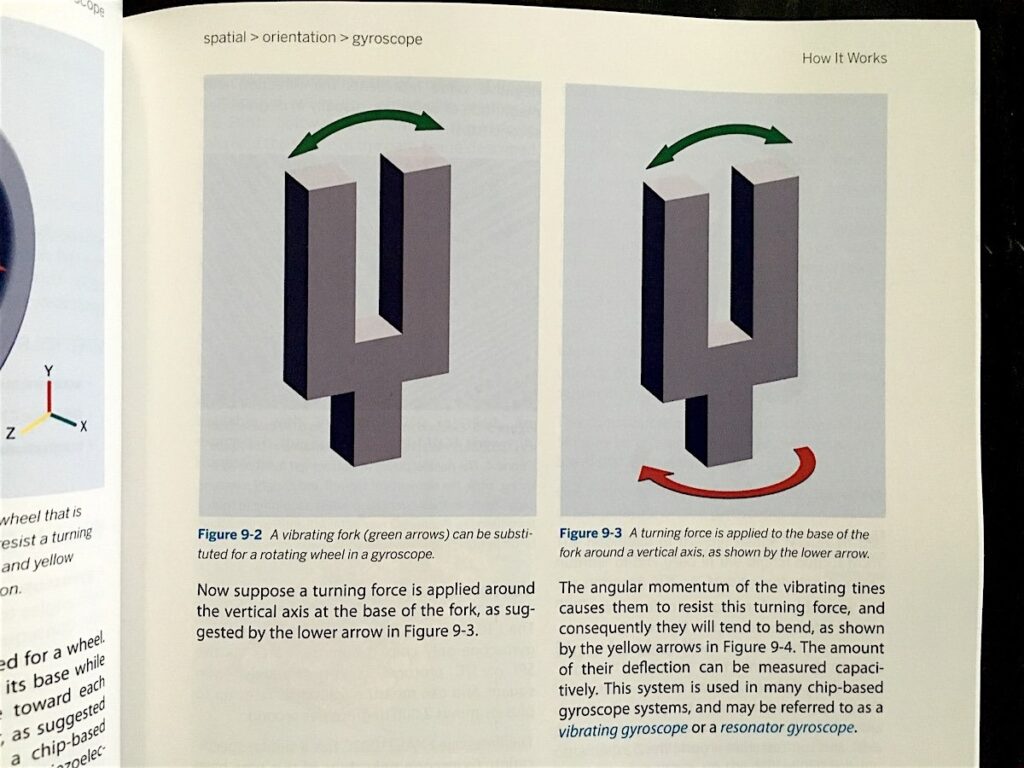
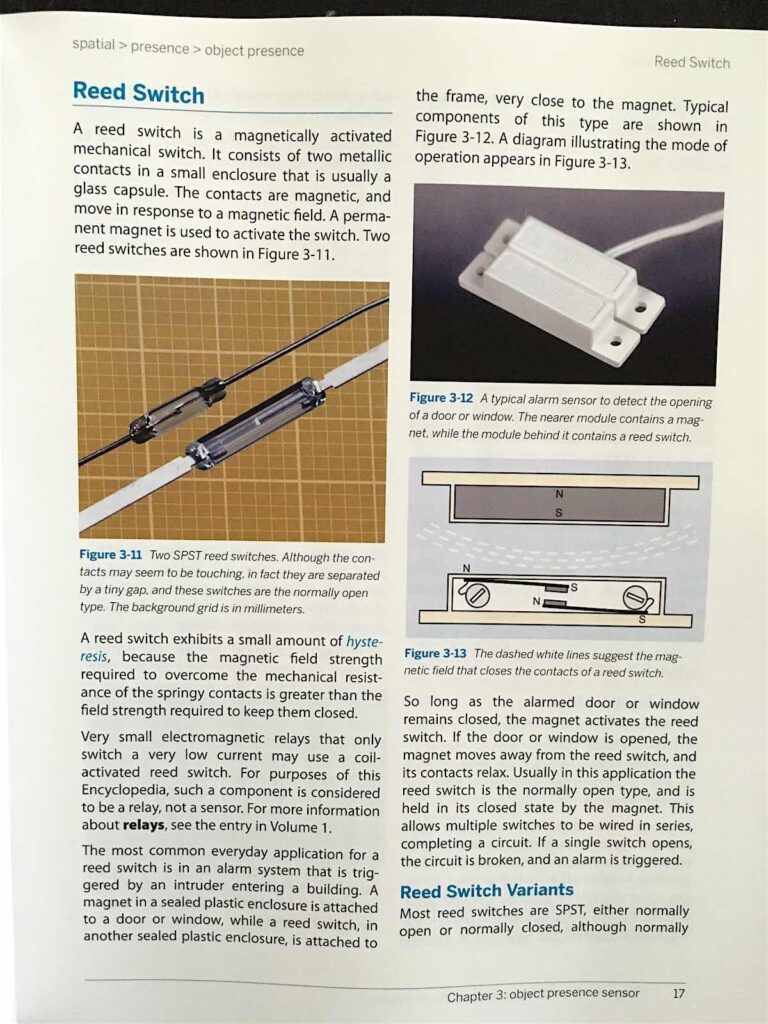
Like all of the volumes in the series, each component section in Sensors is divided into what it does, how it works, variants and values of the component, how to use it, and what can go wrong with it. Each entry is generously illustrated with clear color photos, charts and graphs, and cut-away diagrams of the components (all done by Platt). Thoughtfully, the component images are all photographed on a graph paper background, so you can get some idea of their actual size.
One of the things that I think has made the Make: Electronics series such a great success is that Charles Platt is a smart, endlessly curious, and details-oriented electronics enthusiast who knows what questions fellow enthusiasts might have about how a component functions and what it’s useful for. He is not an engineer, he is a professional amateur and I often find that such amateurs write better tech books than professionals. In Volume 3, he and Jansson do another admirable job of writing in a style that is non-intimidating to the beginner, but no less rigorous to the more seasoned circuit designer/builder.
These three volumes, taken together, provide you with the reference material you need for spec’ing components for most common hobby-level electronics projects. Or, if you wanted to, you could significantly increase your understanding of basic electrical engineering by working your way through them, one component at a time. And given how lovely the books are, how well photographed and illustrated, how readable, doing so would not be a hardship.
Over the course of the past seven years, Charles and Maker Media have released five books in the Make: Electronics series and two component packs. I’m biased (I helped instigate this series as an editor at Make:), but I think this collection is one of the most significant things Make: has done. We set out to create the Getting Started in Electronics [http://www.amazon.com/Getting-Started-Electronics-Forrest-Mims/dp/0945053282] for the early 21st century. The success of the series speaks for itself. I’m now just waiting for a new generation of high-tech innovators to tell us enthusiastically how they cut their teeth on the Make: Electronics series. I like to imagine that they’re teething on the resistors, capacitors, and ICs as we speak. – Gareth Branwyn
Books That Belong On Paper first appeared on the web as Wink Books and was edited by Carla Sinclair. Sign up here to get the issues a week early in your inbox.

© 2022