Molding and Casting Skill Set: Makin’ Copies!
Gareth's Tips, Tools, and Shop Tales - Issue #98
As always, if you like what you see, please share it and encourage friends to subscribe.
Molding and Casting Skill Set: Makin’ Copies!
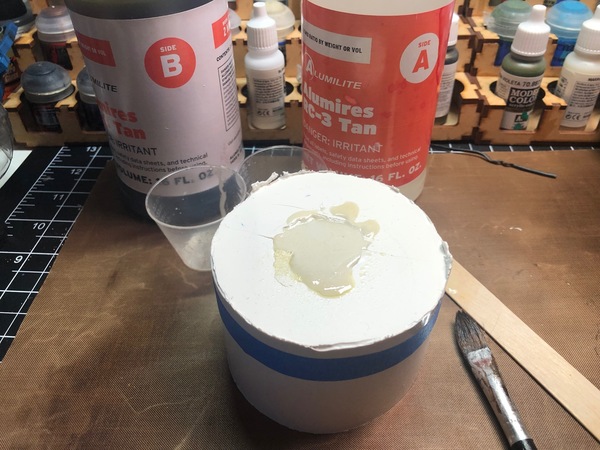
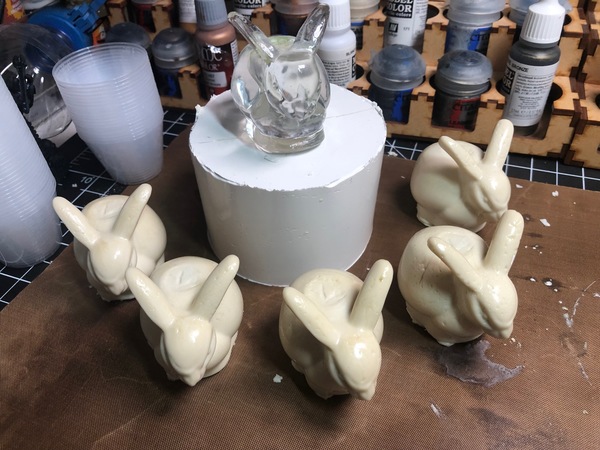
This week I cast a bunch of resin copies of the glass bunny candle holder I made a block mold for in issue #90. The mold turned out perfect and I’ve been cranking out bunnies with little issue. The mold is still holding up after nine copies. My fiancé is going to use them in art and wants lots of them, so I’ll keep casting them until the mold gives out.
Several tips:
* When cutting open the mold, I used zipper cuts on the sides (zig-zag cuts with a razor knife). This helps them knit back together for resin pouring and minimizes mold lines and leaking. I also used painter’s tape to seal the mold shut.
* The first few bunnies had a fair amount of air bubbles, especially on the ears. I fixed this by pouring a small amount of resin in each ear and moving the mold around to coat the walls. Then, I added resin to half of the mold and moved it around the walls, then filled it and tamped it on the workbench. Almost no air bubbles.
* To be able to quickly mix lots of two-part resin for each pour, I bought a bunch of resin cups on Amazon.
* Don’t forget to oil or powder the mold before each pour. I haven’t (yet), but lots of people do in the rush of things. I used regular kitchen cooking spray and brushed it around inside the mold.
Did you do a block mold for this series? If so, please send me a picture of your cast.
The Basics of Cosplay & Prop Electronics
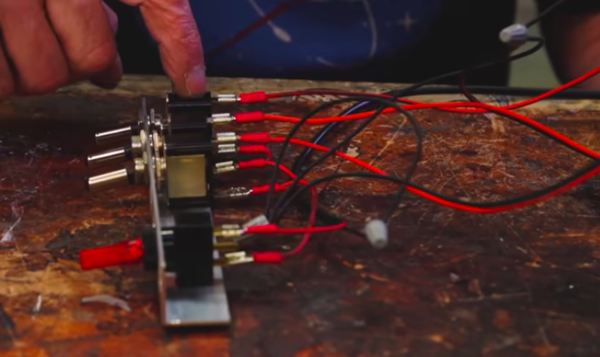
In this 43 minute video, Adam Savage runs through the basics of circuit wiring for simple costume and prop electronics. In the early days of working at Make:, I was shocked when I’d talk to cosplayers at conventions about the electronics they used and how little they understood about even rudimentary circuit wiring. Many of them would just cut up existing electronic toys with LEDs, motors, sound F/X, and the like to cobble together a crude circuit. Luckily, with excellent books like Charles Platt’s Make: Electronics, and readily available components, lots more makers now know how to deal with things like wiring LEDs. One of the things I found charming about this video is that Adam is not afraid to admit that even for him, basic wiring can quickly become complex enough to make his head hurt. He recommends creating simple circuit diagrams and carefully following them as you construct your circuit and keeping things simple by using pre-wired LEDs, wire nuts and terminal lugs whenever possible. (And yes, he gets a number of things wrong when discussing switch configurations, but the points he’s making still stand.)
Restoring Black Plastic with a Blow Torch?
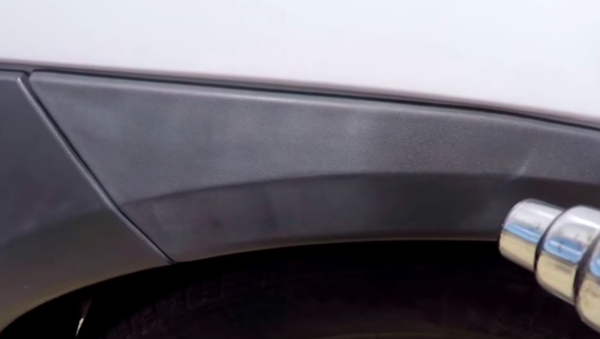
I saw a video on Instagram, on one of those somewhat dubious tips channels, of a guy restoring the black plastic trim on his car using a blowtorch. I was skeptical, but doing a wider search revealed that this is a somewhat common practice. Here’s a guy using a heat gun. Using heat on the plastic allegedly draws out the oils in it and restores a blush of color to the surface. The drawback is that it draws out the oils in it, weakening the plastic. Sounds like a lot of people use this technique to “freshen up” the black plastic before selling a used car.
Stainless Steel Zip Ties
In this Cool Tools video, Donald Bell takes a look at stainless steel zip ties, for when plastic ones won’t cut it.
Notable Quotables
“If it looks straight, it is straight.” – Jimmy DiResta
Shop Talk
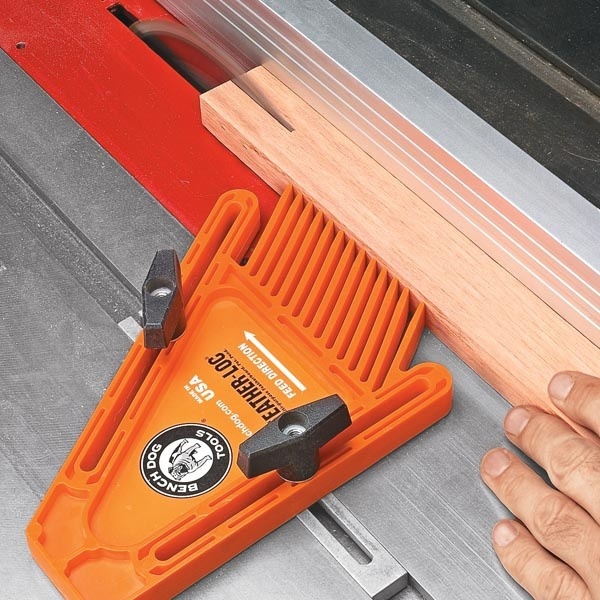
What a real featherboard looks like.
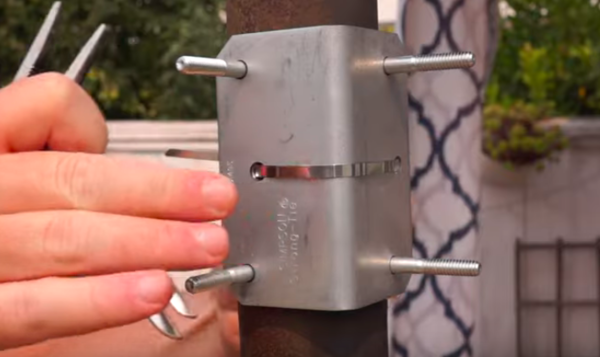
In response to my item about woodworker Colin Knecht making a feather board, Gary Shell wrote:
“That’s not really a feather board. At best, it’s a fence. It won’t prevent kickback at all. A real feather board servers two purposes. First and foremost, it prevents kickback. And secondarily, it keeps the wood aligned to the blade. That later function is the only thing Colin got with a rather expensive solution (those magnetic switches are $27 each. Yikes.)”
On the point of the expensive magnet switches, he uses them on many different devices throughout the shop, not just on this one board.
09/2/21(Gareth’s Tips, Tools, and Shop Tales is published by Cool Tools Lab. To receive the newsletter a week early, sign up here. — editors)


