Seeds and Seedlings
Tools for Possibilities: issue no. 31
Once a week we’ll send out a page from Cool Tools: A Catalog of Possibilities. The tools might be outdated or obsolete, but the possibilities they inspire are new. Sign up here to get Tools for Possibilities a week early in your inbox.
Cheap, efficient seed starting
I’ve been using these for a dozen years to start seeds for annual flowers and a vegetable garden. They are superior to most methods when it comes to reducing transplant shock and simply make transplanting easier. Additionally, they allow me to save money on supplies at the expense of a little extra labor.
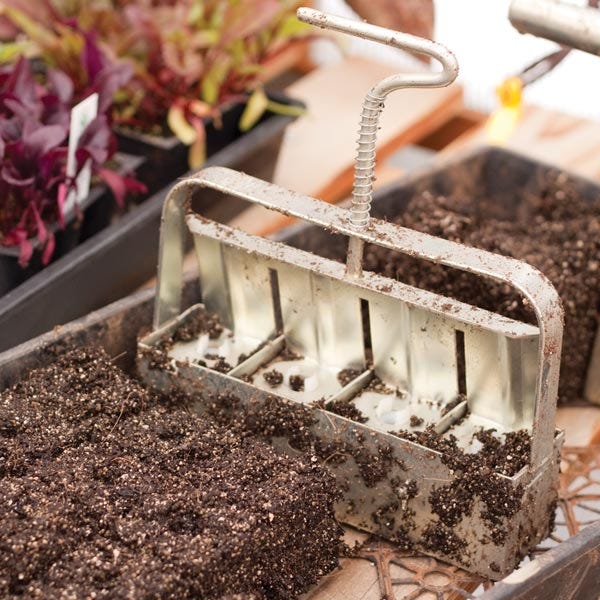
Soil block makers are hand-operated presses that make a compacted soil cube. You start seeds directly in the cube of compressed soil; no container is necessary. Since the cubes’ sides are in contact with air, roots will stop growing when they reach the side of the block. Contrast that with seedlings grown in the typical retail greenhouse’s flimsy plastic tray, in which the roots wrap around the space between the soil and plastic, becoming pot-bound.
When it comes time to transplant the cubes formed with soil block makers into the garden, just drop the block into the prepared hole. There’s no prying a pot-bound seedling from a container; no accidentally damaging the root system. I’ve tried various biodegradable containers designed to go right into the garden soil, including peat pots, peat and coconut blocks, even small paper bags designed to hold potting soil and seedlings. None of them decompose as quickly as advertised; this results in slower root growth after transplanting. Plus, buying new containers each year is an added expense. I also tried a tray system that’s sturdy, designed to be easy to water, has a better shape than greenhouse trays, and an integrated greenhouse cover. While it’s the best tray system I’ve ever used, buying enough of these trays to start all my seeds would be several hundred dollars in up-front expenses, and they’re a pain to store when not in use. My block maker is less expensive and only takes up about the space of a hardback novel.
Block makers come in several sizes, designed to handle different sized seedlings, or to allow potting-on from one size to the next. I’ve found the two-inch size covers most of my home-gardener needs.
The only downside I’ve found is you must water the blocks frequently or they dry out. I put my blocks on disposable foil cookie baking sheets, placed on shelves. Some people put the blocks on capillary mats, which stay wet and wick water into the block bottoms, so you don’t need to water as often. I’ve found that you still need to mist the blocks, and worse, plant roots can grow into the mat, causing the very root trauma you are trying to avoid. When it’s time to transplant, I slide the foil sheet onto a piece of plywood and carry it out to the garden.
The block maker I have is the Mini 4, by Ladbrooke. You can also purchase them, as well as soil block mix, or find more soil recipes and instructions for making your own soil blockers at Pottingblocks.com. Great advice and instructions for homemade blockers are here. — Brian Costlow

Cheapest way to grow
A Garden from a Hundred Packets of Seed
With patience and discretion, one could grow the most magnificent flower garden with only $100 worth of seeds. Author and poet James Fenton brings the wisdom (and a highly evolved list of plants); you’ll need the patience. — KK
As for the design of this flower garden, I insist on keeping it vague. A hundred varieties of flower might look cramped on a balcony, spectacular in a situation only one size up from there. For it is amazing what can be crammed into a small space. Conversely, it is amazing the number of plants that could, in theory, be raised from so large a number as a hundred packets of seed.
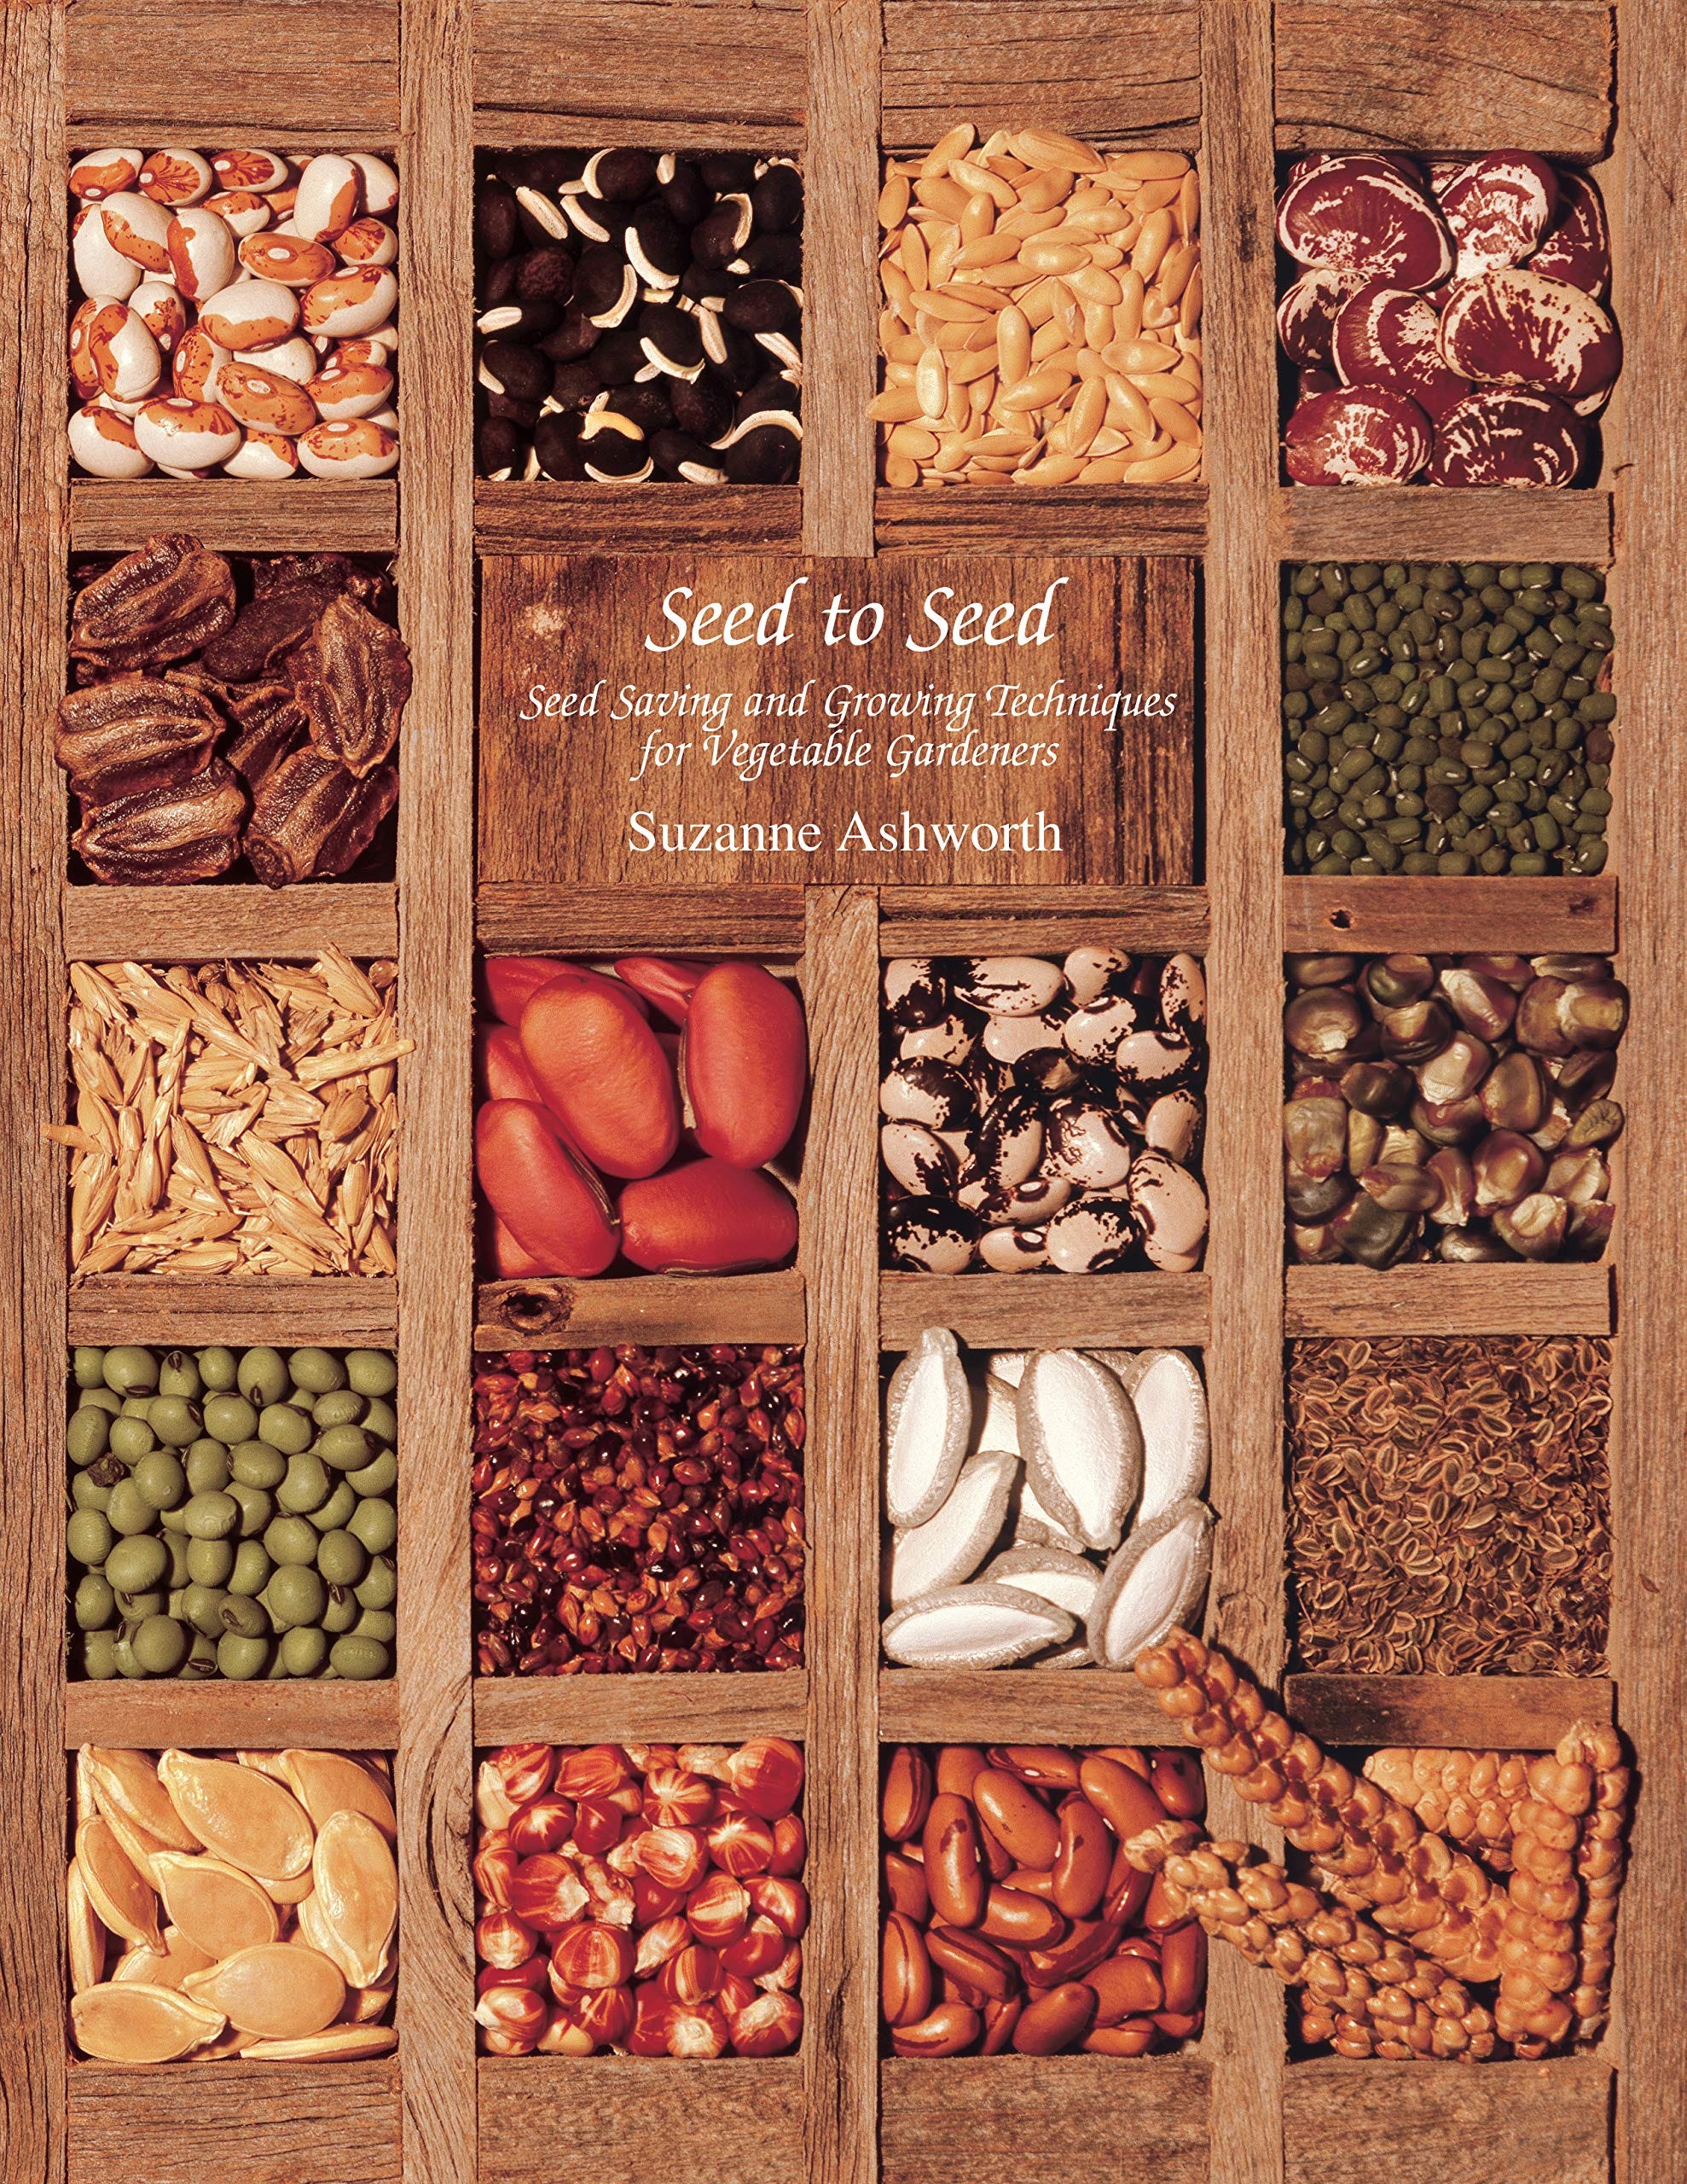
How to grow your own seed
You don’t have to buy seed. You can take seed from your own plants and sow them later. By going “seed to seed” you can selectively breed new varieties of favorite plants, or custom tailor plants to your local micro-climate. At the very least I’ve found it incredibly satisfying to use my own seed, even for a few plants. You realize, oh, these are self-replicating goods! And you can share rare or exotic heritage varieties not for sale kept by other seed savers. Since garden plants are optimized to produce edibles or flowers, rather than seed, getting good seed can be tricky. This book is the bible for a network of folks around the world — the Seed Savers Exchange — providing tips and methods on how to raise, save, and germinate seed, plant by plant. — KK
- The basic general rule is that seed should be saved from 20 inbreeding plants or 100 outbreeding plants.Always attempt to grow as many plants as possible in the space available in your garden, and that will usually yield an adequate range of genetic diversity for your particular gardening situation. This technique has worked well for gardeners throughout the last 12,000 years, creating the amazingly diverse richness of the world’s food crops.
- Small-scale seed savers should also rogue their plants, being sure to plant large enough populations so that roguing is meaningful and doesn’t lead to inbreeding. Garden plants undergo almost daily inspection during watering, weeding and picking. Off-type plants are easy to spot within a population, and their removal helps eliminate the effects of any slight crossing that may have occurred during a previous generation or any accidental mixing of home-saved seeds.For many gardeners, who often are concerned with food production and seed saving simultaneously, roguing is a hard thing to do. Letting an off-type plant remain in the garden is fine, if the plant is harvested for food before it flowers.
- Vegetable seeds are at their peak when they reach maximum dry weight on the mother plant. Vigor is the seed’s ability to germinate rapidly with good disease resistance. Home-saved seeds will retain maximum vigor when thoroughly dried and stored in a moisture-proof container. The most vigorous seeds at harvest time will keep the longest in storage. The two greatest enemies of stored seeds are high temperature and high moisture. Seeds that are stored at fluctuating temperature and moisture levels will quickly lose their ability to germinate. As a rule of thumb, the sum of the temperature (degrees F.) and relative humidity should not exceed 100. In actuality, humidity is probably more important than temperature, because it allows for the growth of microorganisms that degrade seed quality.
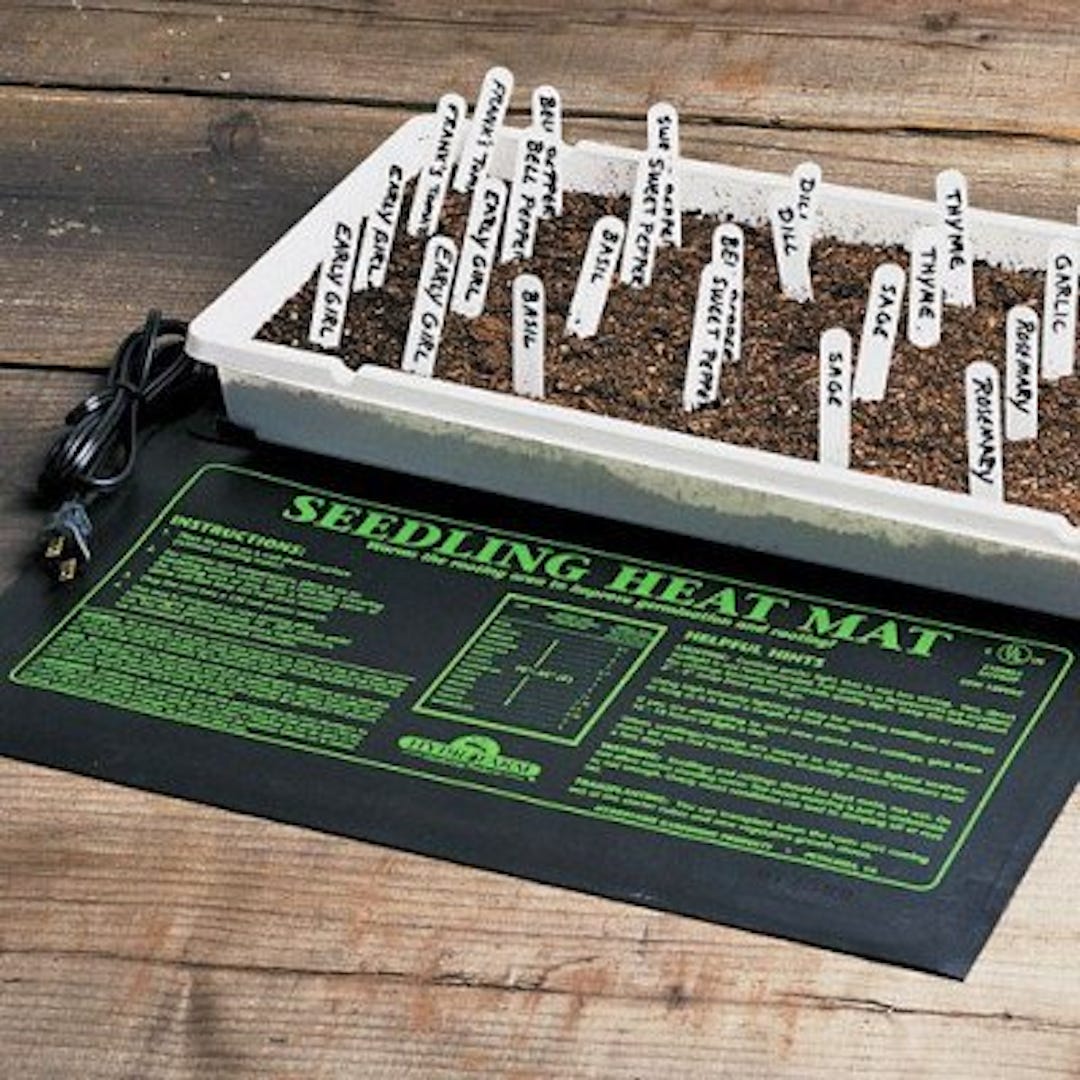
Electric blanket for seedlings
I’ve owned one of these for a couple of years now. I keep meaning to use it for plants, but It keeps getting hijacked for other uses. Last spring, I put it under my chick brooder to keep my baby chicks warm. Right now, it’s warming the mealworms that I feed to those same very spoiled chickens. I expect it would be a total cat magnet if I threw a towel over it and left it out for them to lie on. And it’s great for encouraging the seedlings of heat-loving plants to sprout more quickly.
Basically, this is a rectangular black plastic flexible mat that plugs into a standard electrical outlet. It feels like a pleasant sun-warmed surface if you put your hand on it, maybe 80 or 90 degrees Fahrenheit. If you put it on an insulated surface it’s warmer than on an uninsulated one. Because they’re designed for greenhouse use, they’re waterproof, though I’d still use care, especially with the electrical cord.
If I were putting it under animals (especially baby animals) I’d keep the cord and the mat where it couldn’t be chewed on. I’d also monitor the animals for over-heating and make sure there was a part of their cage that wasn’t on the heat mat so that they could self-regulate their temperature.
If you need a precise temperature, you can buy a thermostat control. I haven’t used the thermostat, so I can’t report on its reliability. These heat mats come on a variety of sizes, from 9″ x 9″ inches up to 20″ x 48″ inches, with the price increasing according to size. — Amy Thomson
Easy, rapid plant cloning
This is a new plant propagation method/tool that allows you to produce large, rooted plantlets from woody plants (with stems up to 25 mm diameter) within one growing season (~ 2-3 months). Since I got them 2 months ago, I very easily rooted a large, marketable Schefflera in about 45 days and a 12″ – 14″ tall Ficus in ~60 days. I talked to an associate in Australia who has rooted almond. The concept is exciting because you should be able to produce a usable plant in 1/3 the time (one growing season vs three). I do expect that, with grower experience, almost any woody species that can be grafted can be propagated faster / less expensively using the Rooter Pot.
I bought them specifically to (try to) clone American chestnut selections for preservation without grafting. I expect to successfully clone mature conifers which are usually grafted for seed production. Rooter Pots are reusable. A larger-sized pot is now available for stems up to 1 inch in diameter. — Carl L. Haag
Mail-order analysis
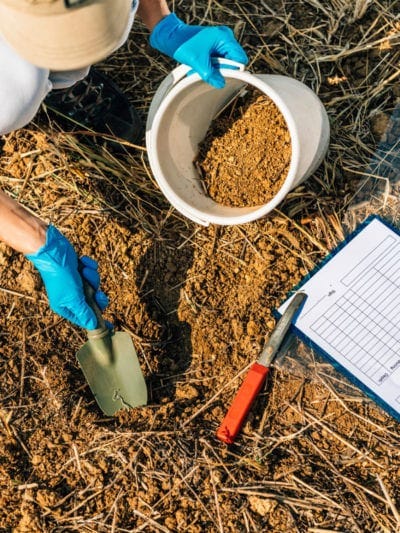
If you take gardening seriously, then you know it all starts with soil health. But you can’t just look down and analyze it. The University of Massachusetts at Amherst offers cheap soil tests that will provide you with a comprehensive rundown of what your soil contains and what it needs.
I first had the soil test done back in 2001, and it showed low phosphorous, and very low levels of heavy metals. It gave specific instructions for adding nitrogen, phosphorous and limestone. For $9 they perform a standard soil test resulting in the following information: pH level, buffer pH, extractable nutrients (P, K, Ca, Mg, Fe, Mn, Zn, Cu, B), extractable heavy metals (Pb, Cd, Ni, Cr), and extractable aluminum, cation exchange capacity, percent base saturation. For $13 you get everything in the standard soil test and the amount of organic matter in your soil.
One of the most vital tests is the extractable heavy metals. Anyone planning to grow food near an old house that may have been painted with lead-based paints should perform this test to make sure you’re not growing your organic veggies in poisoned soil, which pretty much defeats the purpose.
The soil test also provides specific fertilization recommendations, based on what you’re growing. This helps you customize your fertilizing practices, by letting you know what you need to add to make your soils more fertile. More importantly, you can use that soil test to cut back on the stuff your soil doesn’t need.
These are some of the cheapest soil tests available anywhere, and they provide immensely useful information. I first heard about them during my Master Gardener training a couple of decades ago. My only caveat is that the test is only as good as the sample provided. Make sure you follow their directions carefully.
I’m planning to redo the soil test, since I had raised beds added recently. The raised beds were filled with topsoil from a local company that composts yard and food waste. Now that I have good raised beds and drip irrigation, I’m gardening on a much larger scale and need better information. I took half a dozen large plastic sacks full of lettuce and spinach to the local food bank last year, and am hoping I’ll be able to do that again next year. — Amy Thompson
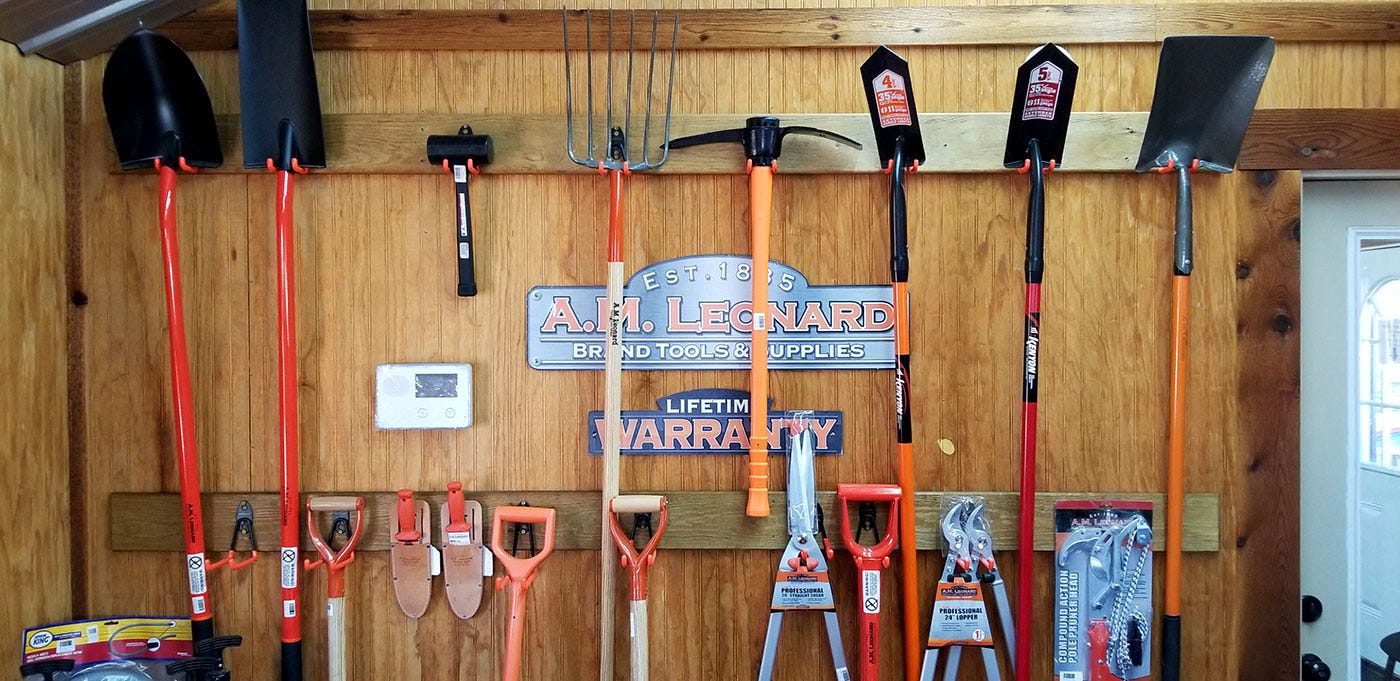
Landscaping tools
The source for all your nursery, grounds-keeping, and landscaping needs. Pages and pages of every variety of rakes, rows of shovels, more carts than you knew, sprinklers, clippers, pruners, and so on. These tools are aimed at pros, but creative and diligent amateurs will find plenty of interest here. — KK
04/24/23


