Smithsonian Open Access Project
Gareth's Tips, Tools, and Shop Tales - Issue #38
My history of cyberpunk series continues on Adafruit. You can see the content to date on this link.
***
Do you have my book, Tips and Tales from the Workshop? You can buy it here.
***
Tips? Tools? Tales? You know where to find me.
Smithsonian Open Access Project
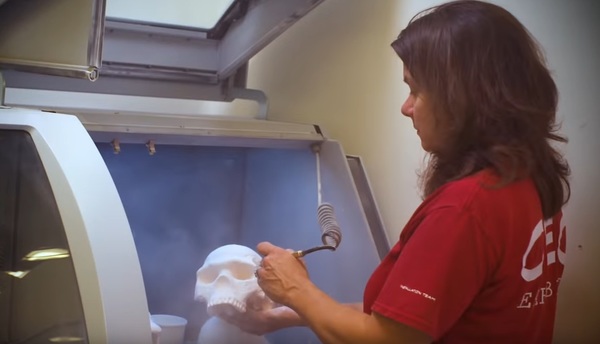
Thousands of scans to download and use in projects.
“People everywhere can now download, remix and share Smithsonian Open Access content for any purpose, for free, from portraits of historic Americans to 3D scans of dinosaur fossils. What will you create, imagine and discover?” When I toured the digital design lab at the Smithsonian’s Office of Exhibits Central nine years ago, the staff talked about this as a future fantasy. So wonderful seeing it come to fruition.
Caster “Collars” for Your Mobile Benches
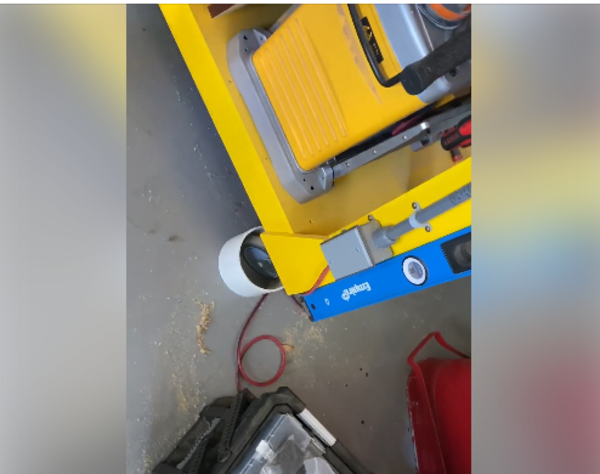
Keep cords and other entanglements from your cart wheels with PVC collars.
Dave Wilkins, in the FB group, Shop Hacks (private, ask to join), shared this brilliant idea. He saw a guy’s shop table where he was using plastic collars around his casters to prevent his table from getting tangled in power cords. The above image is of Dave’s clamp cart using pieces of 6” PVC for his collars.
Using Magnets to Catch Filings from Drilling
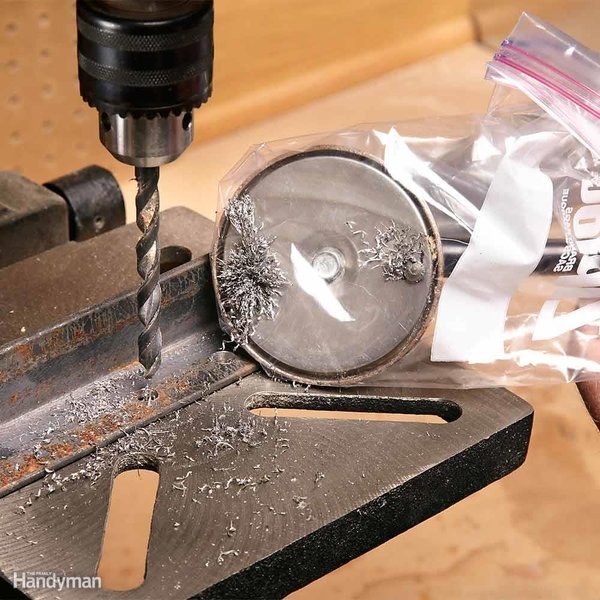
Image from Family Handyman magazine.
TOYS! Heat-Set Inserts Tool
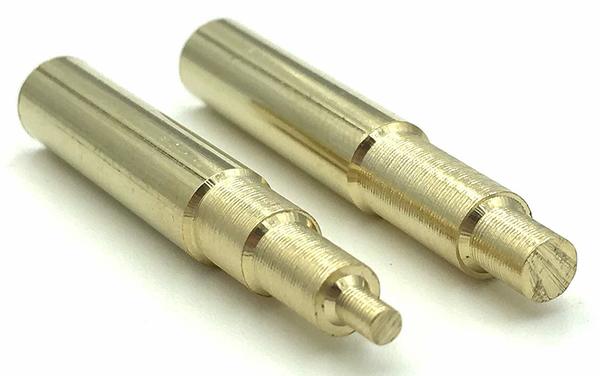
The right tool for the job.
I’ve written about using threaded brass inserts for 3D prints that need to be screwed/unscrewed. To heat the inserts, you can just use the tip of your soldering iron. But there are also dedicated heating tips for your iron that are the correct diameter for the inserts.
Making Tough Sanding Strips for Hand Sanding and Rounding
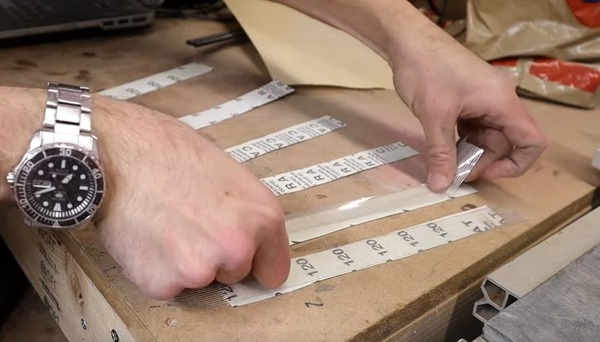
Making your own bendy sanding strips for those hard-to-reach places.
In his latest Graz Makes video, my pal John Graziano gives a wonderful little knife-making 101 as he fashions a beautiful stone-washed kitchen knife out of 1095 steel. In the video, Graz shares a great sanding tip. You can make durable sanding strips for sanding curves and other rounded/odd shapes by cutting 1″ strips of sandpaper and then backing them with 1″ fiberglass-reinforced postal tape. You can see him applying the technique at 17:53 in the video.
Making a Router Jig for Cutting Circles
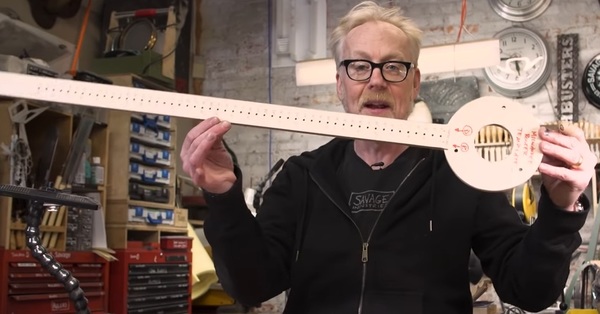
That’s not a tiny banjo, that’s Adam’s circular routing jig.
In a recent One Day Build, where Adam Savage builds himself a poker table, he shows off a simple jig he made that attaches to the base plate of his router and is marked at 1″ intervals for the center pivot point. Like most Savage videos, there are lots of other great tips in here, like kerfing wood to create curves, a recommendation for a 22-gauge nailer, the wonders of biscuit joiners and wood glue, some smart safety tips, and more.
Life Hack: Multibag Your Trash
This might be more about me and my own eccentricities, but I loath emptying the trash and especially putting a new bag/liner in the can. I just realized that I can put 3 or 4 bags in at the same time and then just remove the inner bag to empty. This is also helpful if there’s a leak in one bag. I especially like doing this for bathroom trashcans. OK, maybe this is just me. Moving along…
Shop Talk: We Get Letters
Adequate shop light for under $50 and less than 30 minutes of work.
Michael Una: “Just wanted to let you know that I read about LED shop lights in the last issue, immediately ordered them, and installed them in my garage workshop this past weekend. They’re great and I love them. Huge thanks for the tip. My shop lighting has always been non-ideal and that is no longer the case. The LED strips are so lightweight that it’s super easy to just zip-tie them anywhere. Took me like less than half-an-hour to mount all 6 of them to cover my entire (half-garage) shop. It was super satisfying. For the one over my bench (pictured here), I already had a fluorescent ballast mounted there. The bulbs had recently burned out, so I just unplugged it and zip-tied the LED tube to it. Convenient and expedient :)”
Reader Steve: “One thing to add to the ‘Label Your Warts’ article, also label which is positive and negative and the output power. I’ve been able to use old warts for products that didn’t come with them or I couldn’t find its original wart. When I get rid of broken items, I keep the warts.”
(Gareth’s Tips, Tools, and Shop Tales is published by Cool Tools Lab. To receive the newsletter a week early, sign up here. — editors)