Using Paper Towel and Wood Glue to Seal Up Molds for Casting
Gareth's Tips, Tools, and Shop Tales - Issue #74
Using Paper Towel and Wood Glue to Seal Up Molds for Casting
DL, droppin’ the science.
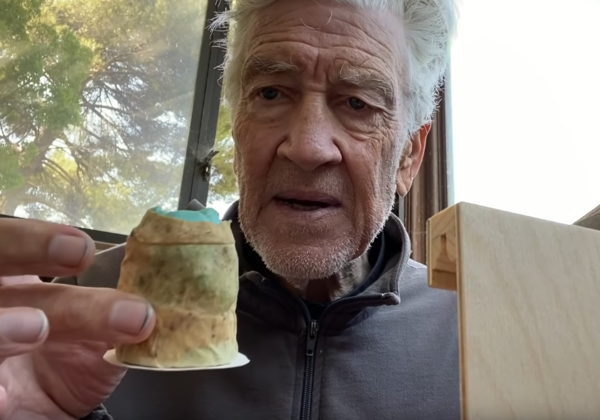
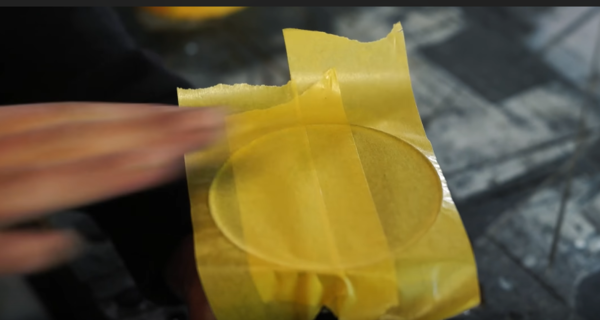
I’ve been loving David Lynch’s channel on YouTube, with his daily weather reports and project updates. In this video, he shows off a wooden tripod-mountable iPhone holder that he made along with a mold for casting some pieces for a sculpture. He shares a great tip about the mold. To close up a block mold for casting (so that the resin doesn’t leak out), wrap it with paper towels soaked in wood glue. I’ve heard of using plaster-impregnated gauze for this, but paper towel and glue is cheaper and more readily available.
Chain-Stitching Extension Cords
No more kinks in those links.
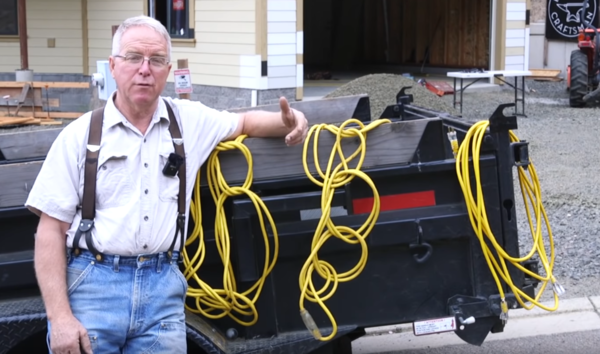
In my book, Tips and Tales from the Workshop, I showed this method of chaining cords. This video, by the always thoughtful and patient Scott from The Essential Craftsman, is the best tutorial on chain-stitching cords I’ve seen to date. In the video, Scott also recommends that you invest in lighted extension cords. I’ve never used these, but think I’ll pony up for one. [H/t Kevin Kelly]
Tactile Marking with Hot Glue
A little dab’ll do ya.
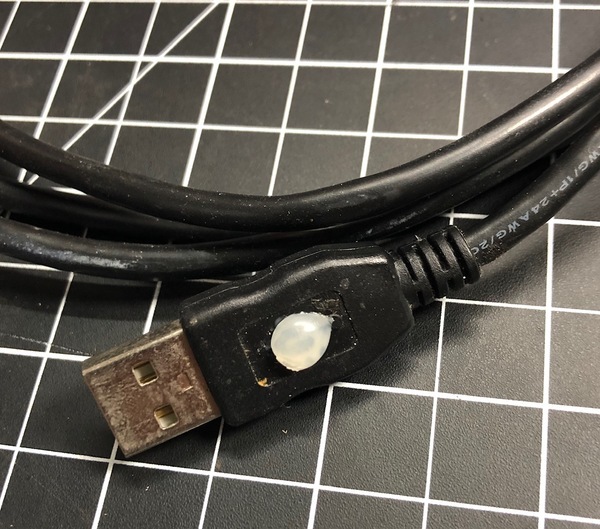
If you find yourself forever plugging in a USB cable upside down, holding your Apple TV remote backwards, or otherwise dealing with a device with an ambiguous plug orientation, you can add some tactile feedback by placing a spot of hot glue to indicate the top side.
A Little Nut Magic
That’s nuts!
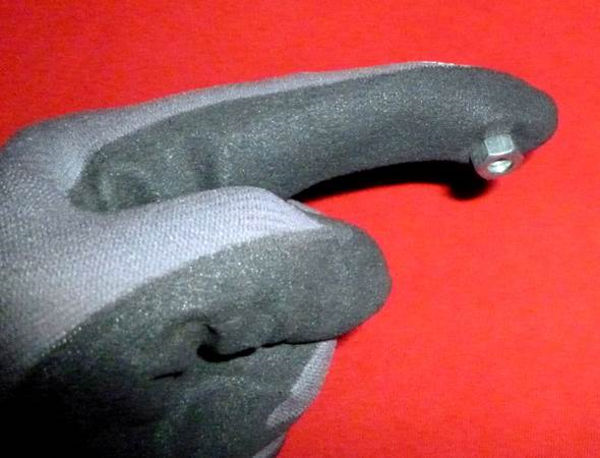
From Machinist’s Workshop: “When I find it difficult to place a ferrous fastener in an awkward position or in tight quarters, I slip a small, flat (¾” diameter x 1/8″) neodymium magnet into the index finger of a thin mechanic’s glove. When I put on the glove, I place the pad of my finger on the magnet. Now, the fastener will stick to the glove because of the magnet inside and I can position it where needed.“ [H/t Sean Ragan]
Old Art Brushes Just Become Another Type of Brush
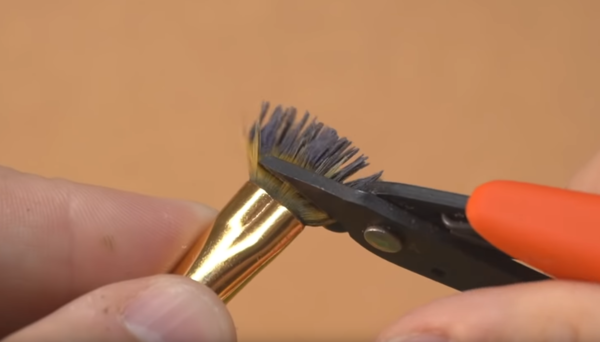
Once it was a basecoat brush. Then it became a drybrush. Stippling brush here we come!
In this video on Midwinter Minis about reviving old acrylic brushes, they share several good tips. One of them is to use a matt clay hair product as a brush conditioner. Another is to always see an old brush as a new brush waiting to happen. An old basecoat brush can be repurposed as a drybrush, and a drybrush can then be given a spiky punk rock haircut to become a stippling brush. And you can always re-purpose old brushes to use as glue applicators. THEN you get to throw them away.
Using Rubber Bands to Create Temporary Clamps
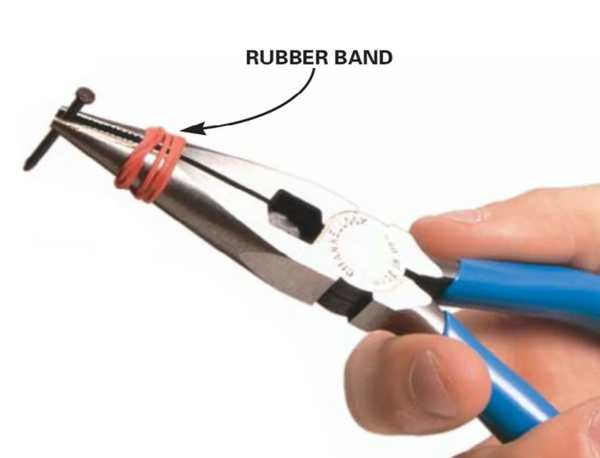
Image via FamilyHandyman.com.
Don’t forget the power of the rubber band to do simple things like creating a temporary small-parts clamp.
Making a WD-40-like Penetrant
Everyone loves to reach for the WD-40 when a penetrating oil is called for. But did you know that you can cheaply and easily make your own? There are dozens of recipes out there (do a YouTube search). Here are two that get high marks from many basement penetrant chemists:
Recipe 1: 4 parts charcoal lighter fluid, 4 parts mineral spirits (or paint thinner), 1 part lightweight motor oil.
Recipe 2: A 50/50 mix of acetone and transmission fluid.
Annealing 3D Prints in Salt
Salt parts to taste.
In response to the item in issue 64 about annealing 3D prints in plaster to increase their strength, reader TokyoSpark pointed me to this video on treating printed parts with powdered, baked table salt(!) It not only increases part strength, but it makes them water- and gas-tight.
Europium Glow Paint
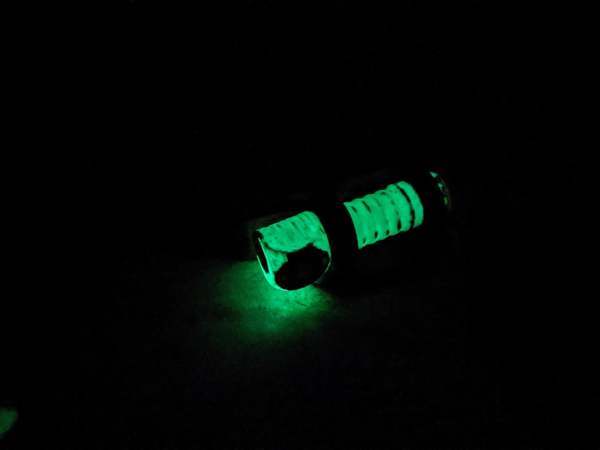
Glow paint to light a light in the night.
My pal Jason Babler sent me a link to this Reddit thread on Europium-based glow-in-the-dark paint. This stuff will allegedly glow all night after only a few seconds of light exposure. Sayeth the Redditor:
“I order the paint from Unitednuclear.com. I let the can sit for a couple of days until the glow particles settle to the bottom. Then I pour off most of the carrier fluid, and first Prime the object with a couple coats of white nail polish. Then a couple coats of glow particles, then a couple coats of clear polish. Works great. That’s my headlamp in the photo.”
Amazon carries glow-in-the-dark paints that also claim to glow all night on a several-second charge. They are Strontium- rather than Europium-based. No idea if they work as well.
Tips on Measuring, Marking, and Math
A Perfect Circle
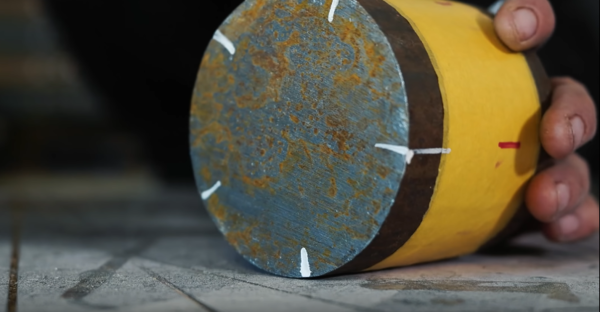
Five Easy Pieces
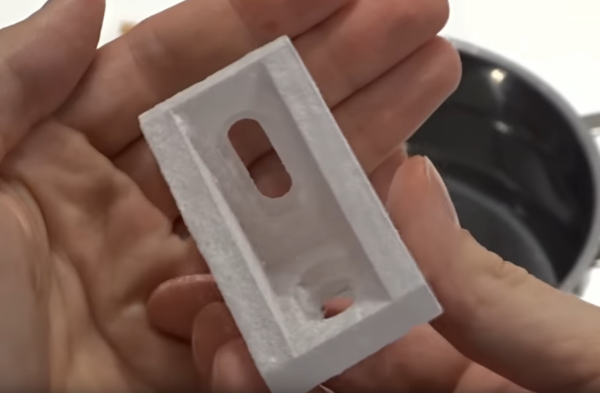
3D Print a Pocket Hole Jig
Save yourself some dough and 3D print your next pocket jig.
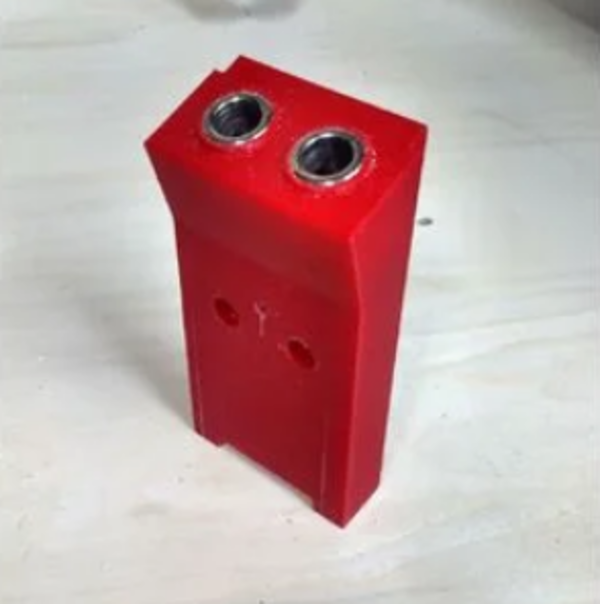
If you do woodworking and have access to a 3D printer, you can save money on pocket hole jigs (used to drill angled holes in wood for fastening to another board). This 3D printed jig is equivalent to the heavy-duty jig that Kreg sells for $70 (including bit and driver). Besides the few bucks in printer filament, the jig uses two ½” ID bushings.
Using Tool Auto Switches in the Shop
Mr. Miyagi says: Switch on, switch off.
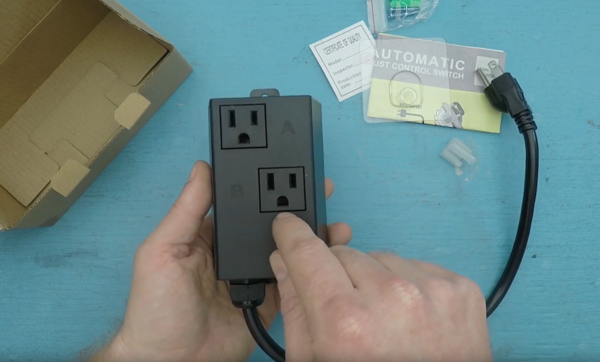
On this Cool Tools video, Sean Ragan gathers up his sizeable collection of shop vacs(!) and decides to create dedicated tool vacuums for each machine rather than building a central dust collection system. To make this approach more workable, he installed auto switches on each tool/vac. These are current-sensing power boxes that have a plug for the tool and one for the vac. When the box senses a current draw on the tool, it automatically switches on the vac. Obviously this could be used to auto-switch other tools (lights, power feeders, fume extractors, etc.).
Life Hack: Celebrate the Living
I had a friend pass away recently. As he was transitioning, his friends did a very wonderful thing. They created a private Facebook group where friends and family could share stories and pictures. These were read to him at his hospice bedside. An internet-connected picture frame was also set up by his bed so that folks could send images to him. What a lovely way for family and friends to celebrate someone while they’re alive and to share that celebration directly with them. This seems especially perfect during this pandemic period when many wakes and funerals are being held online. This is also a good reminder to us all to tell those we love and care about what we think about them NOW. Never forget to celebrate the living!
(Gareth’s Tips, Tools, and Shop Tales is published by Cool Tools Lab. To receive the newsletter a week early, sign up here. — editors)